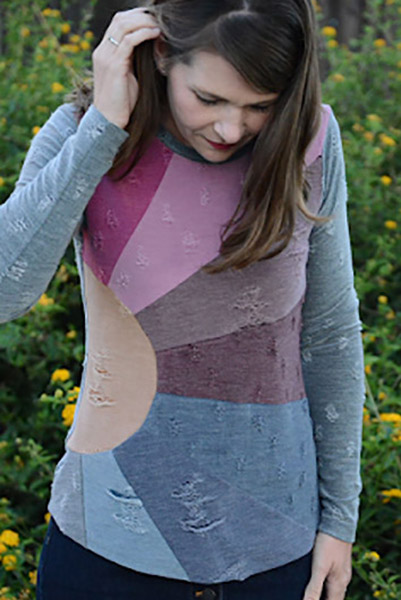
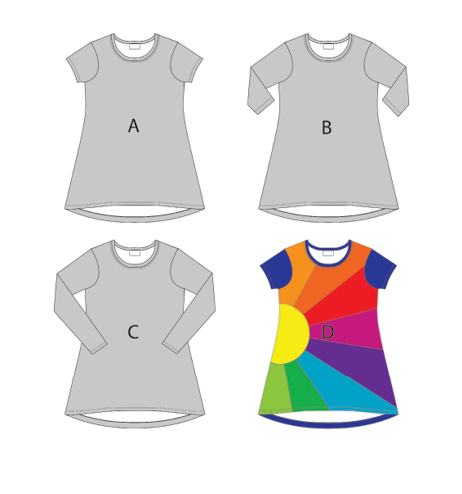
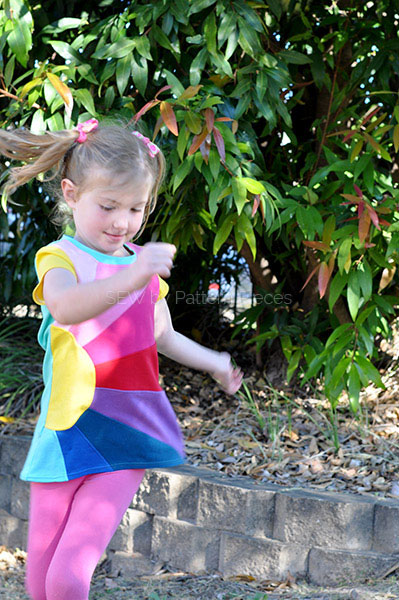
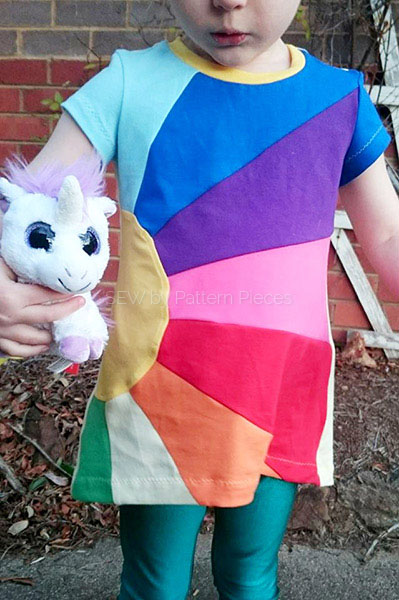
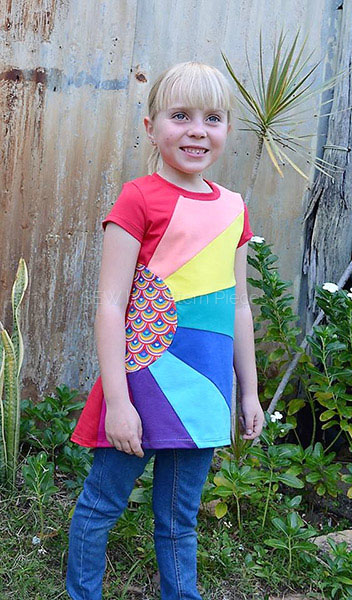
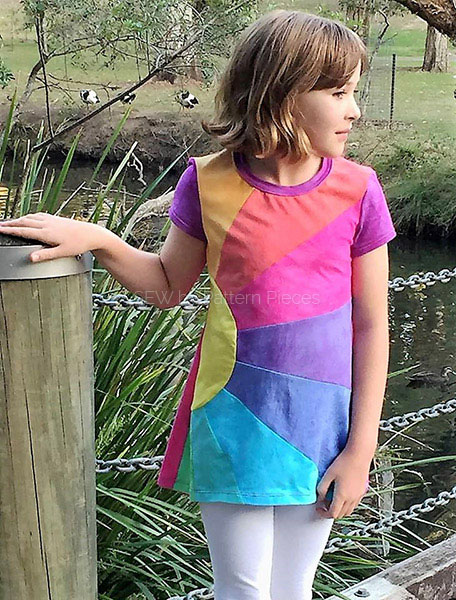
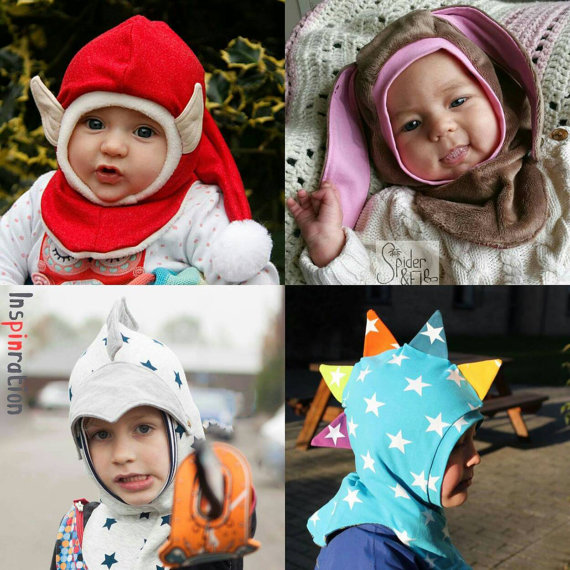
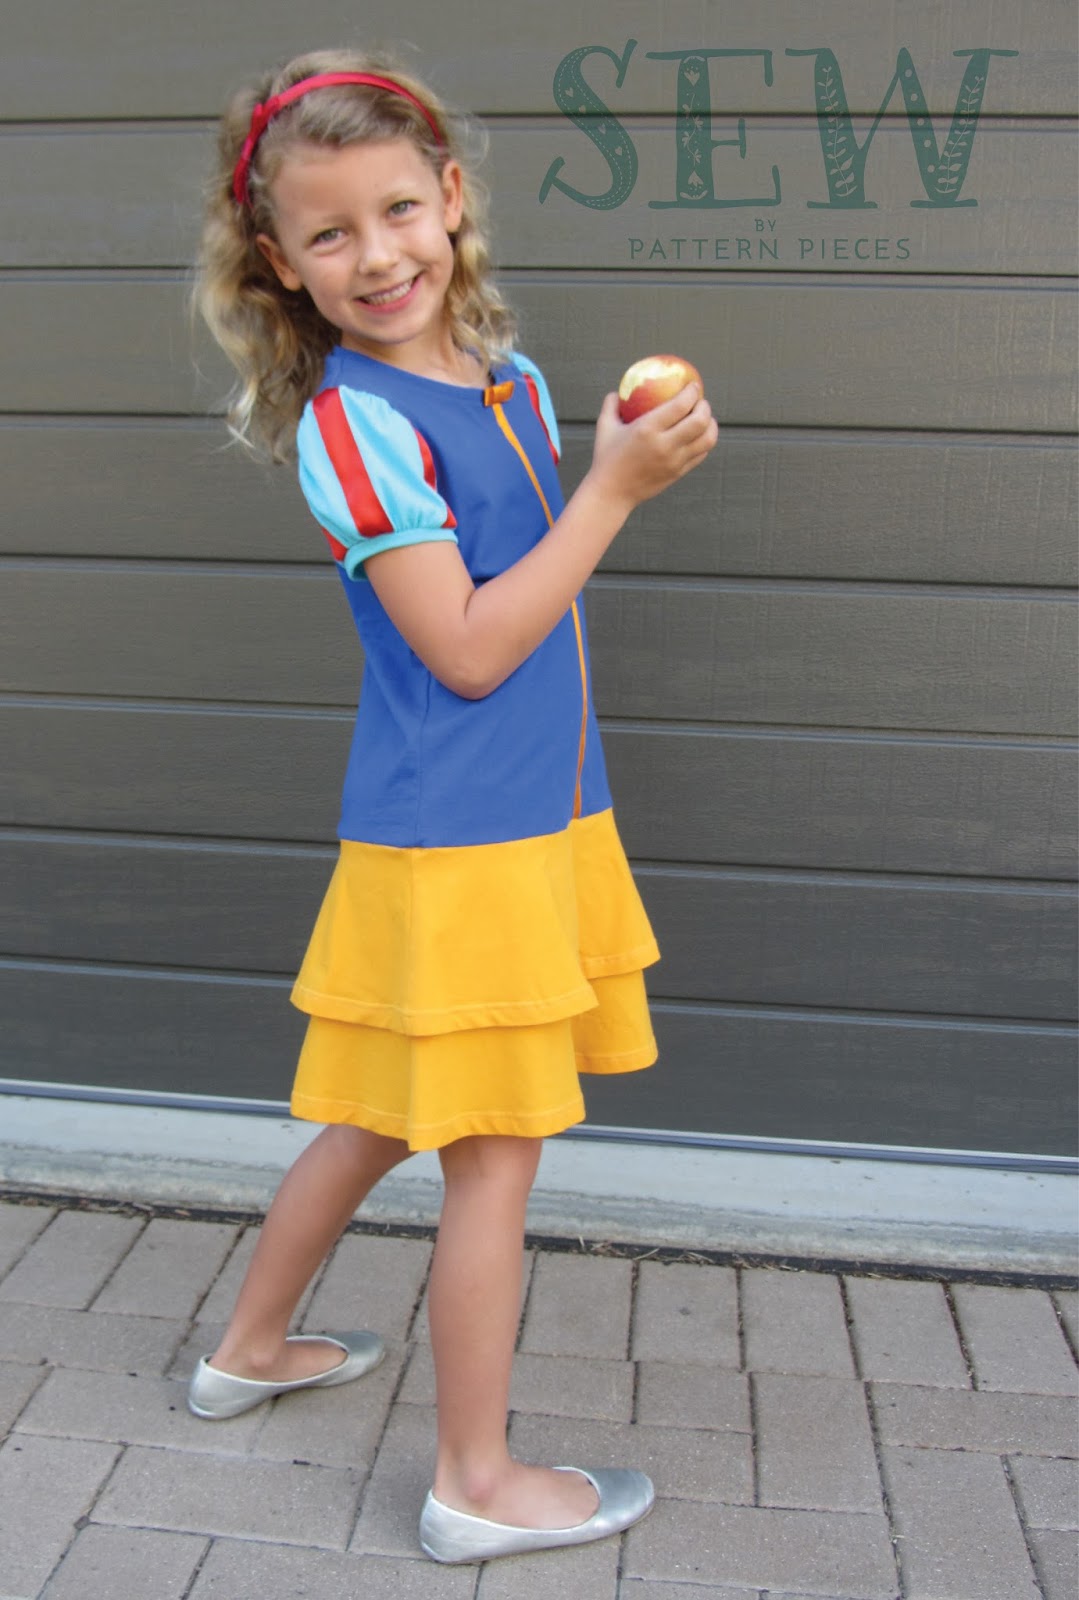
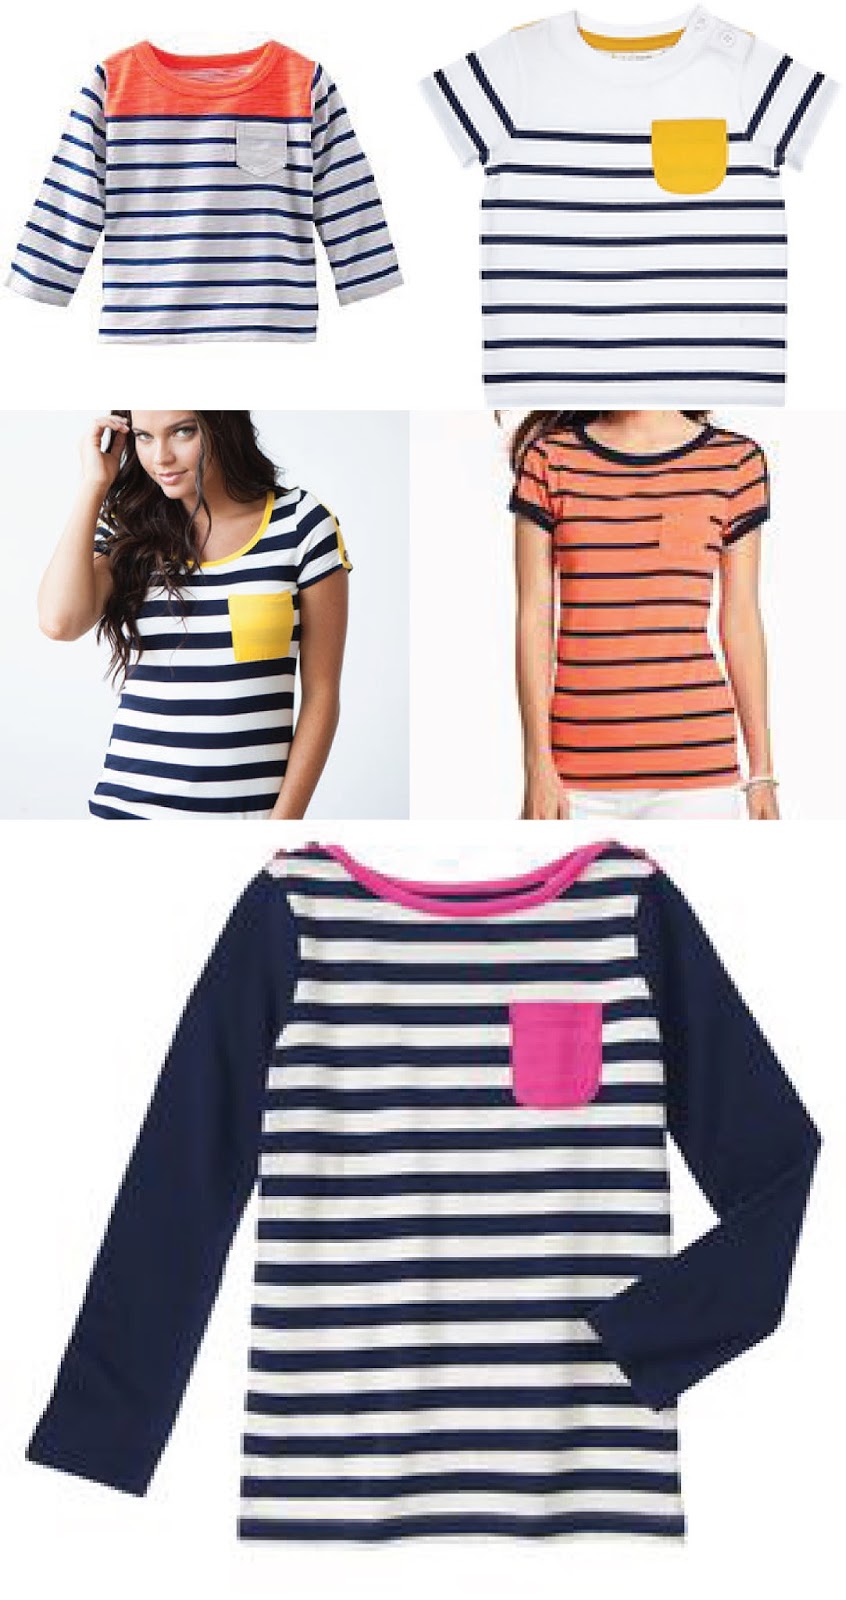
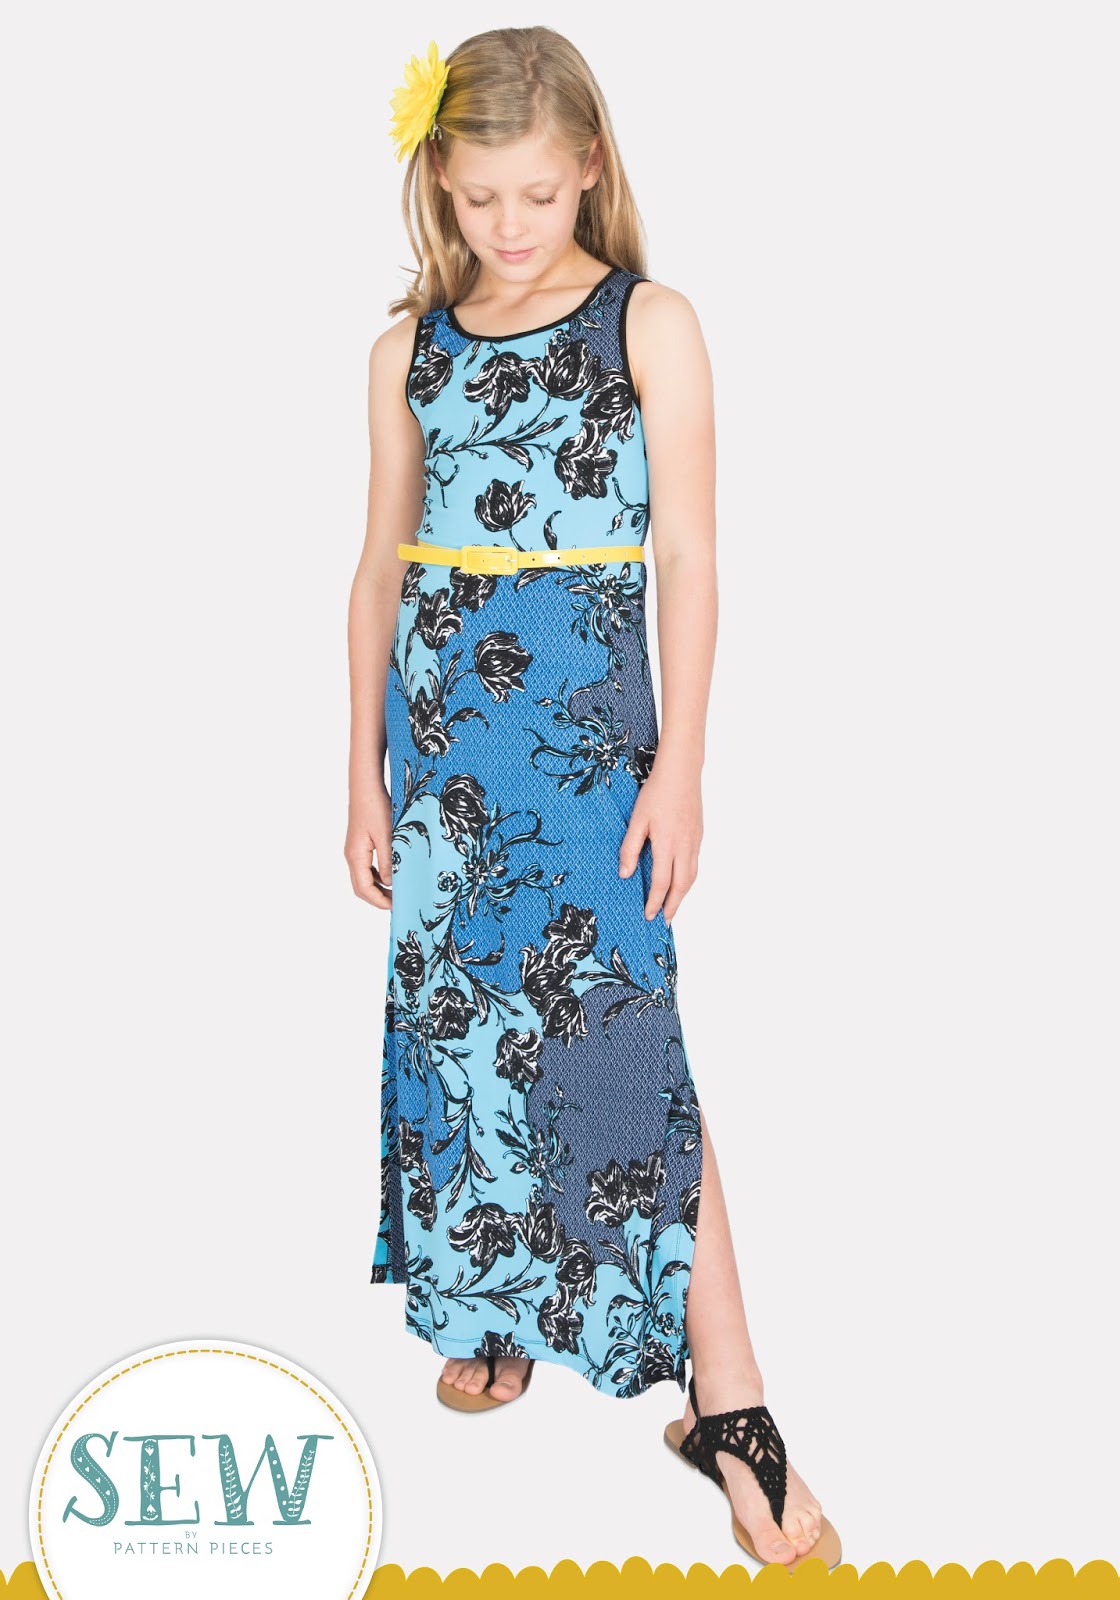
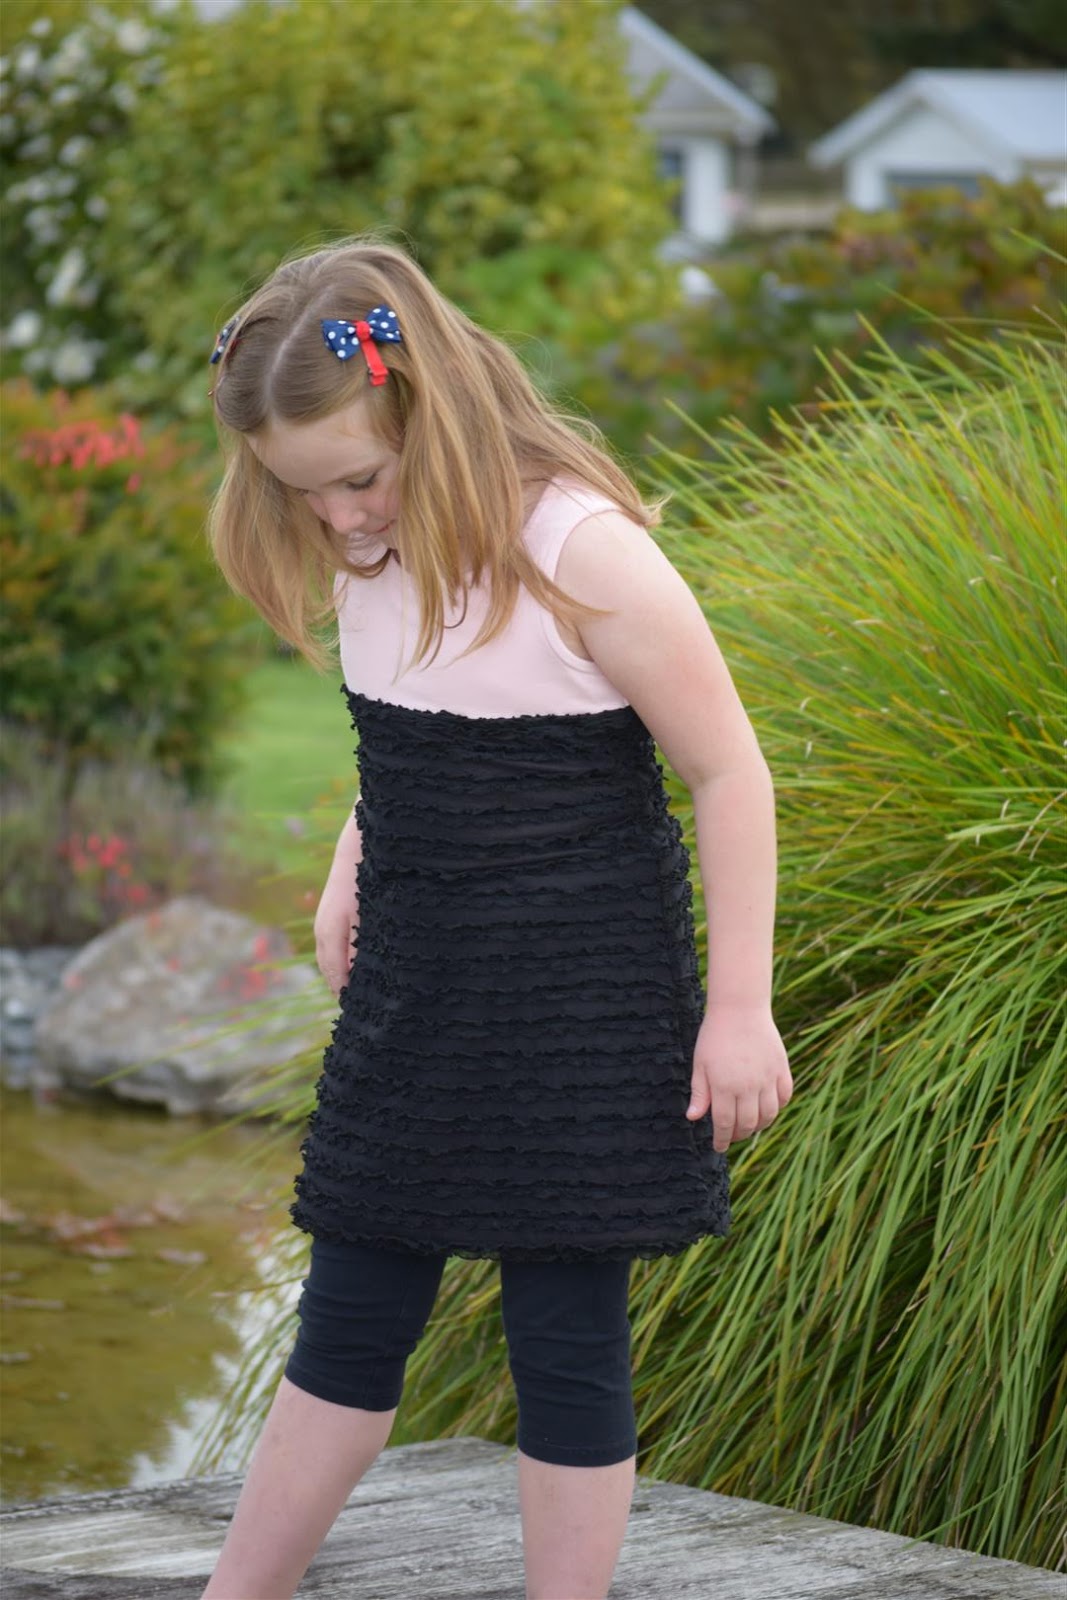
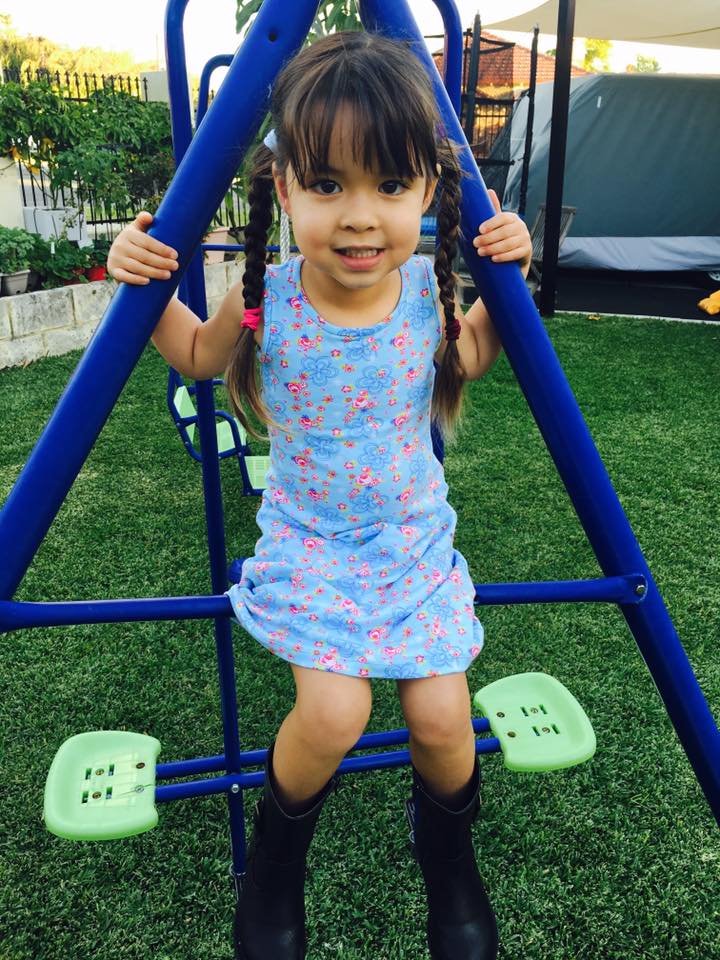
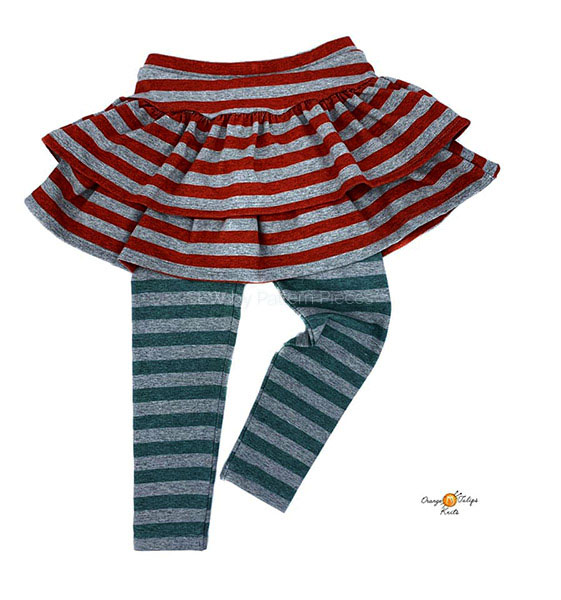
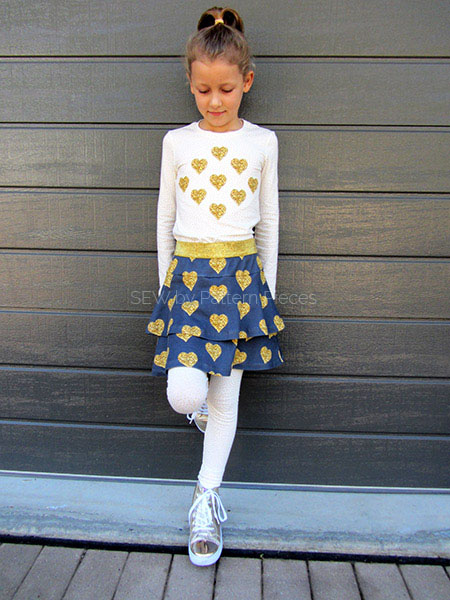
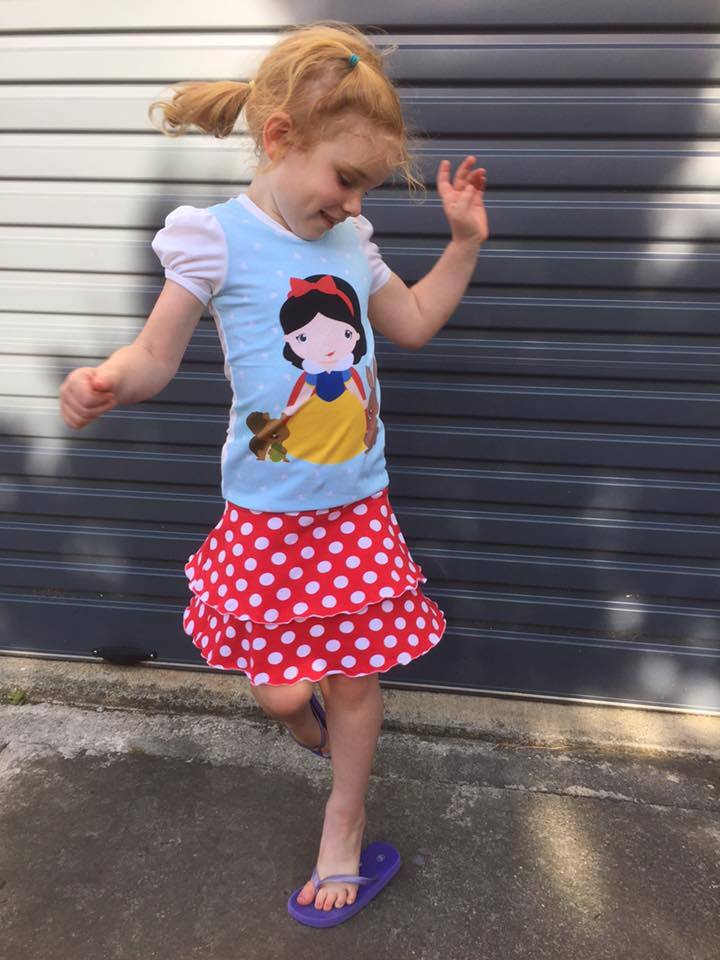
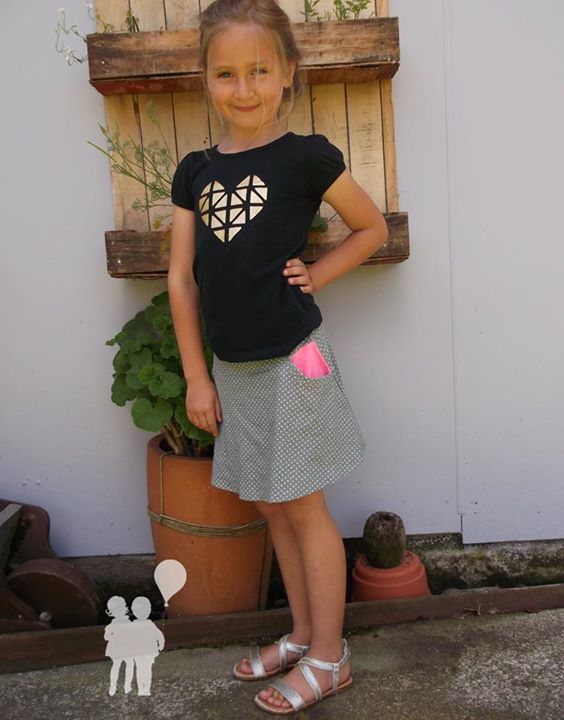
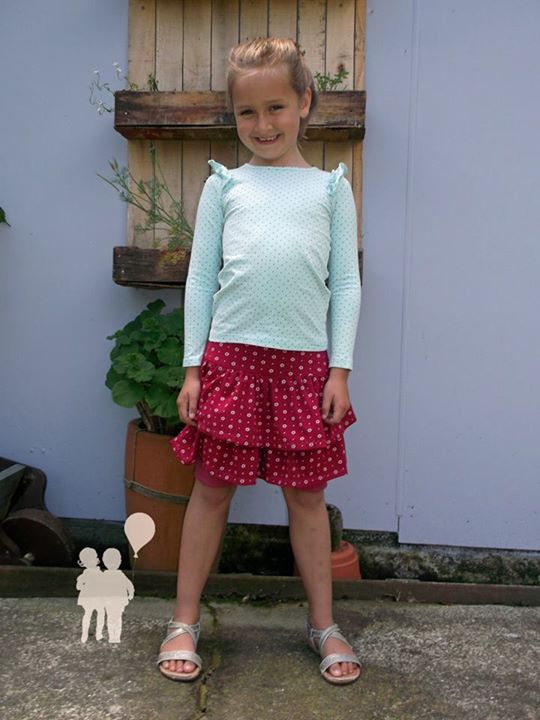
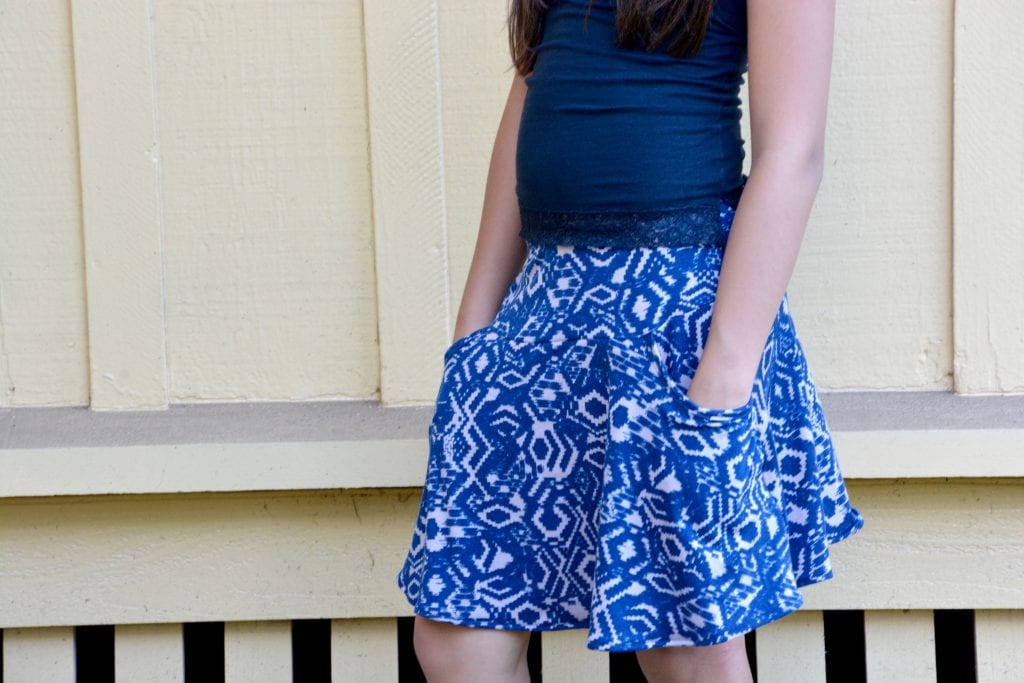
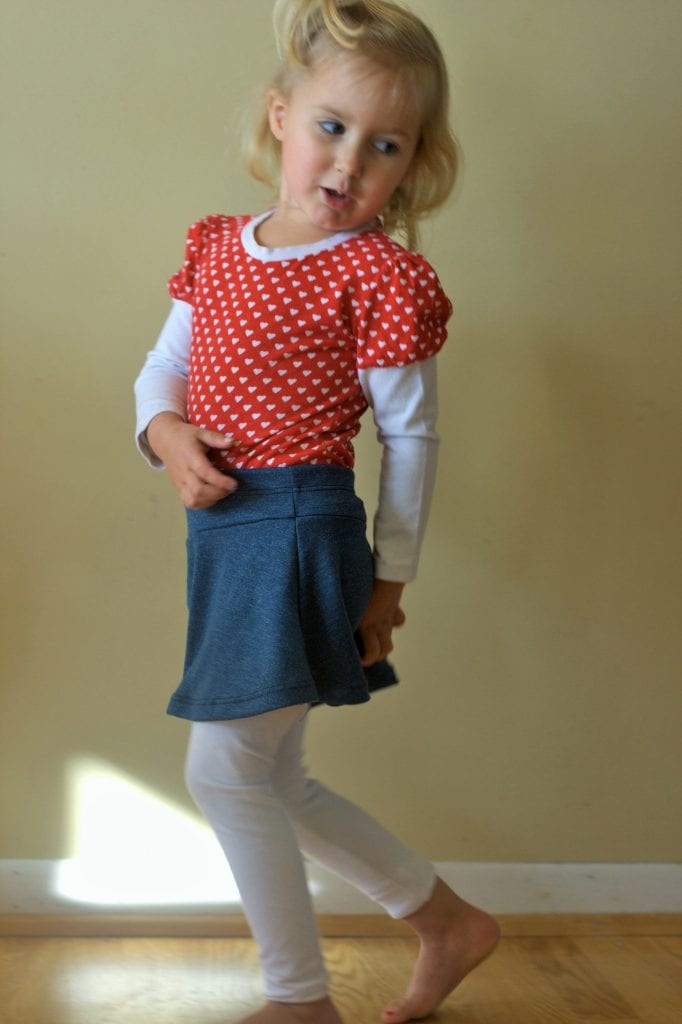
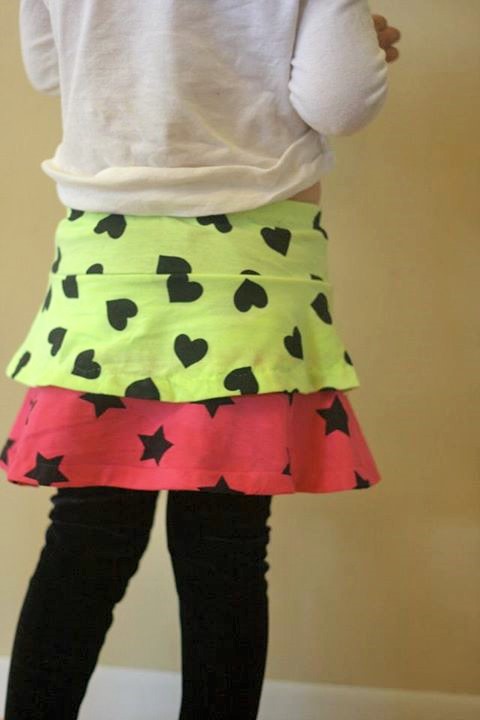
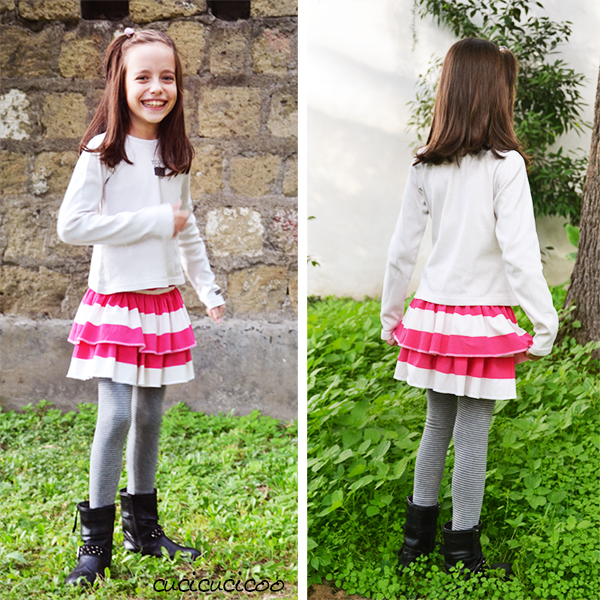
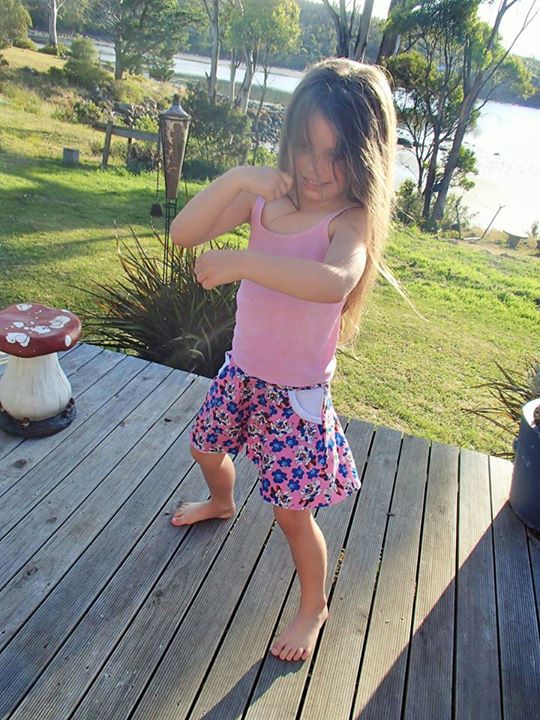
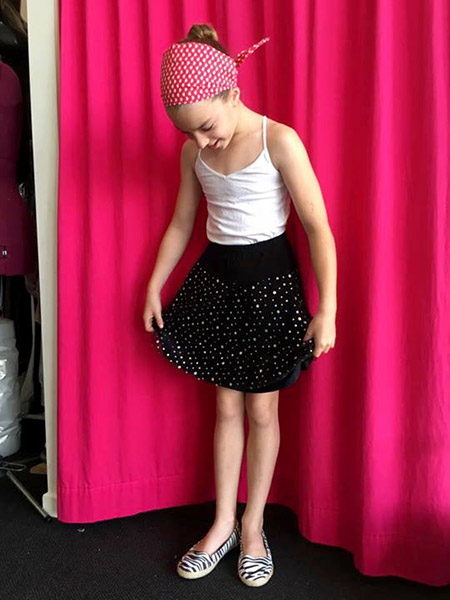
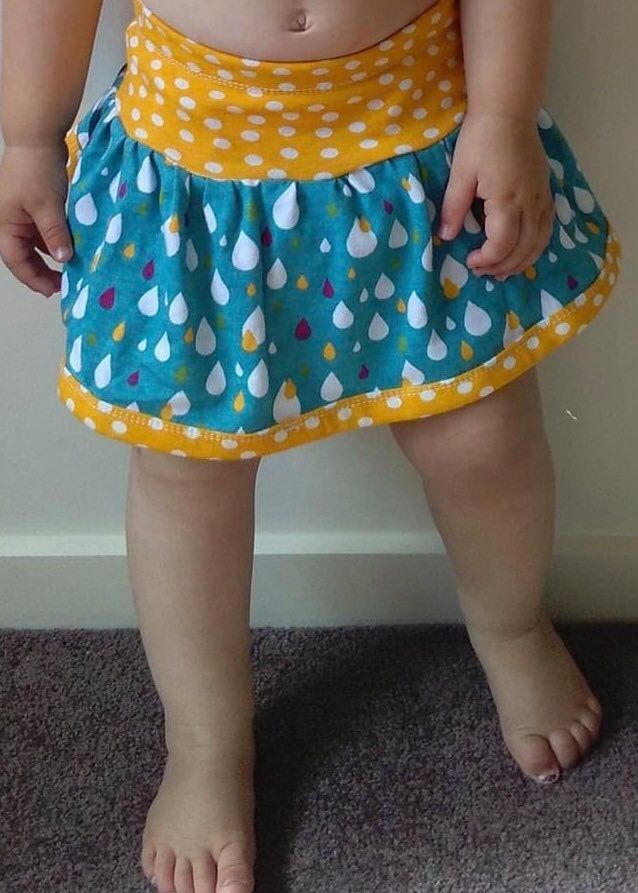
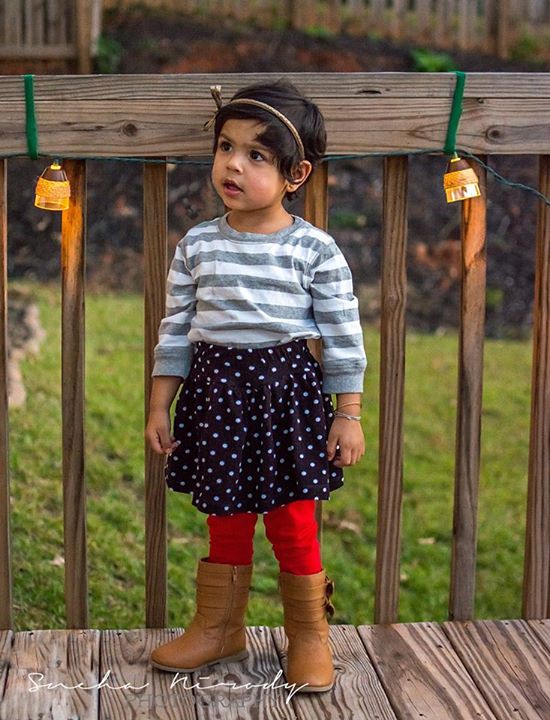
Pockets are all the rage on T-Shirts. We are going to show you our Fun Tee Pocket Hack It is a quick and easy way to add a bit of fun and add a splash of colour onto a garment. I wanted to make up a garment using this feature and keep it youthful, so I started by doing a little research online.
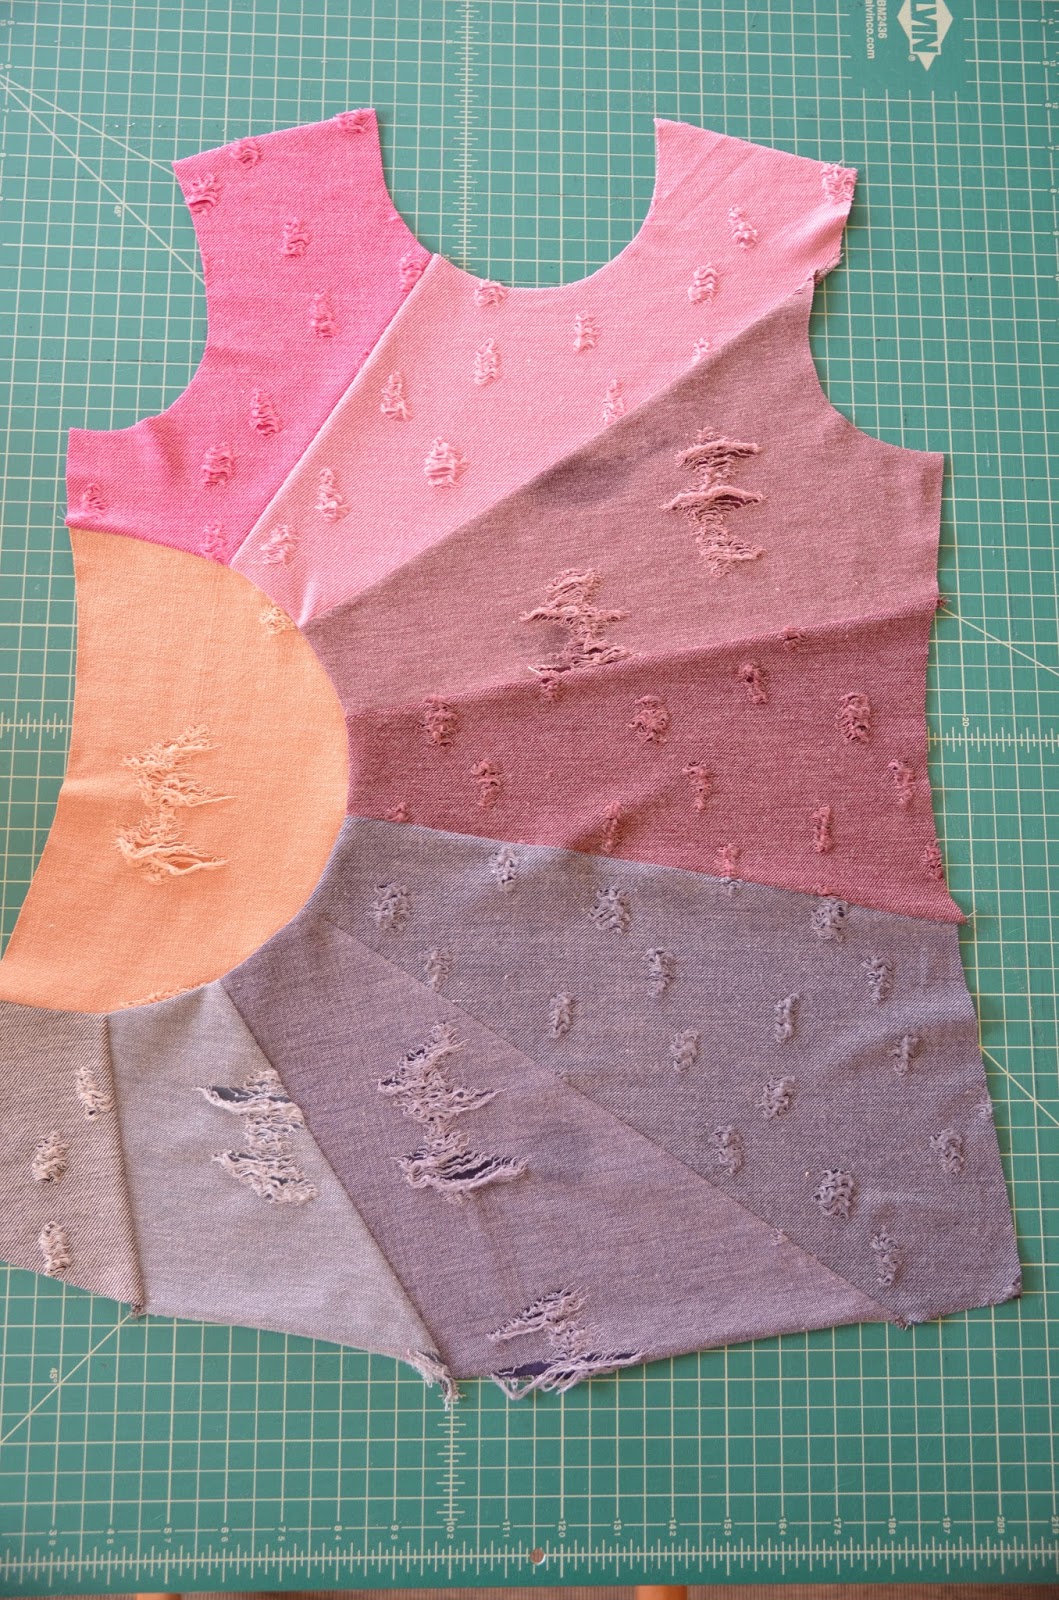
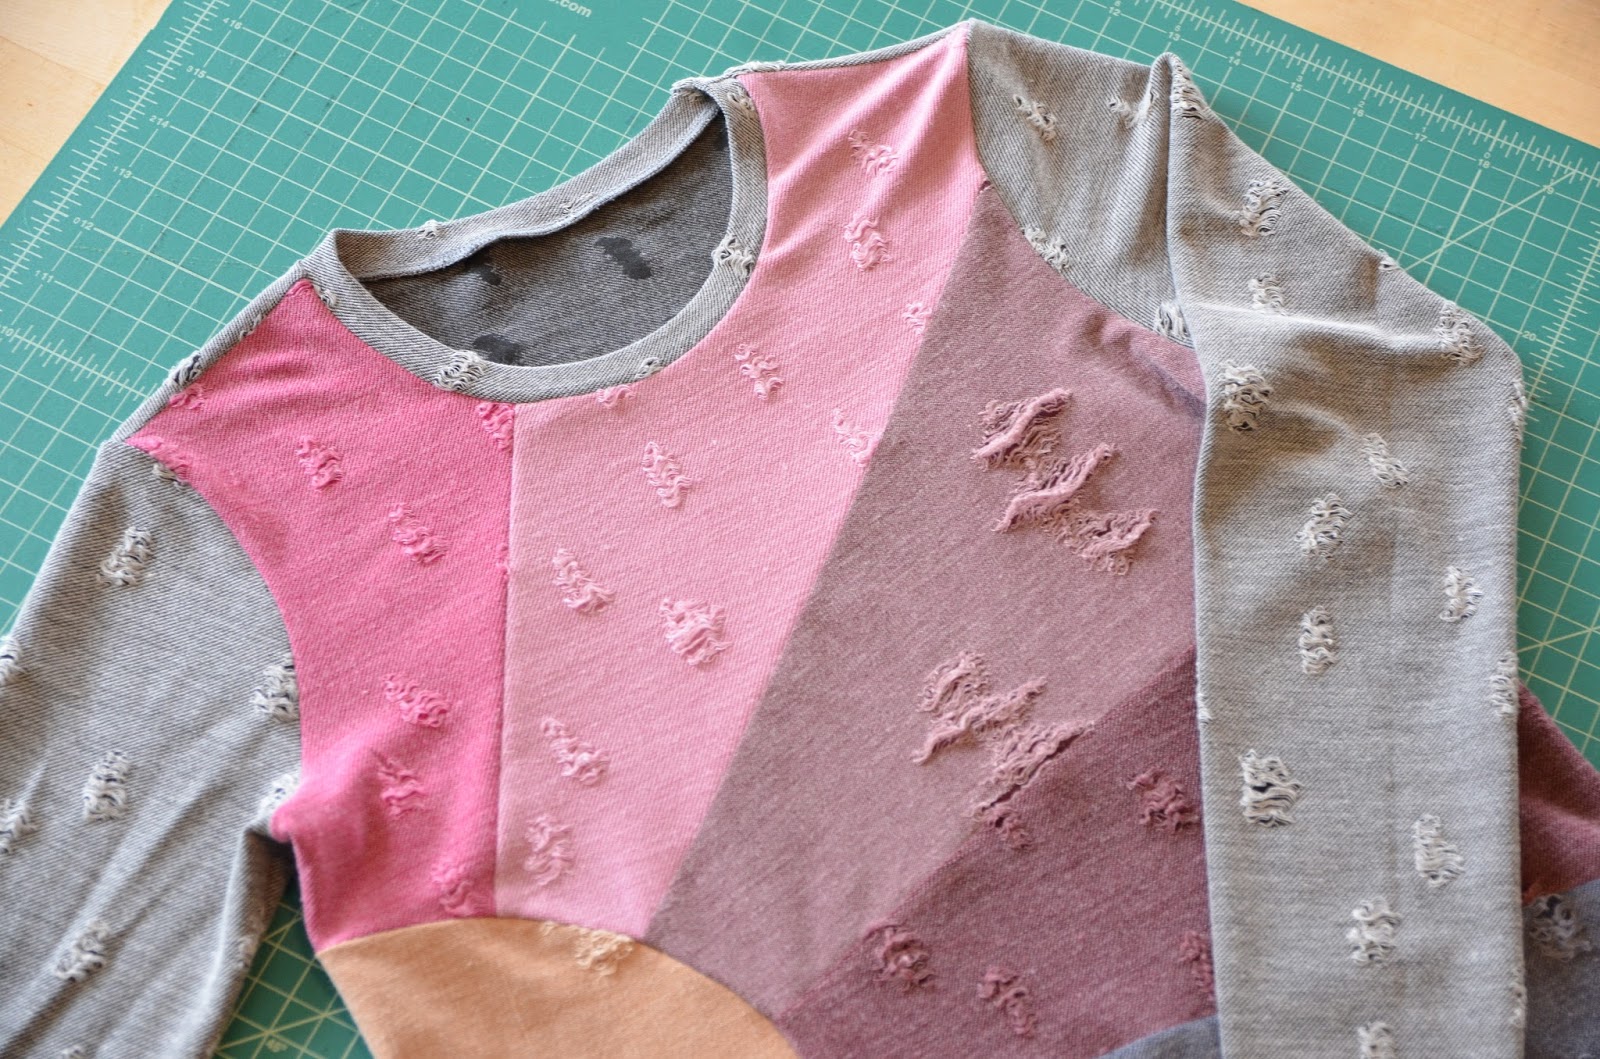
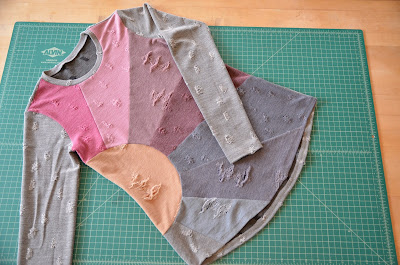
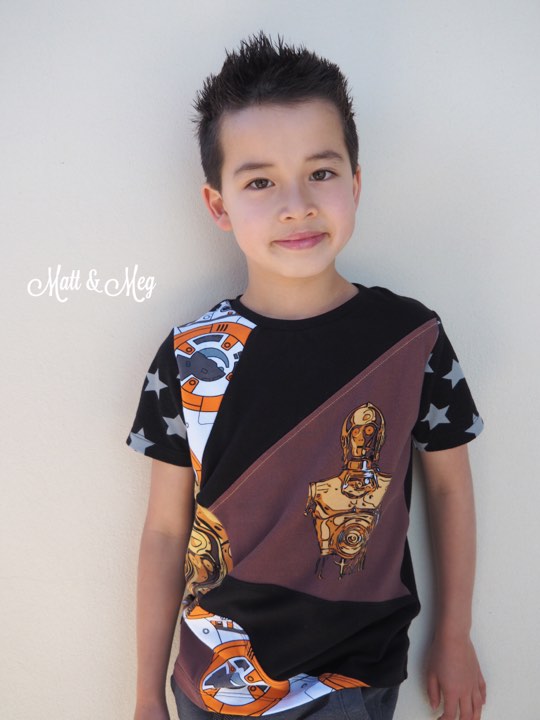
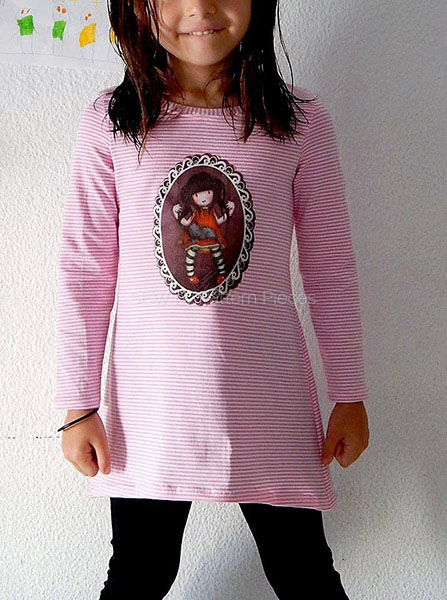
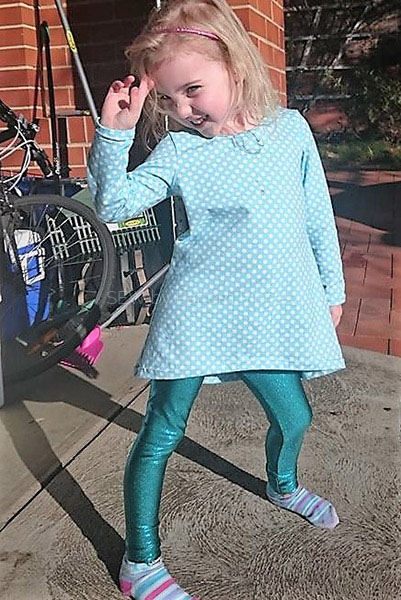
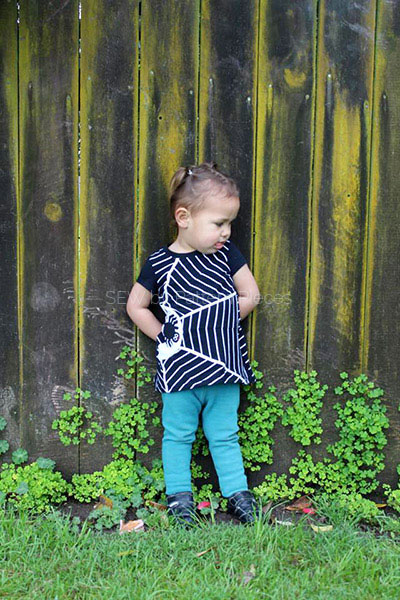
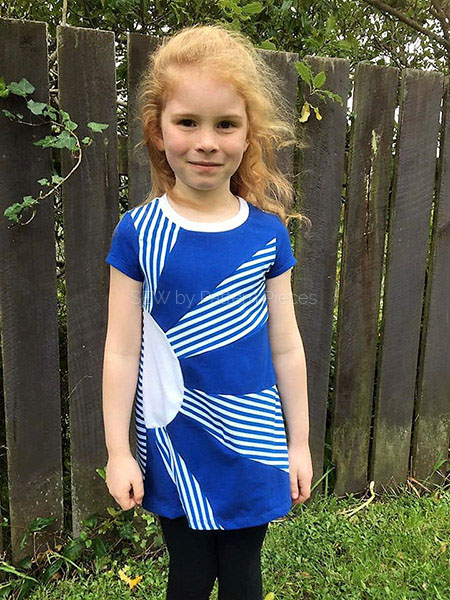
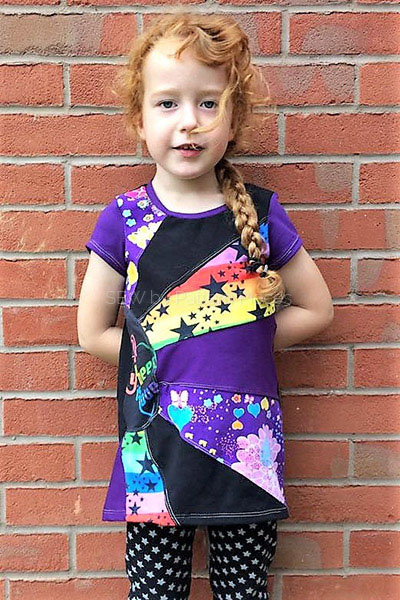
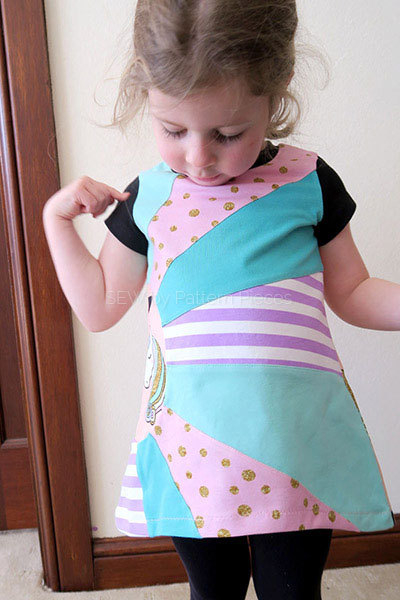
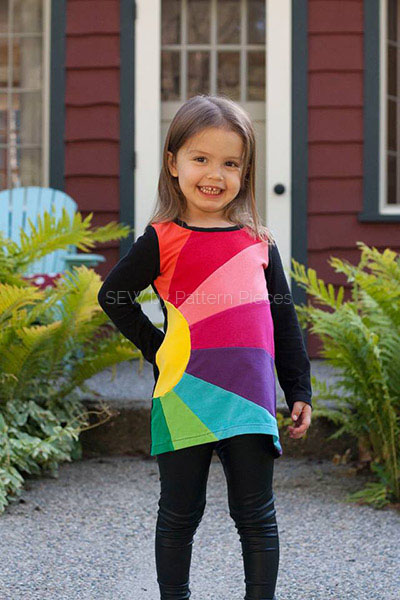
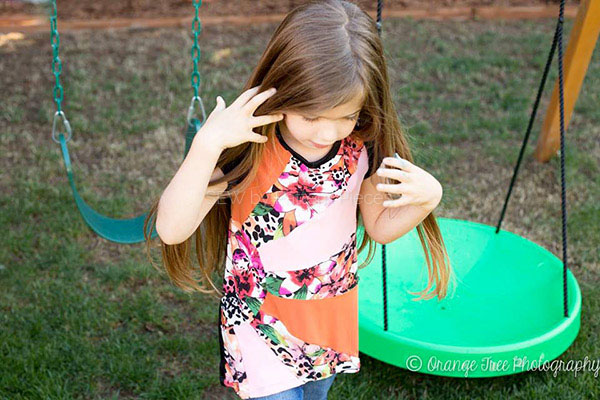
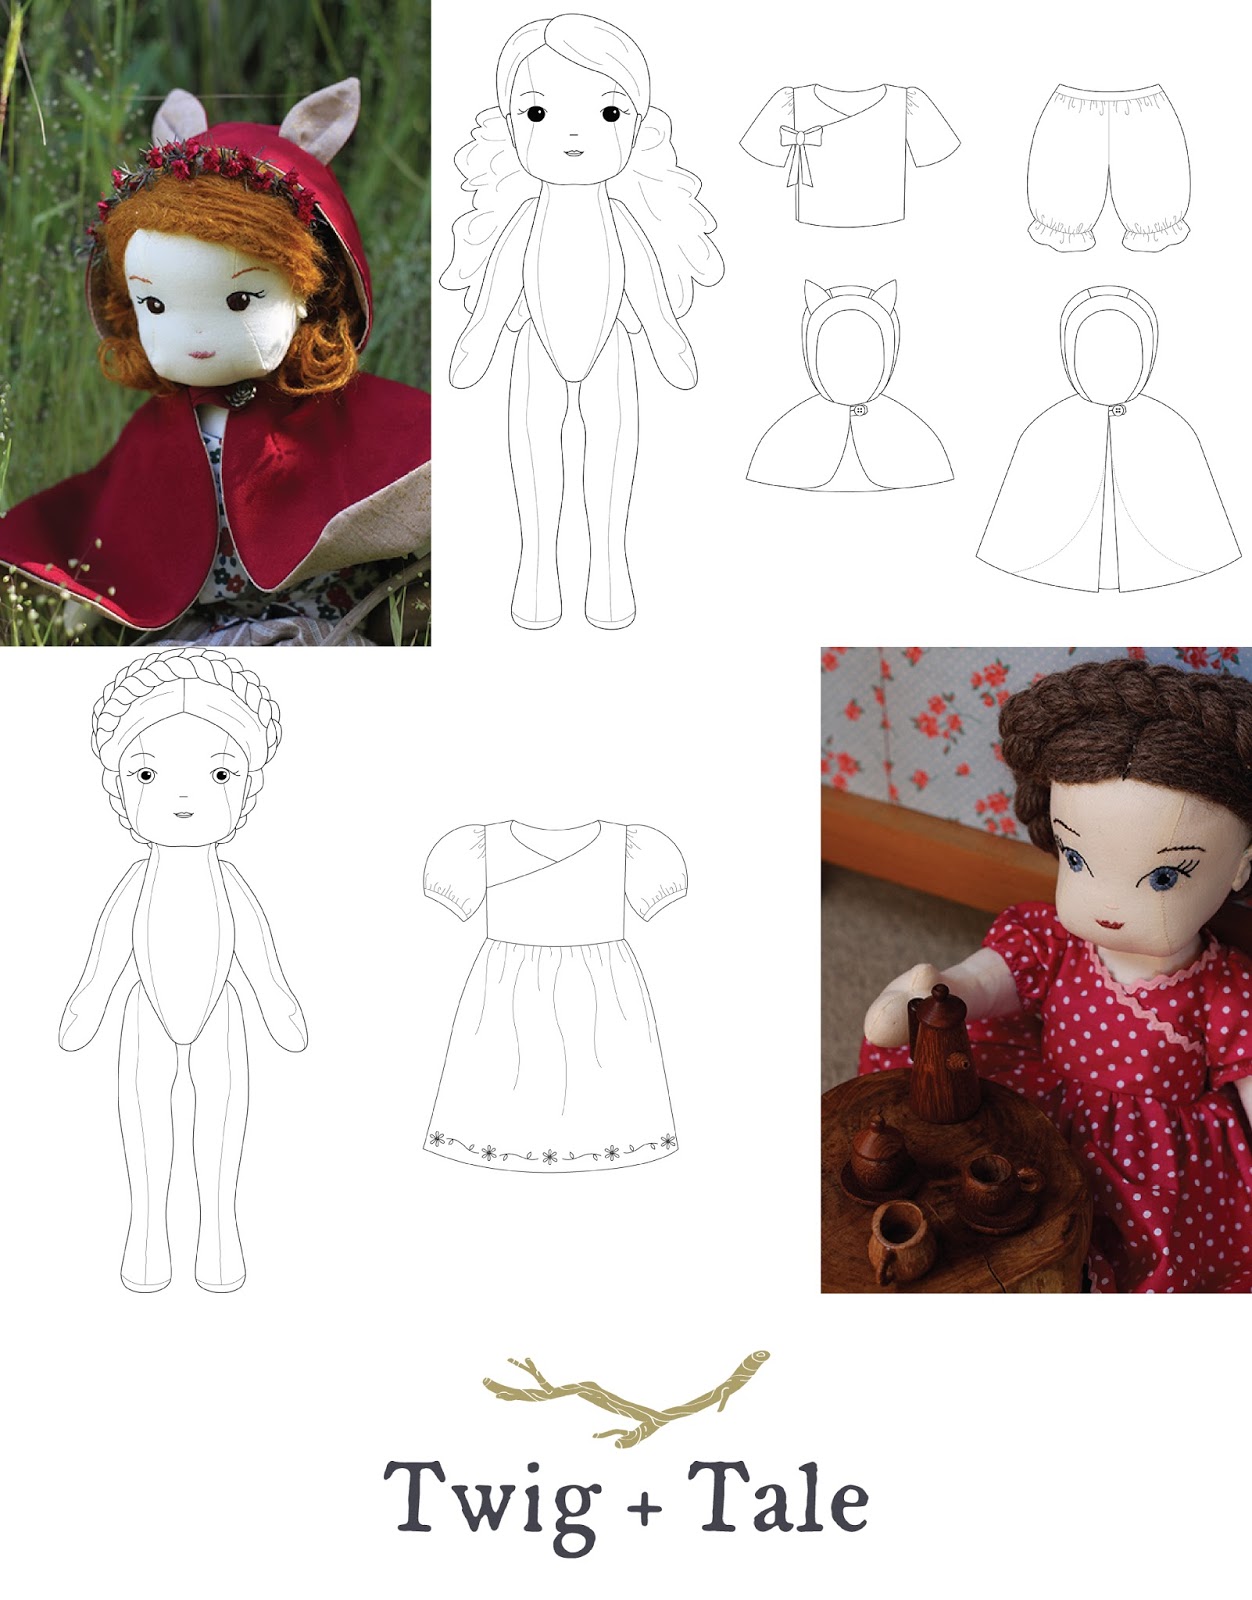
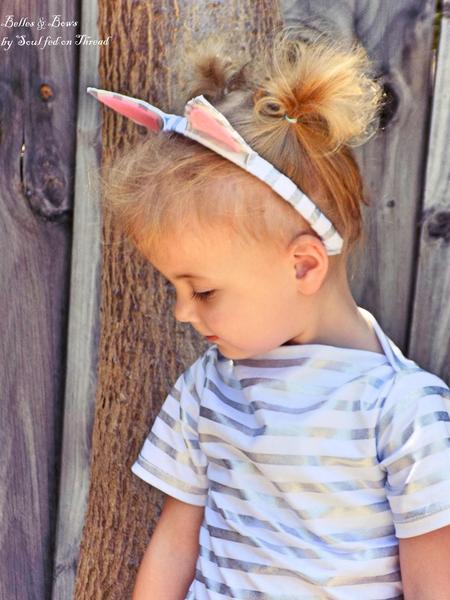
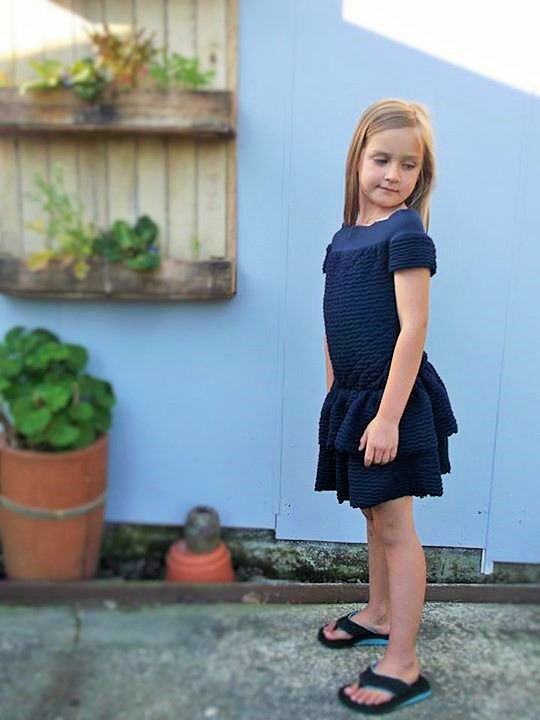
This is what my research came up with:
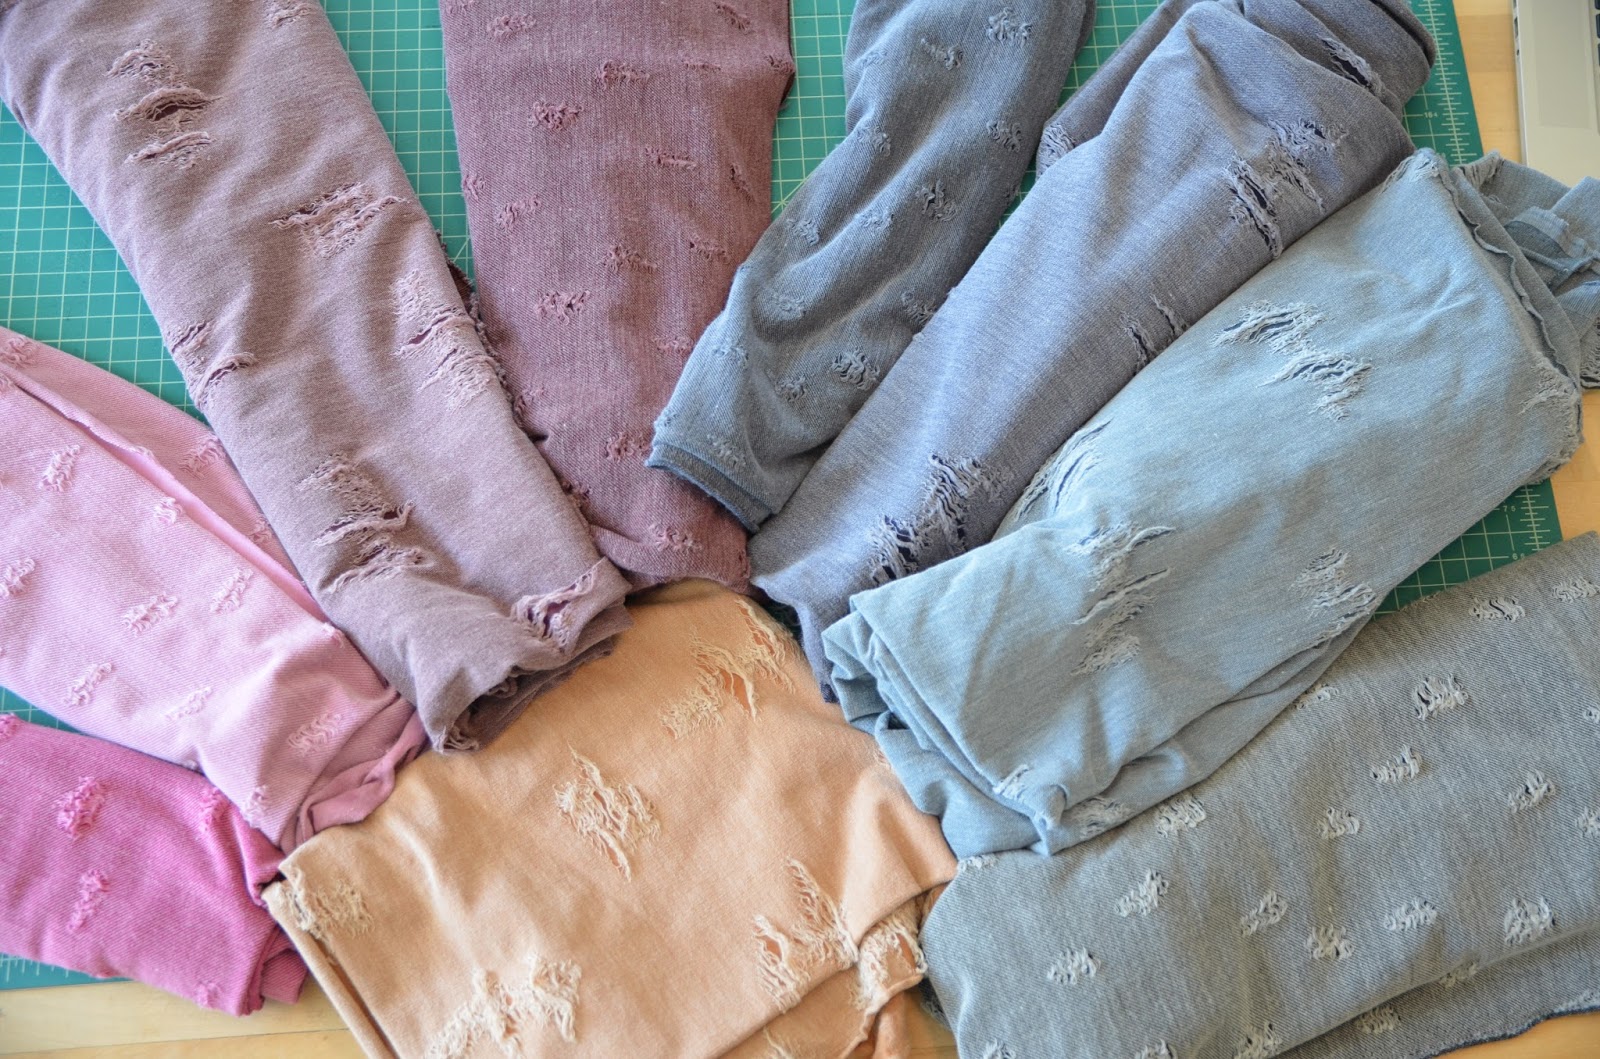
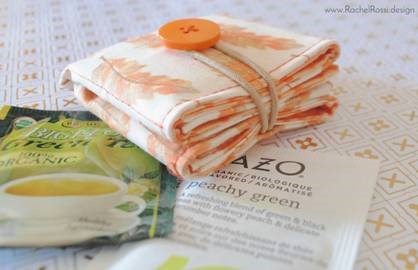
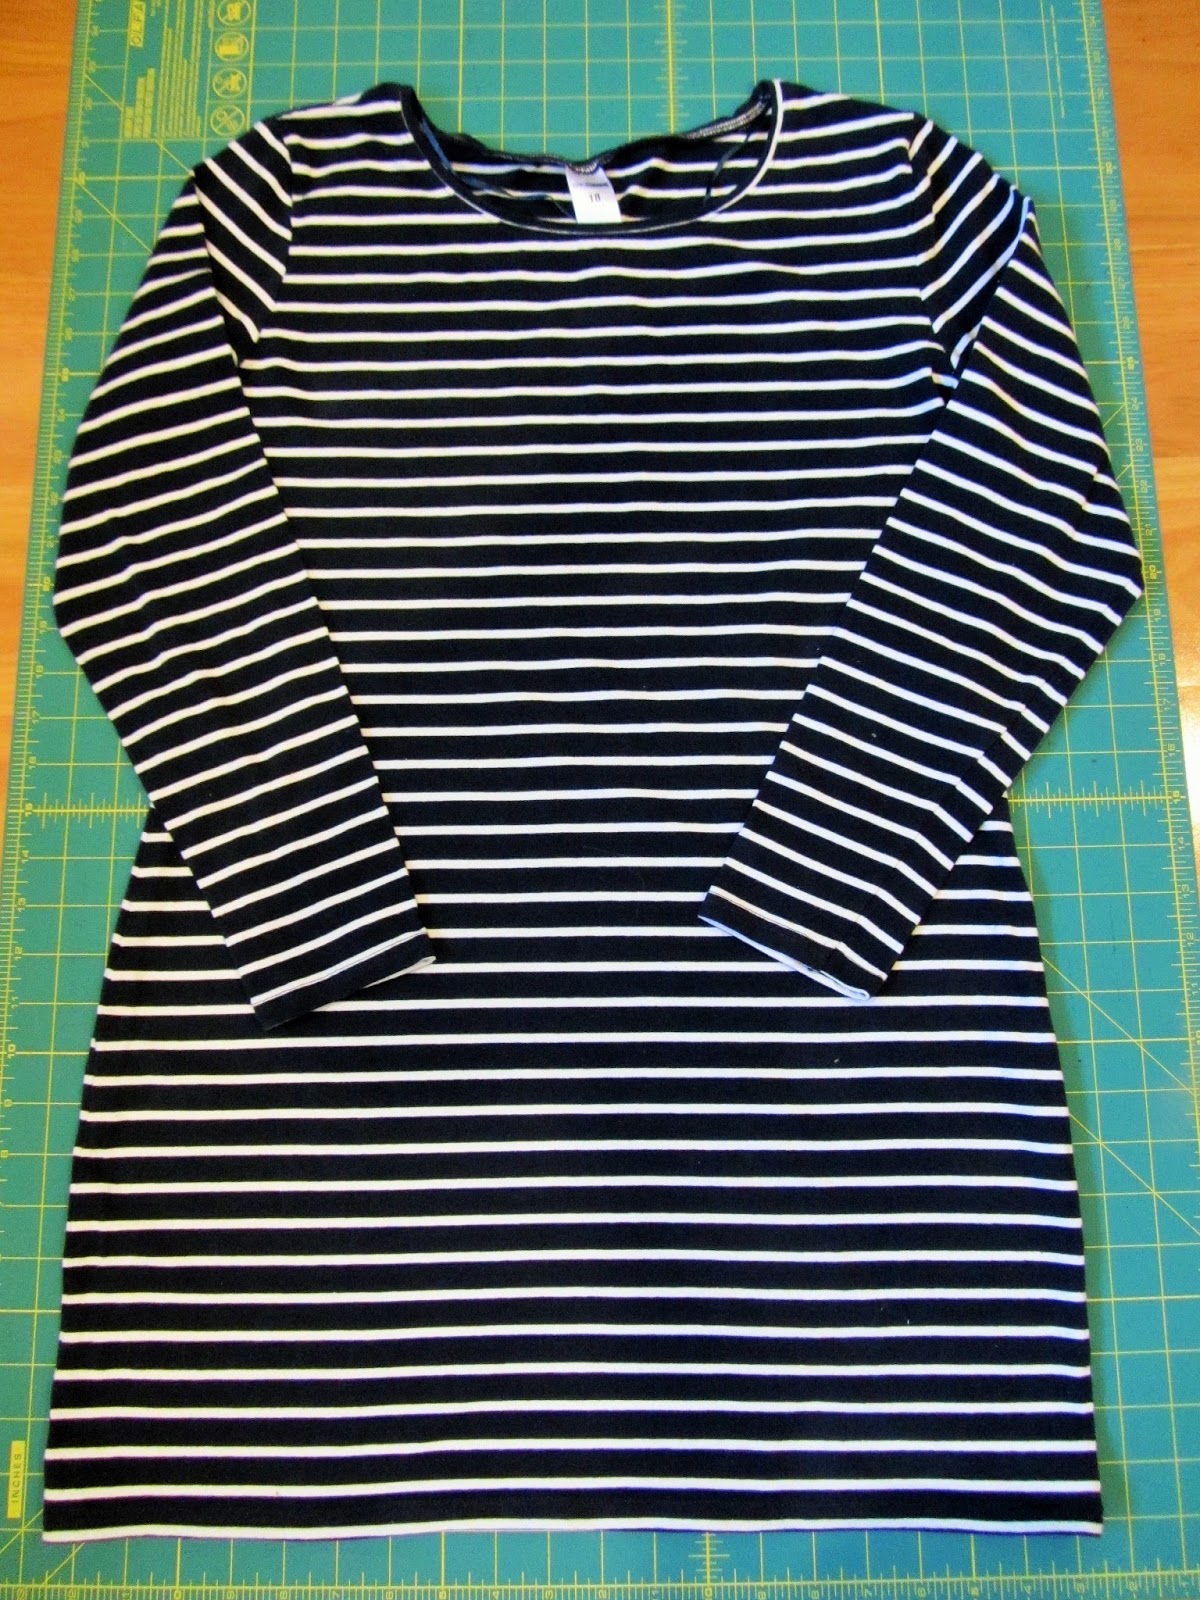
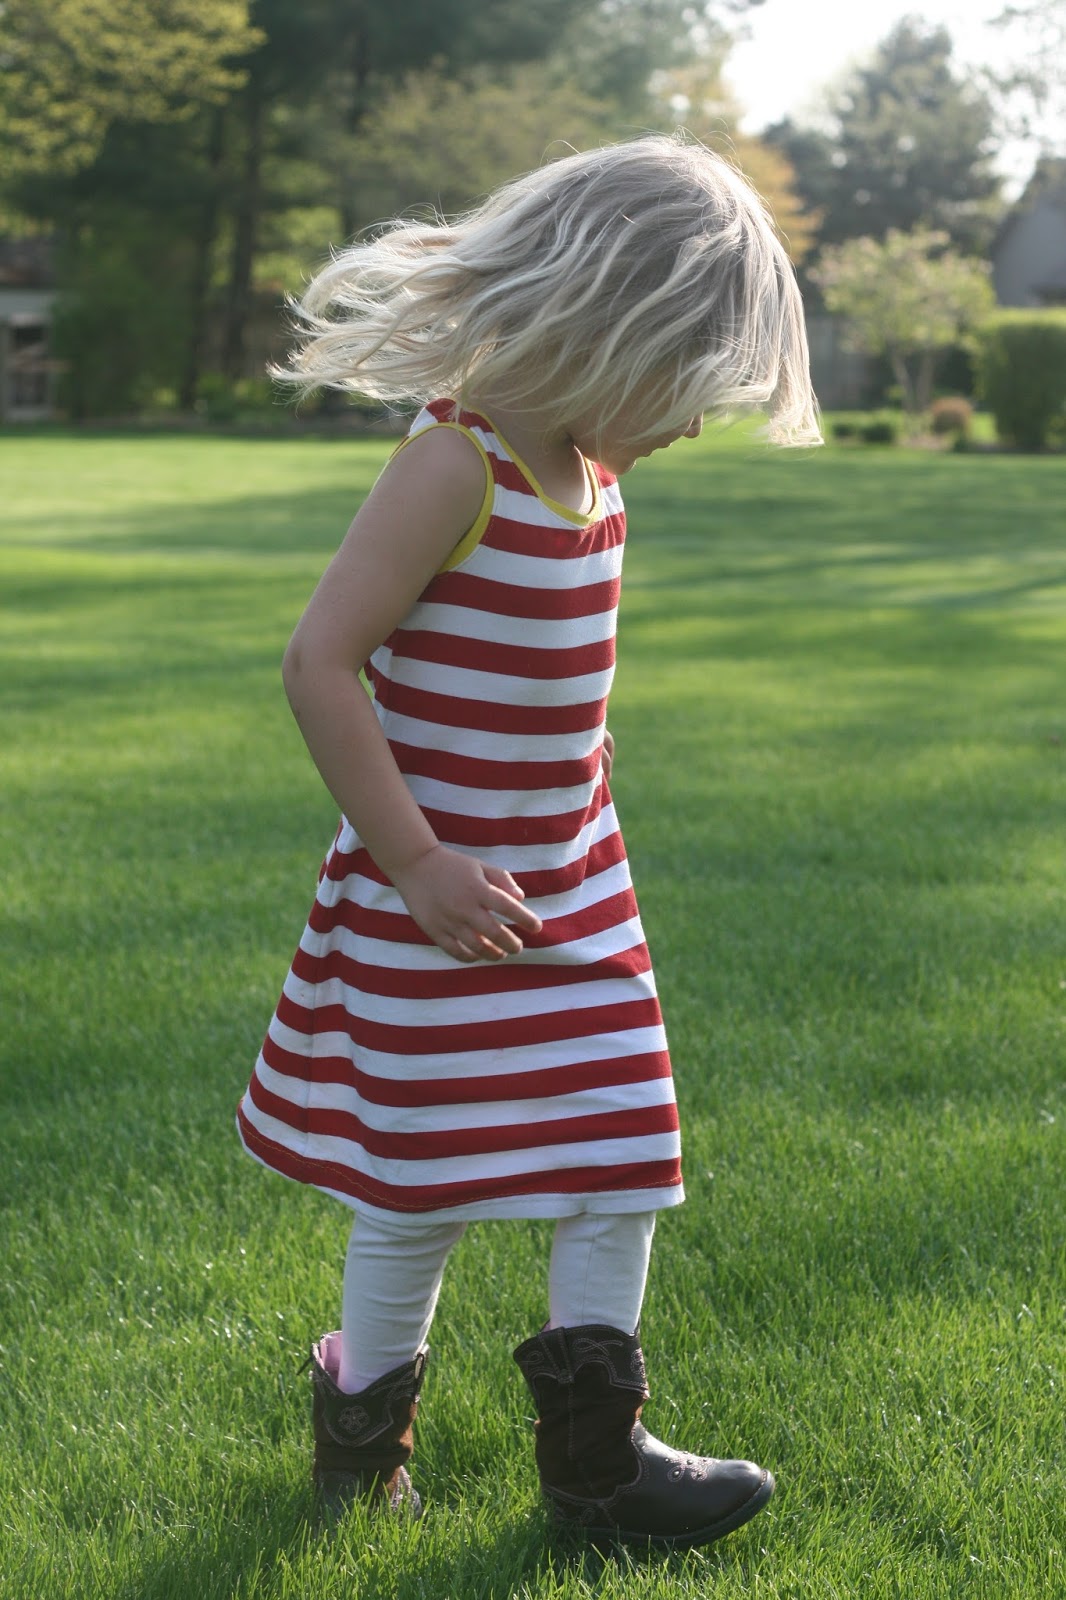
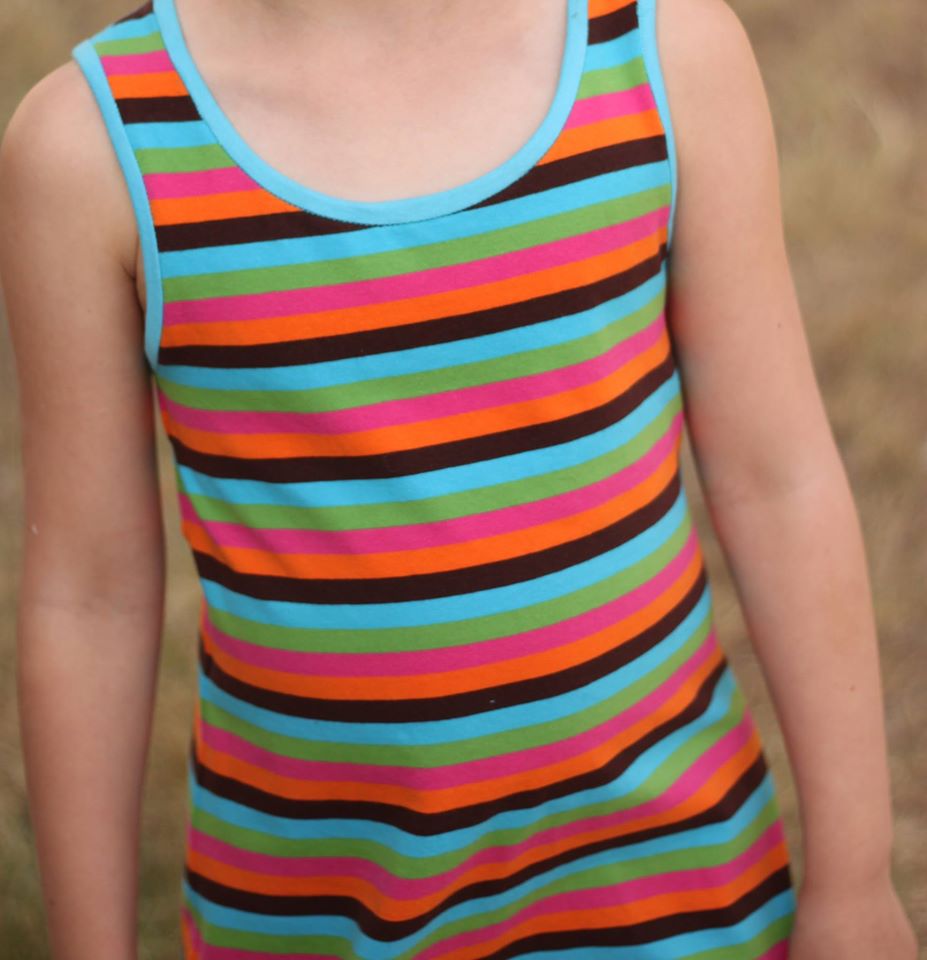
Next, I did not want to spend the earth on fabric, so I headed to the nearest 2nd hand shop with a vision of stripes in my head. Quite excited by my $4 au purchase, this is what I came home with and popped straight into the washing machine.
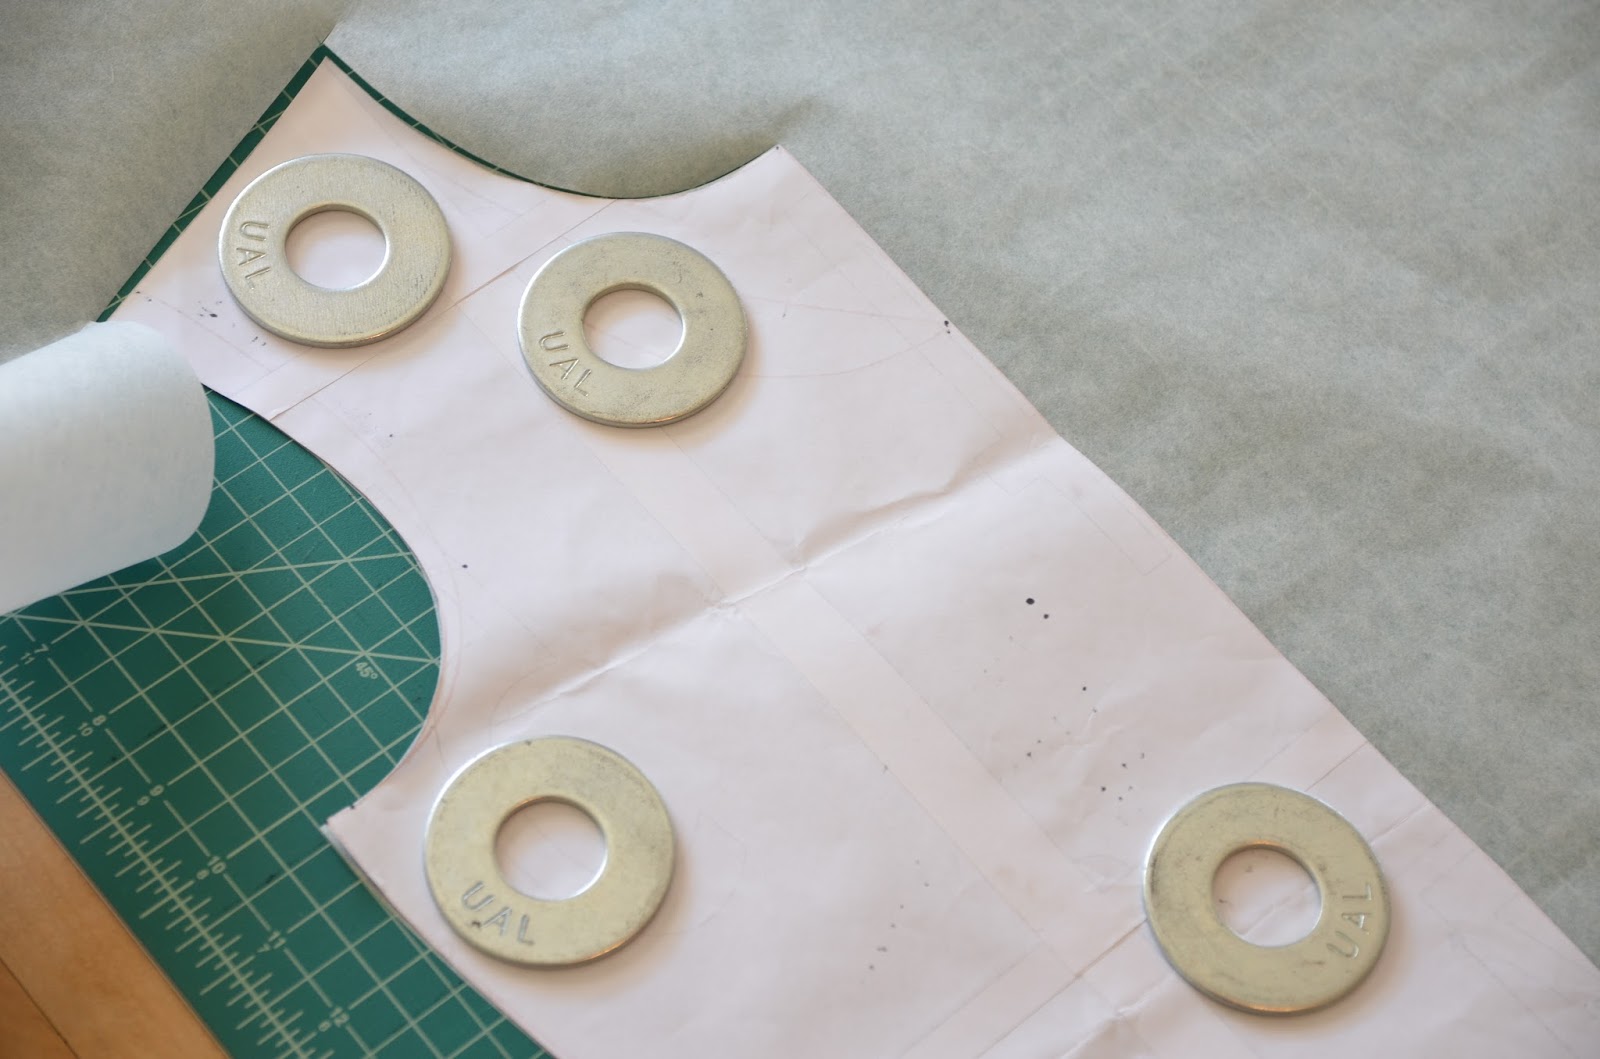
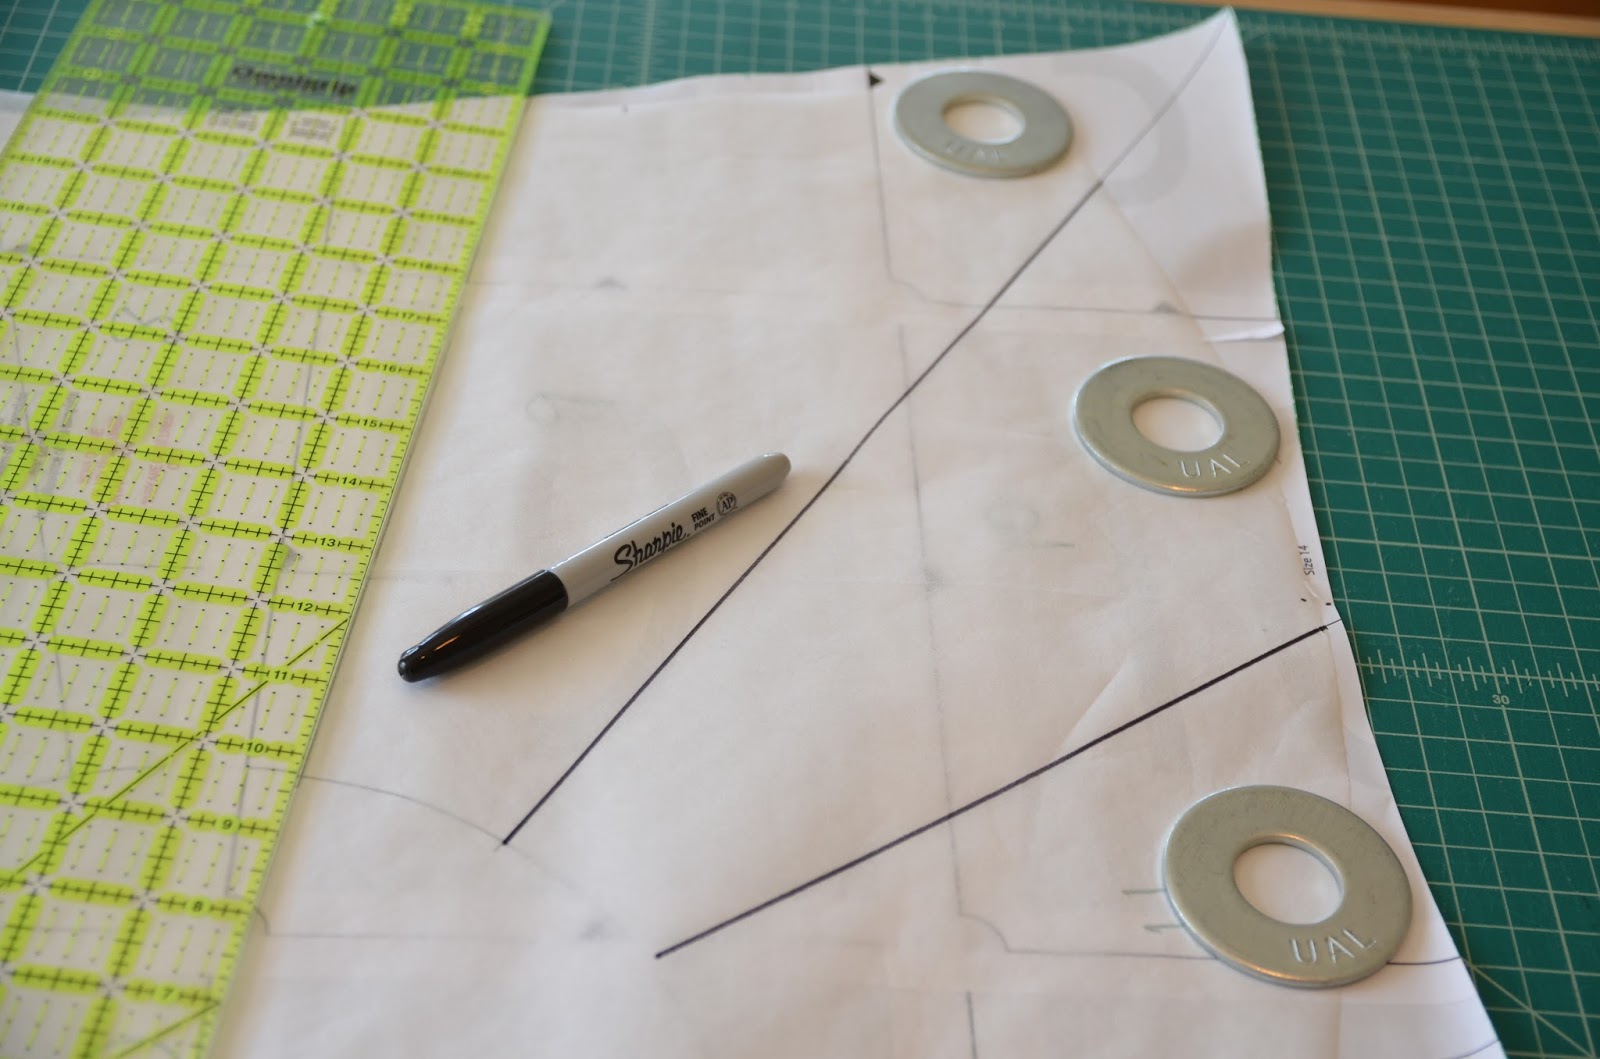
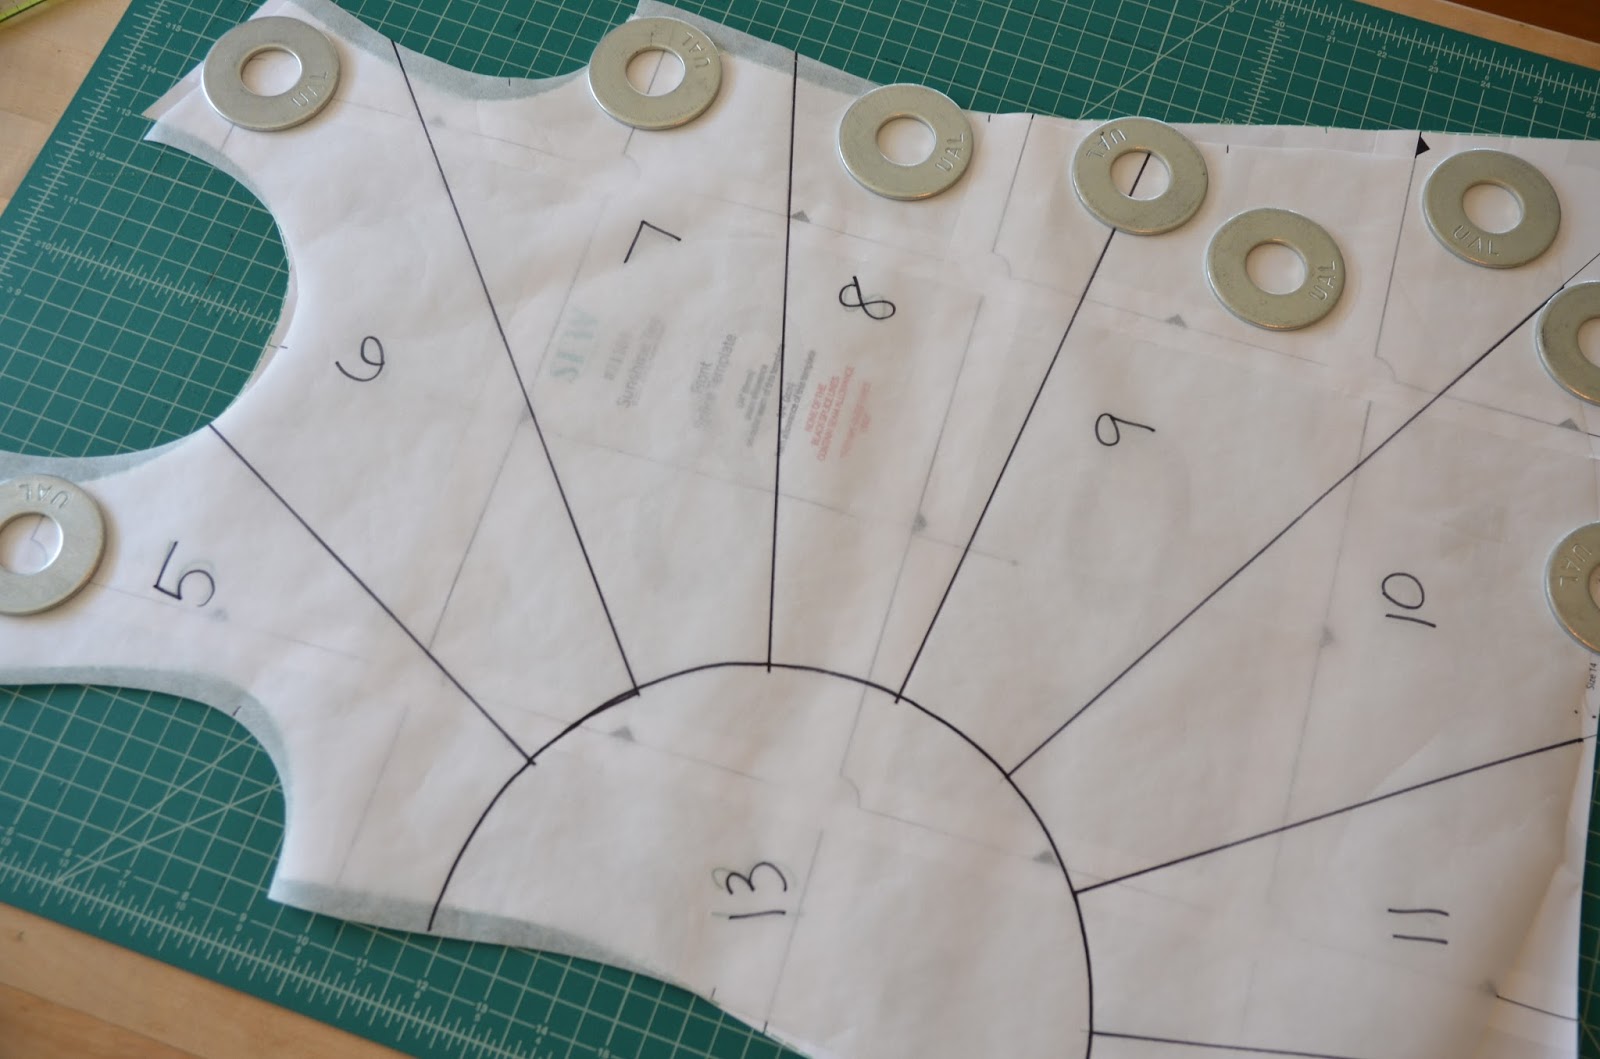
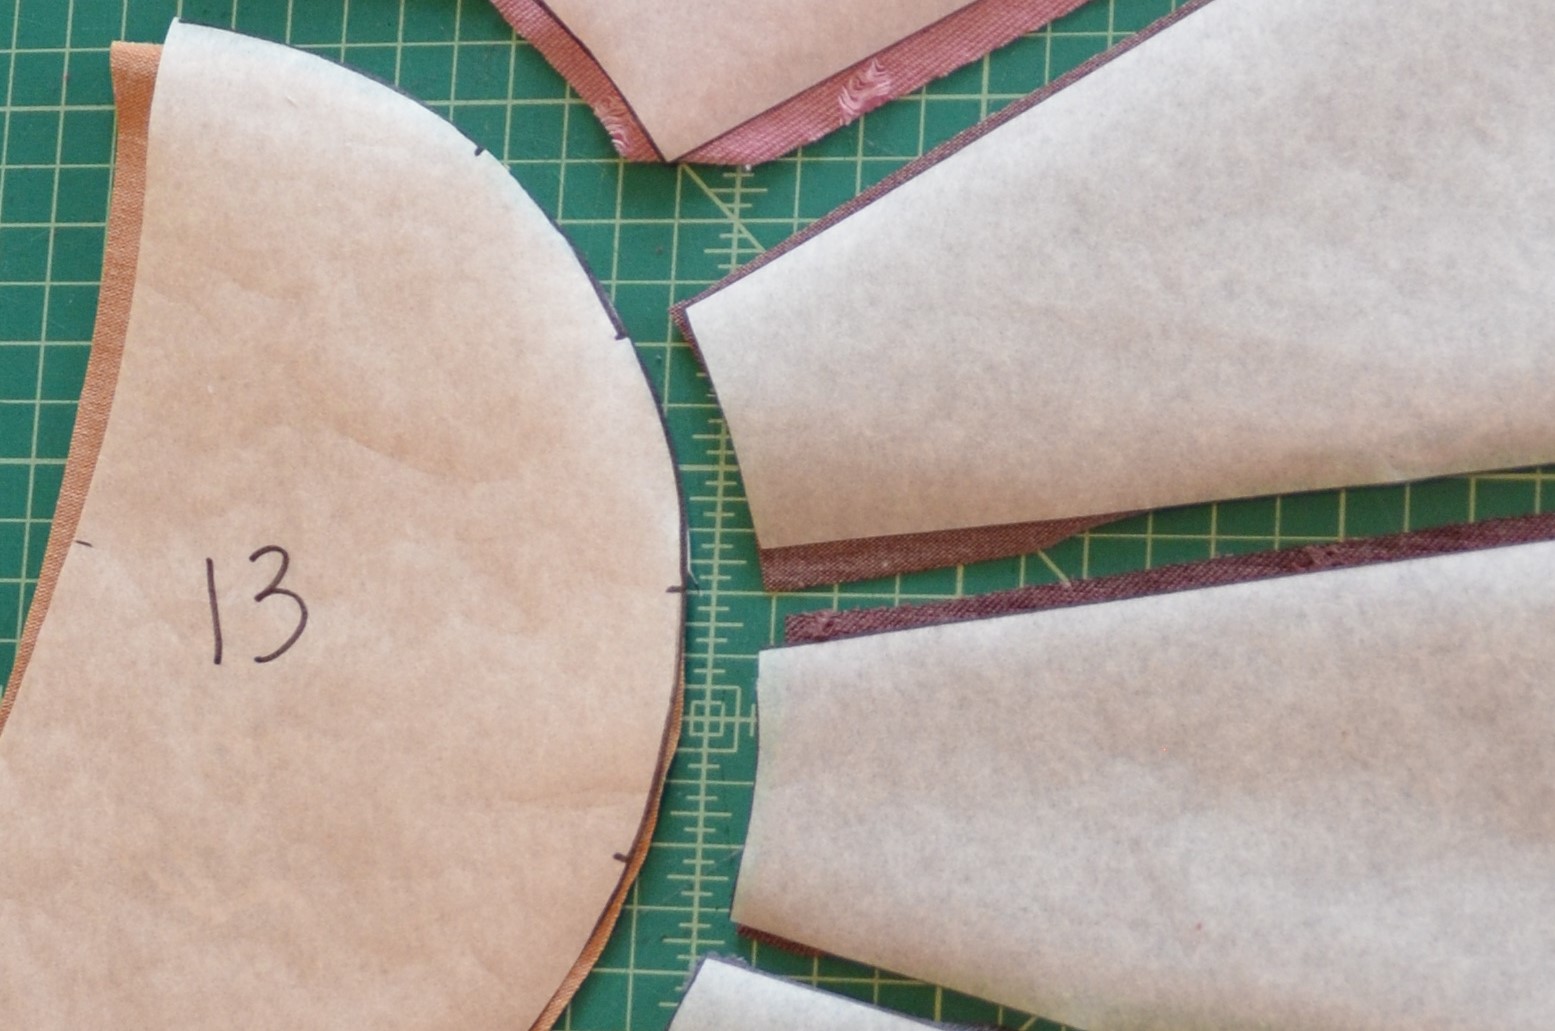
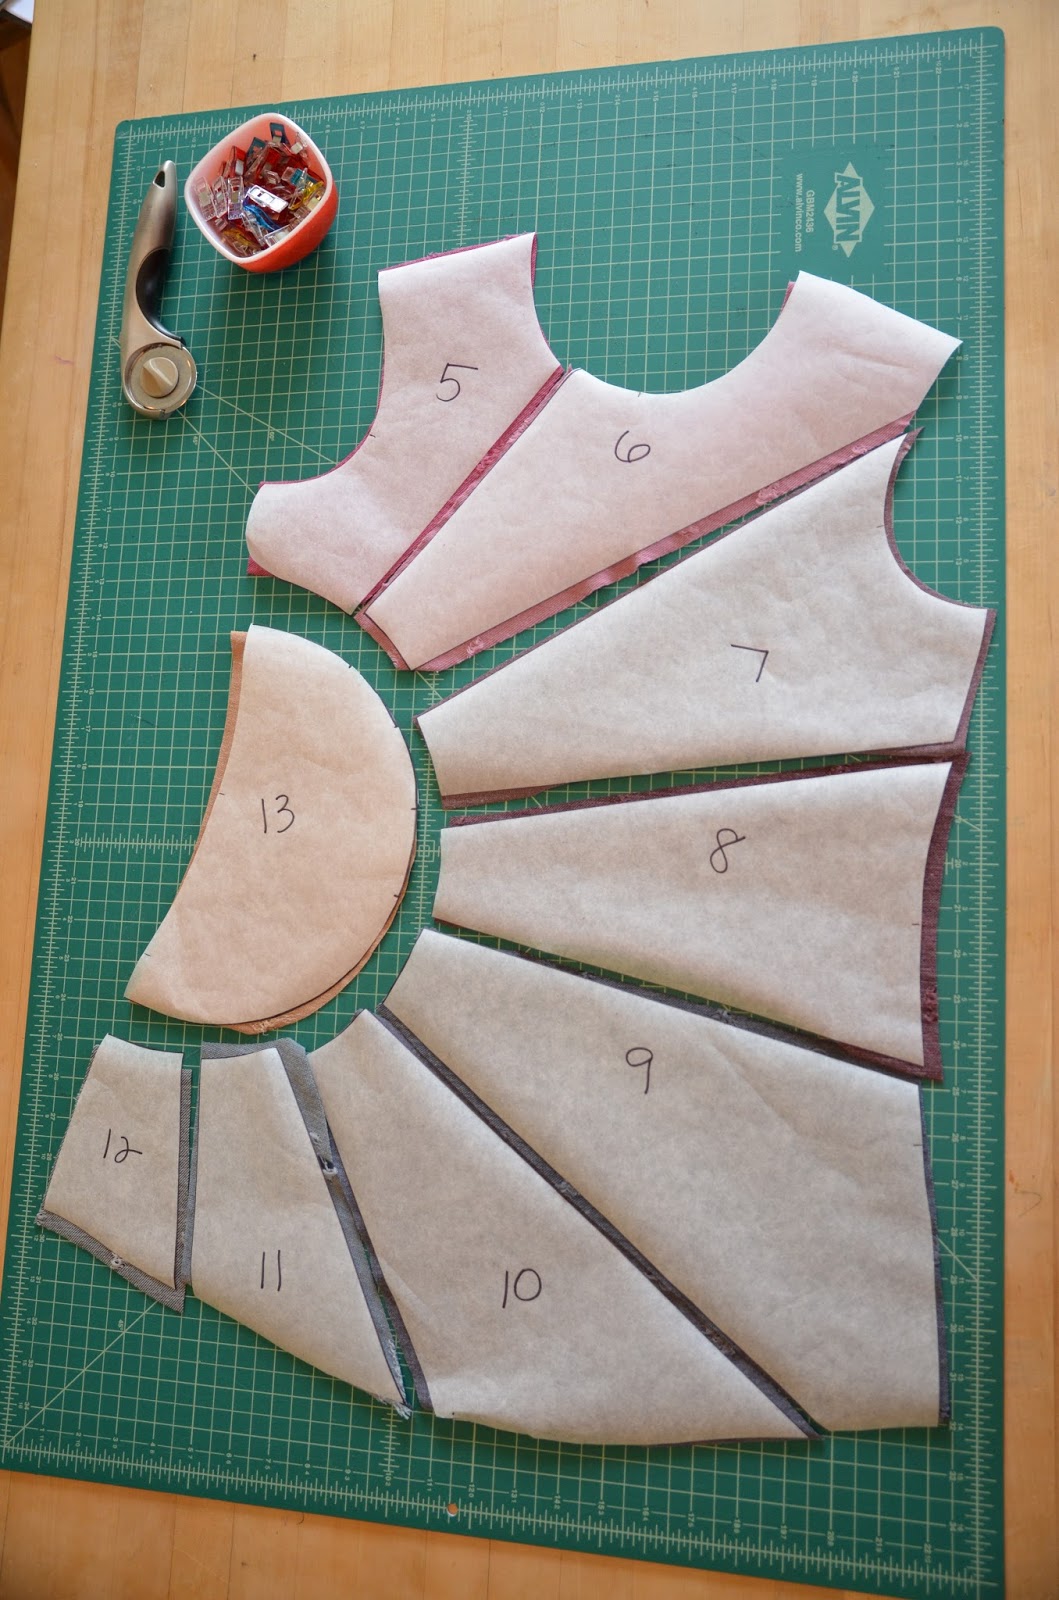
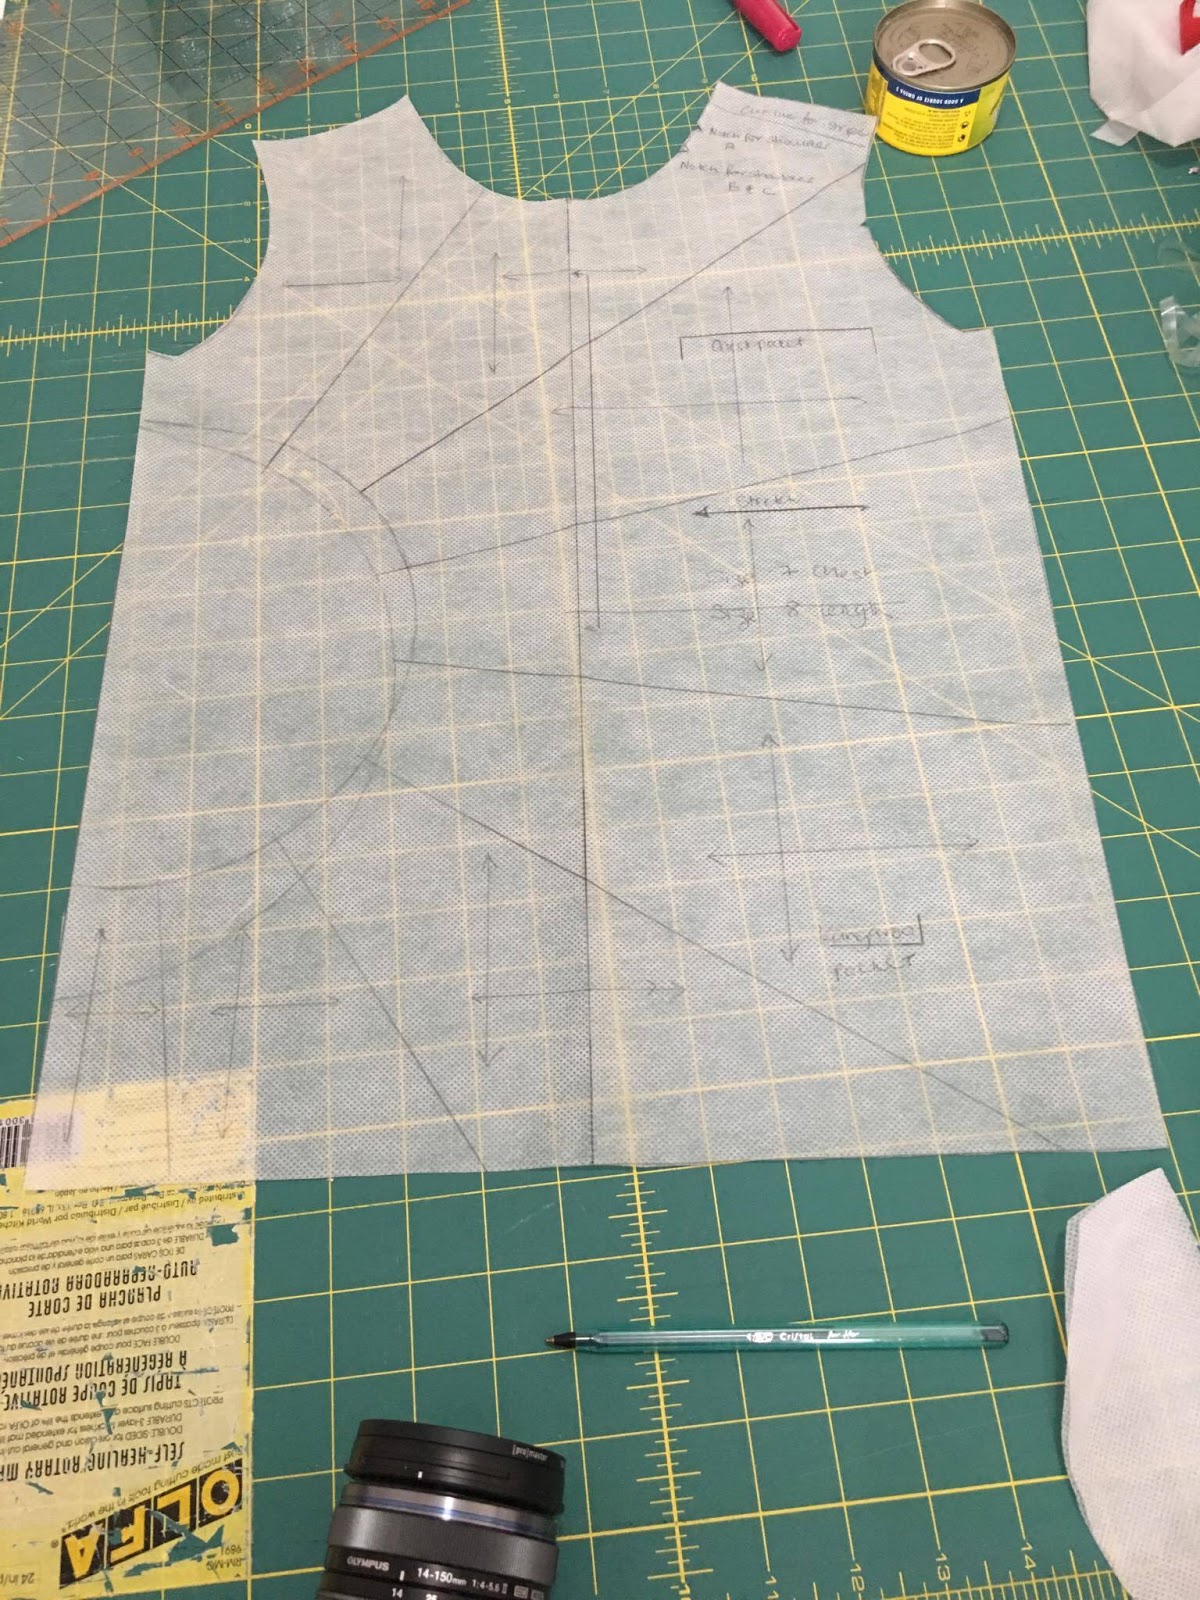
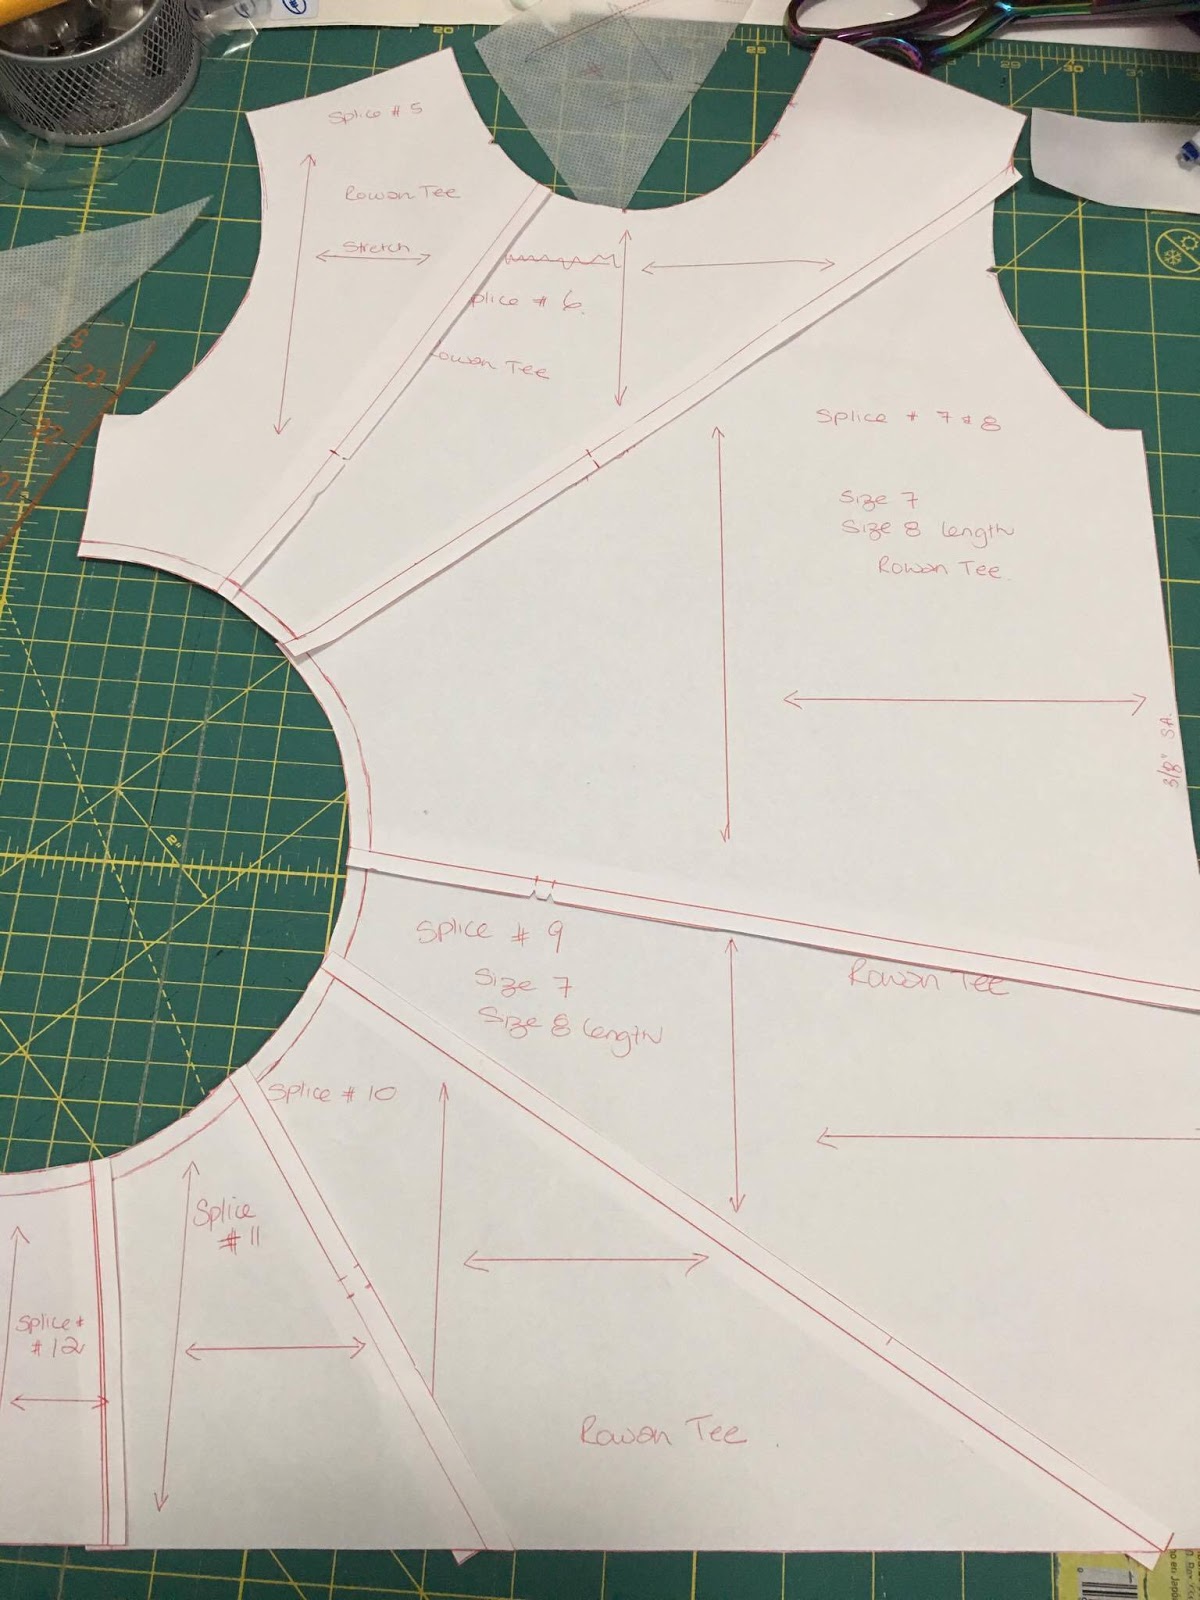
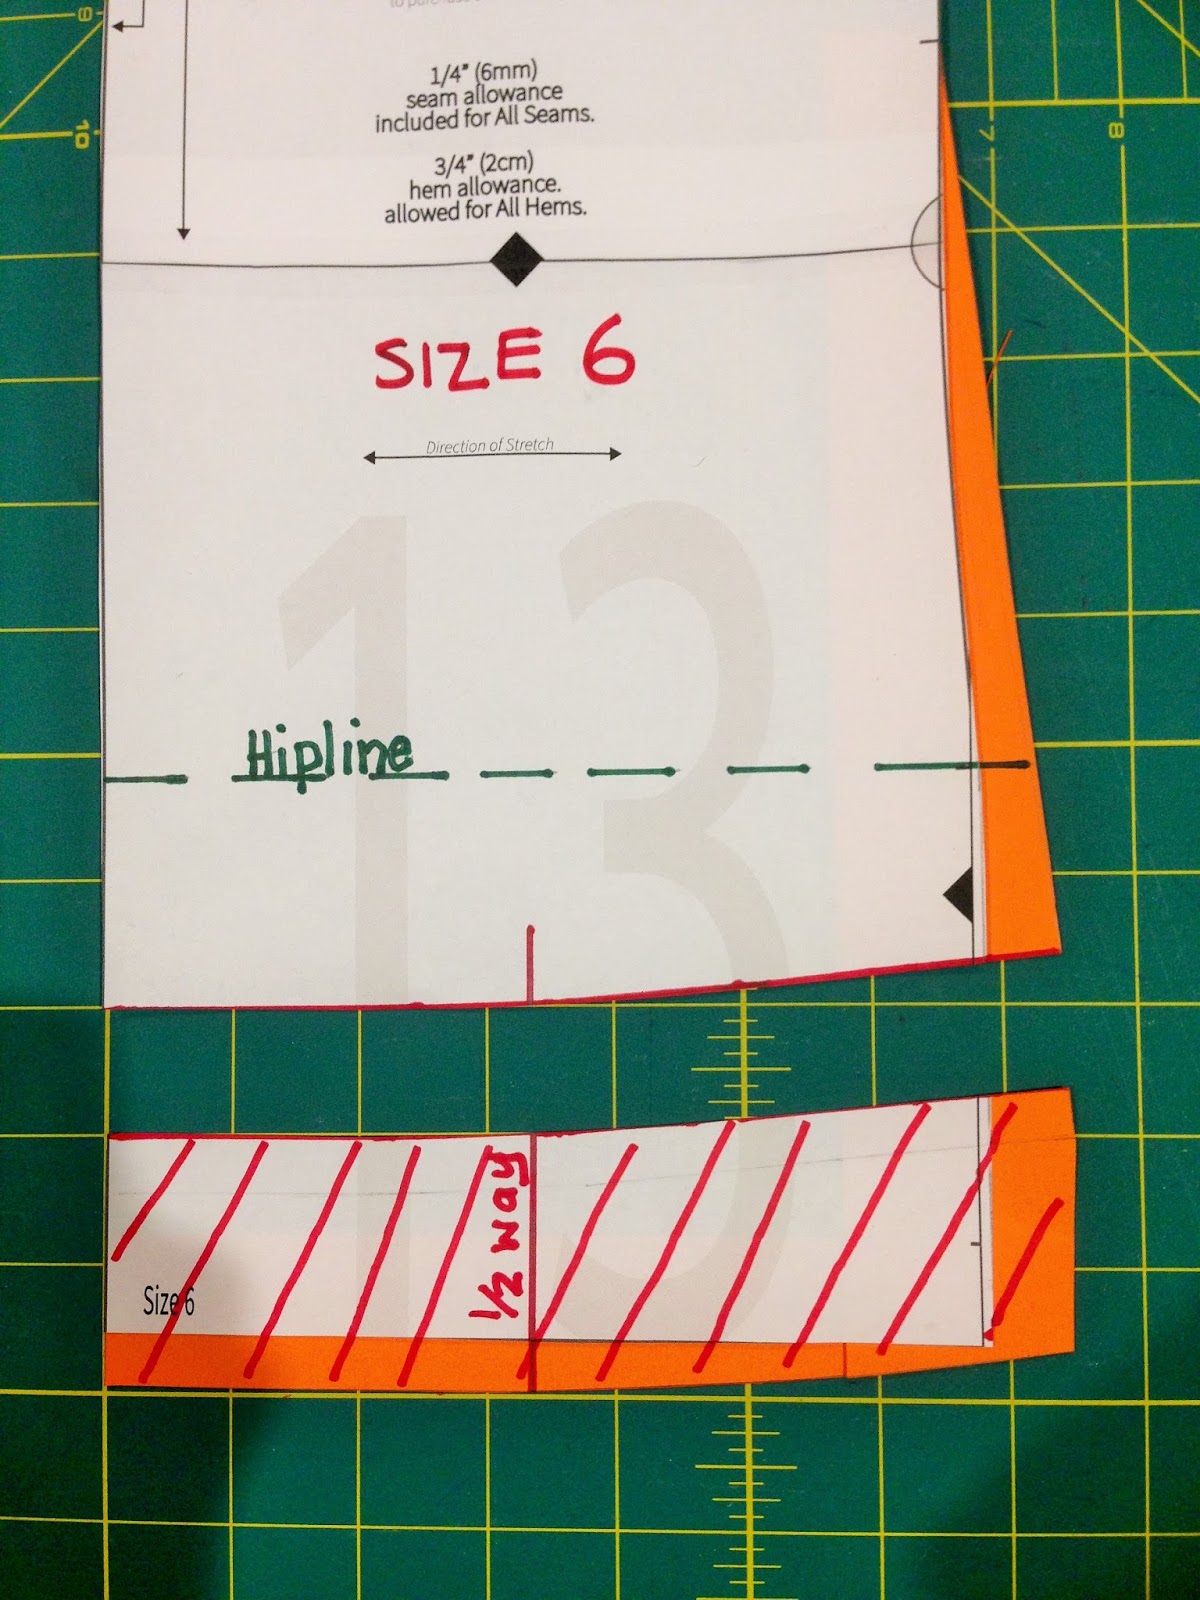
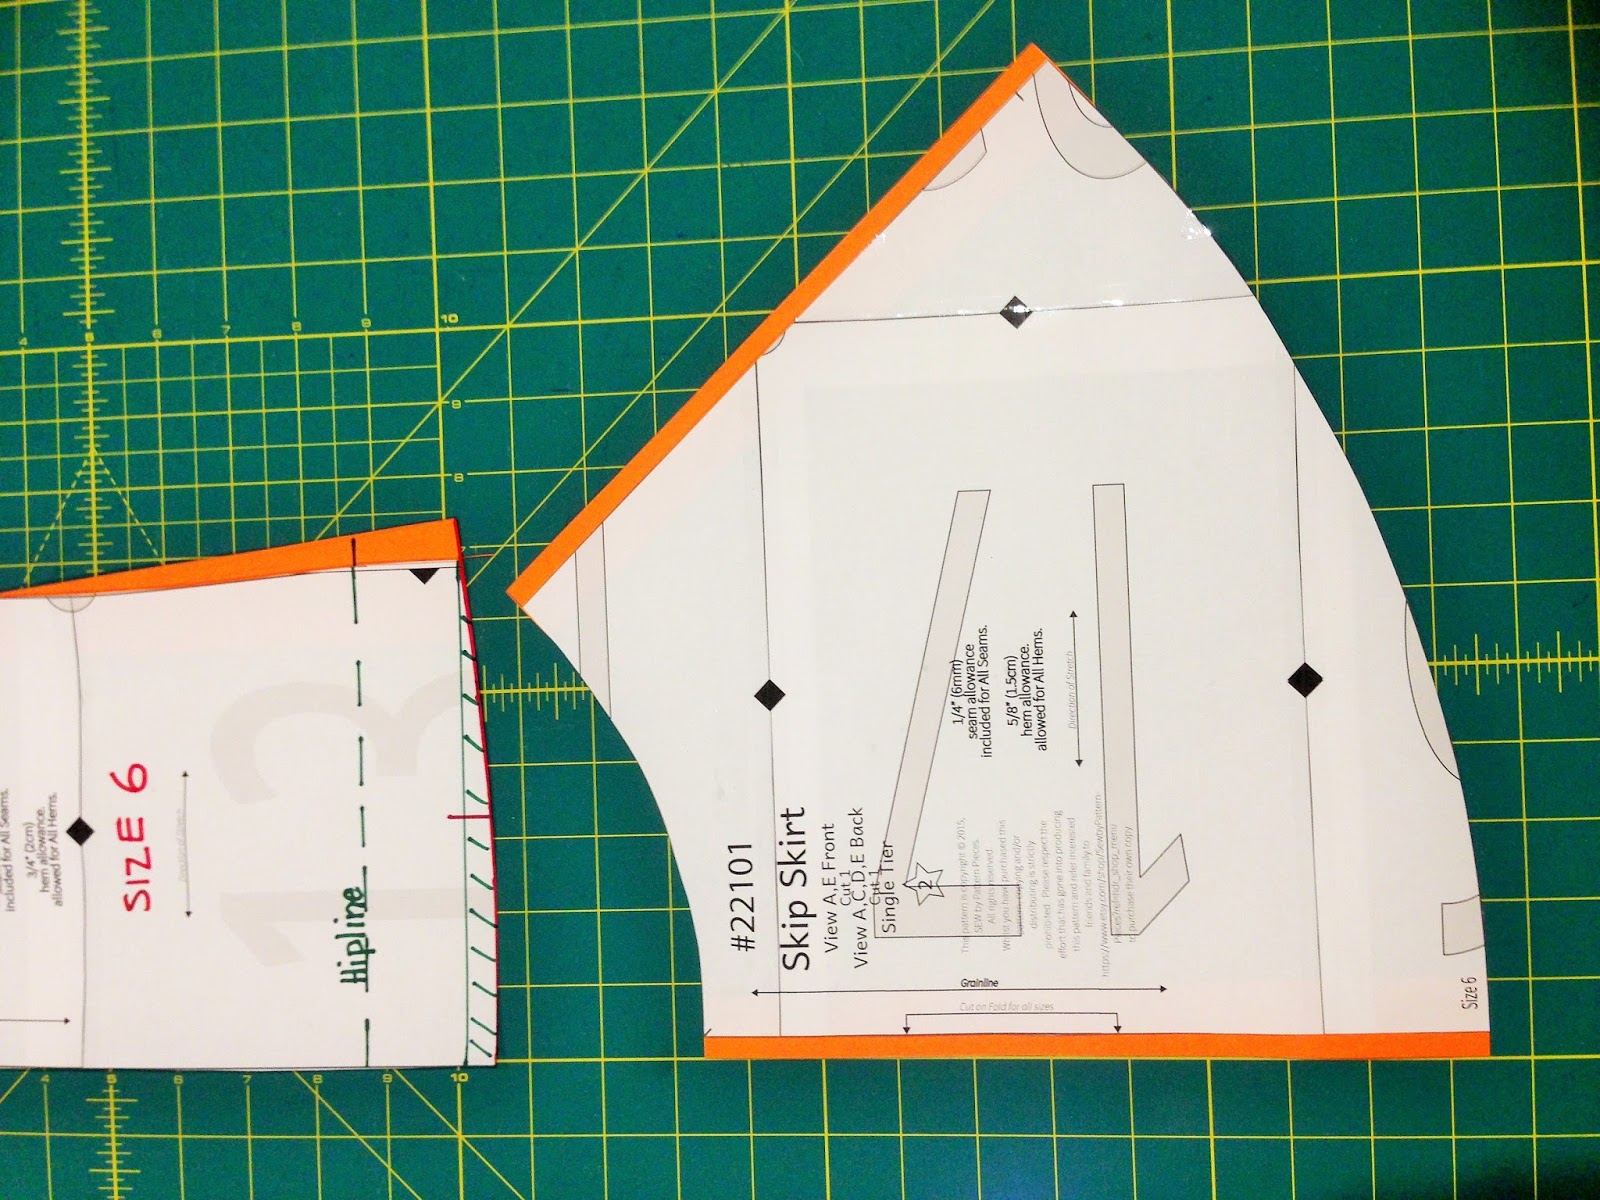
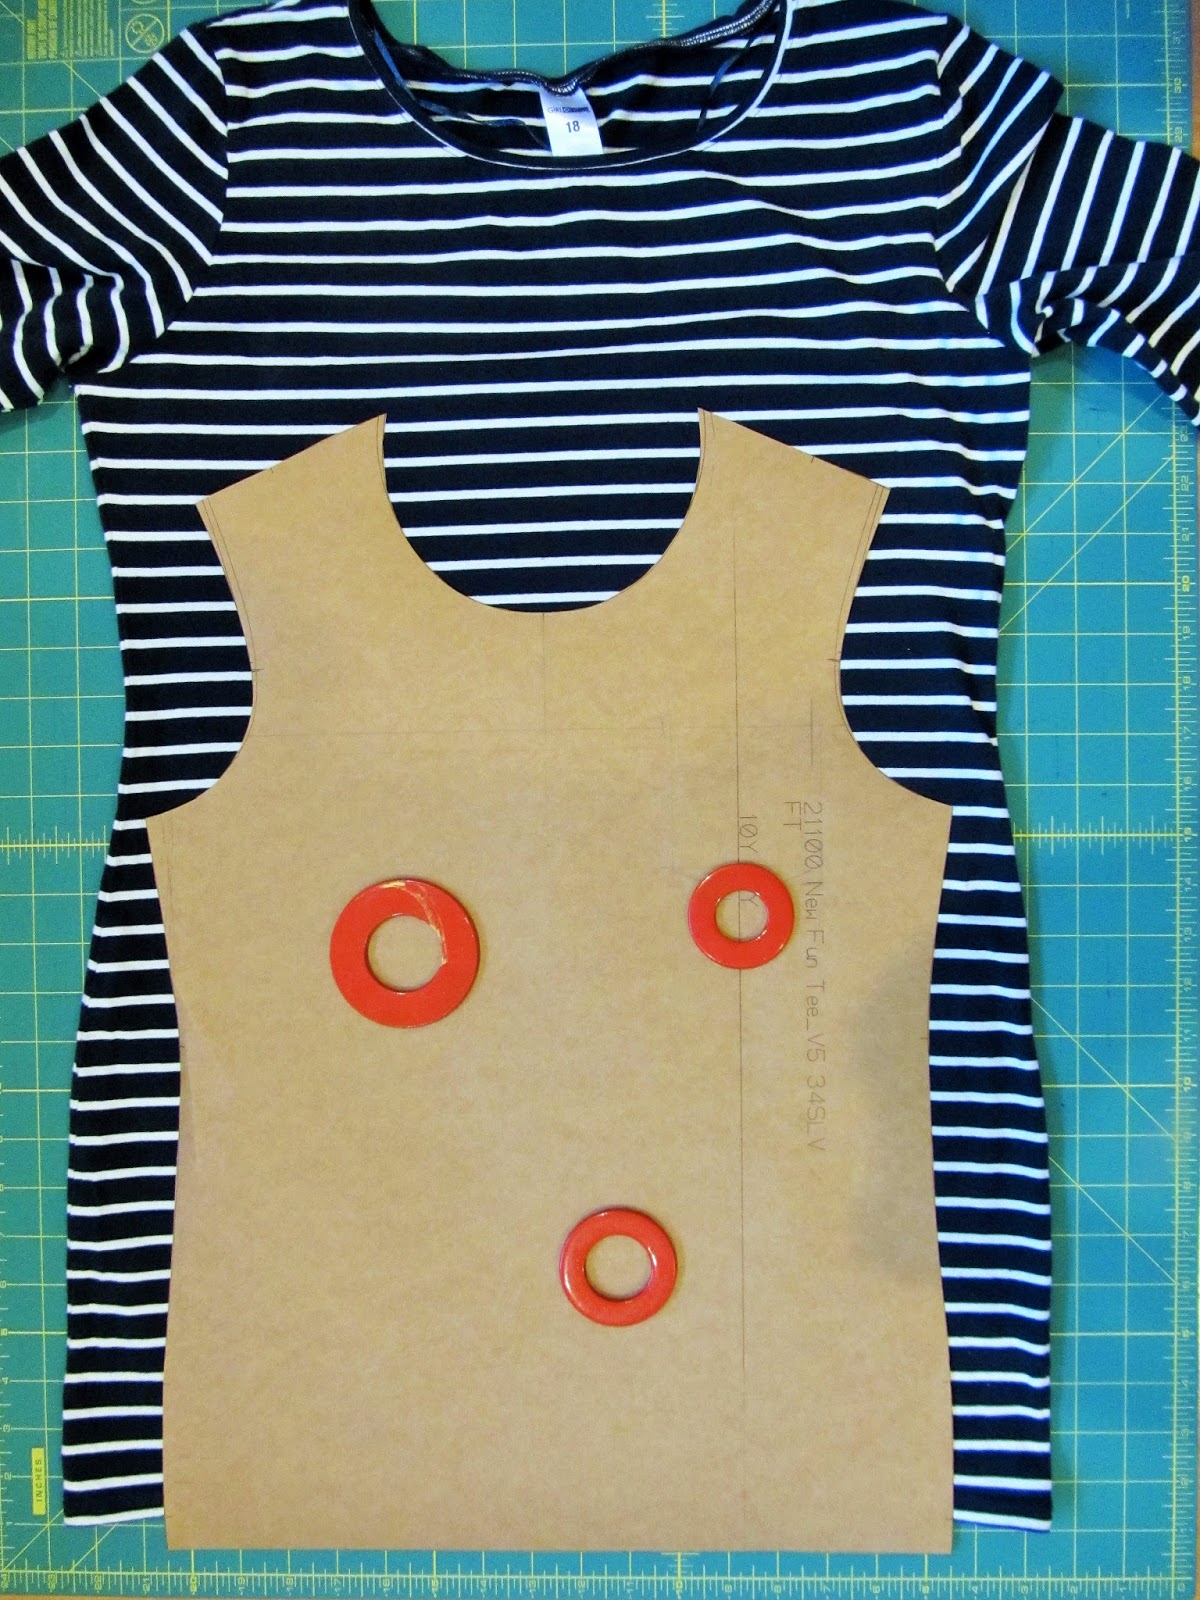
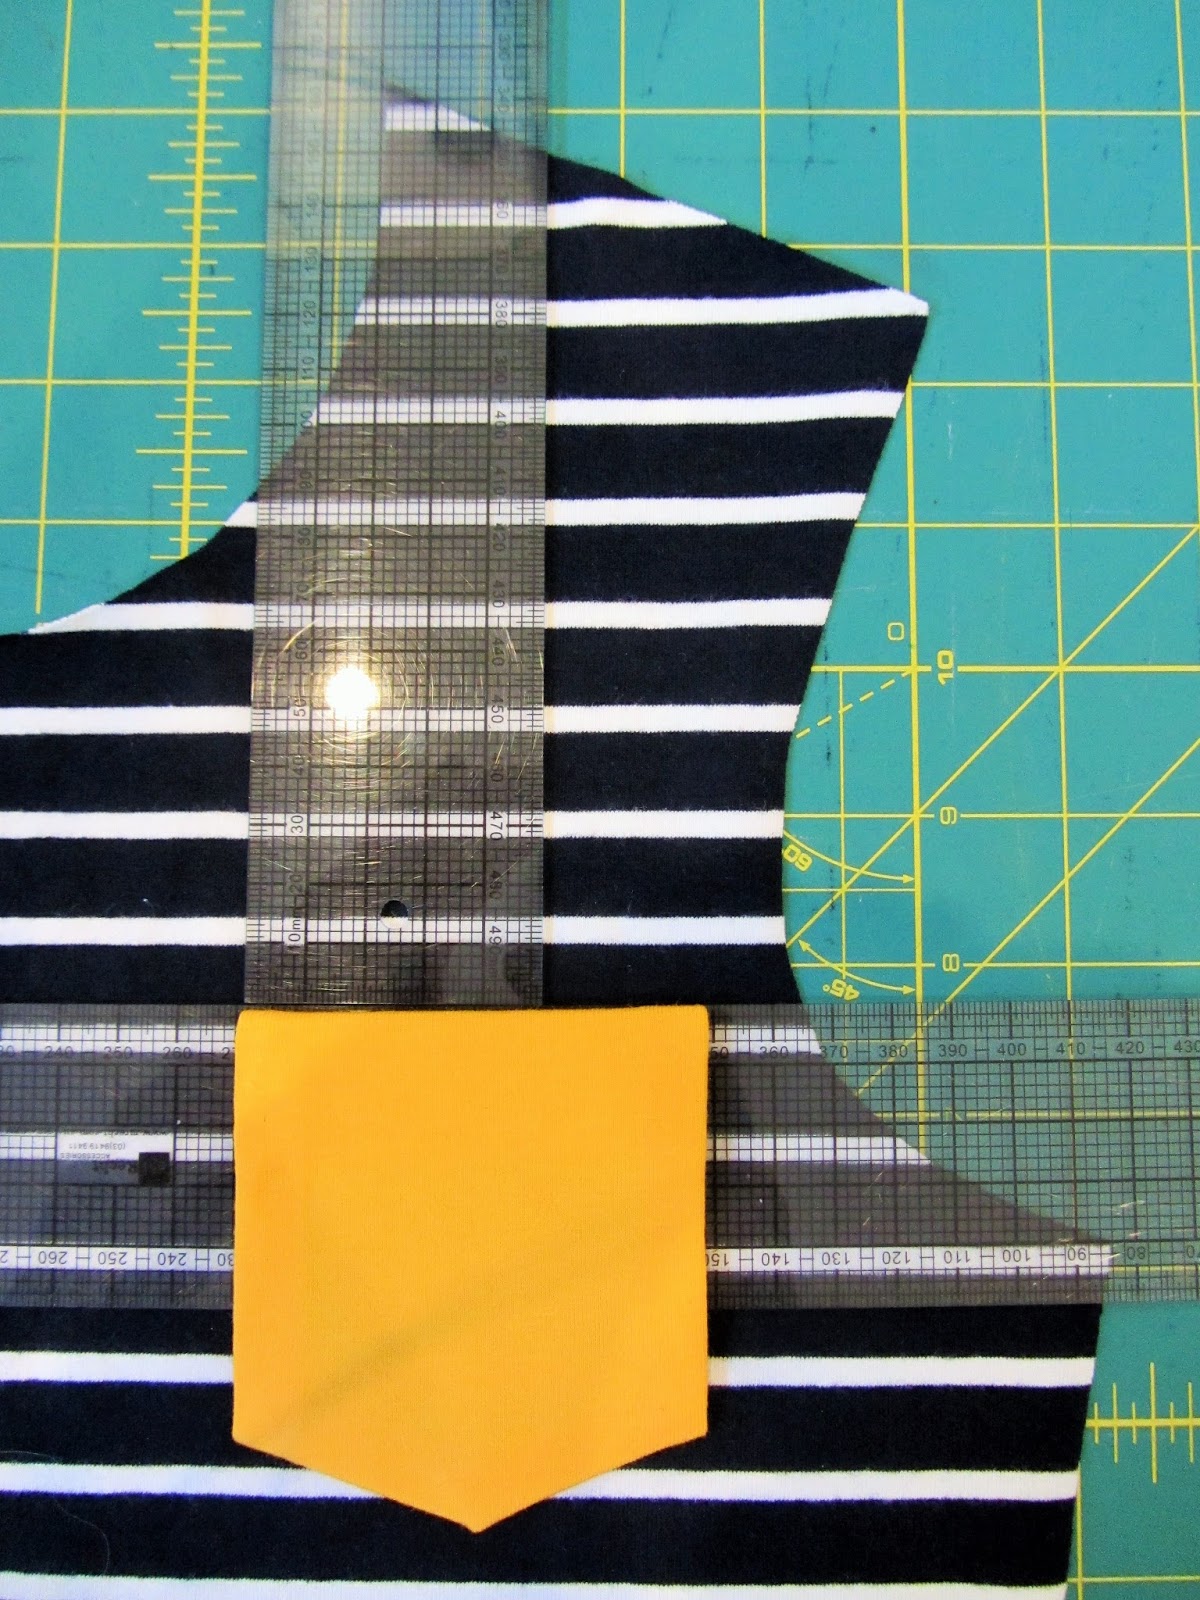
When making children’s wear, it is amazing the number of pattern pieces you can fit onto the fabric of an Adults shirt. The cardboard pattern piece shown below has been directly printed from my work computer. It is a front pattern piece of a Size 10 Fun Tee. Another point to make here is, when using ready-made clothing to create a new garment, there is NO hemming required, as you can utilise the existing hem, now that saves setting up the cover-stitch machine or finding that twin needle and two spools of matching thread.
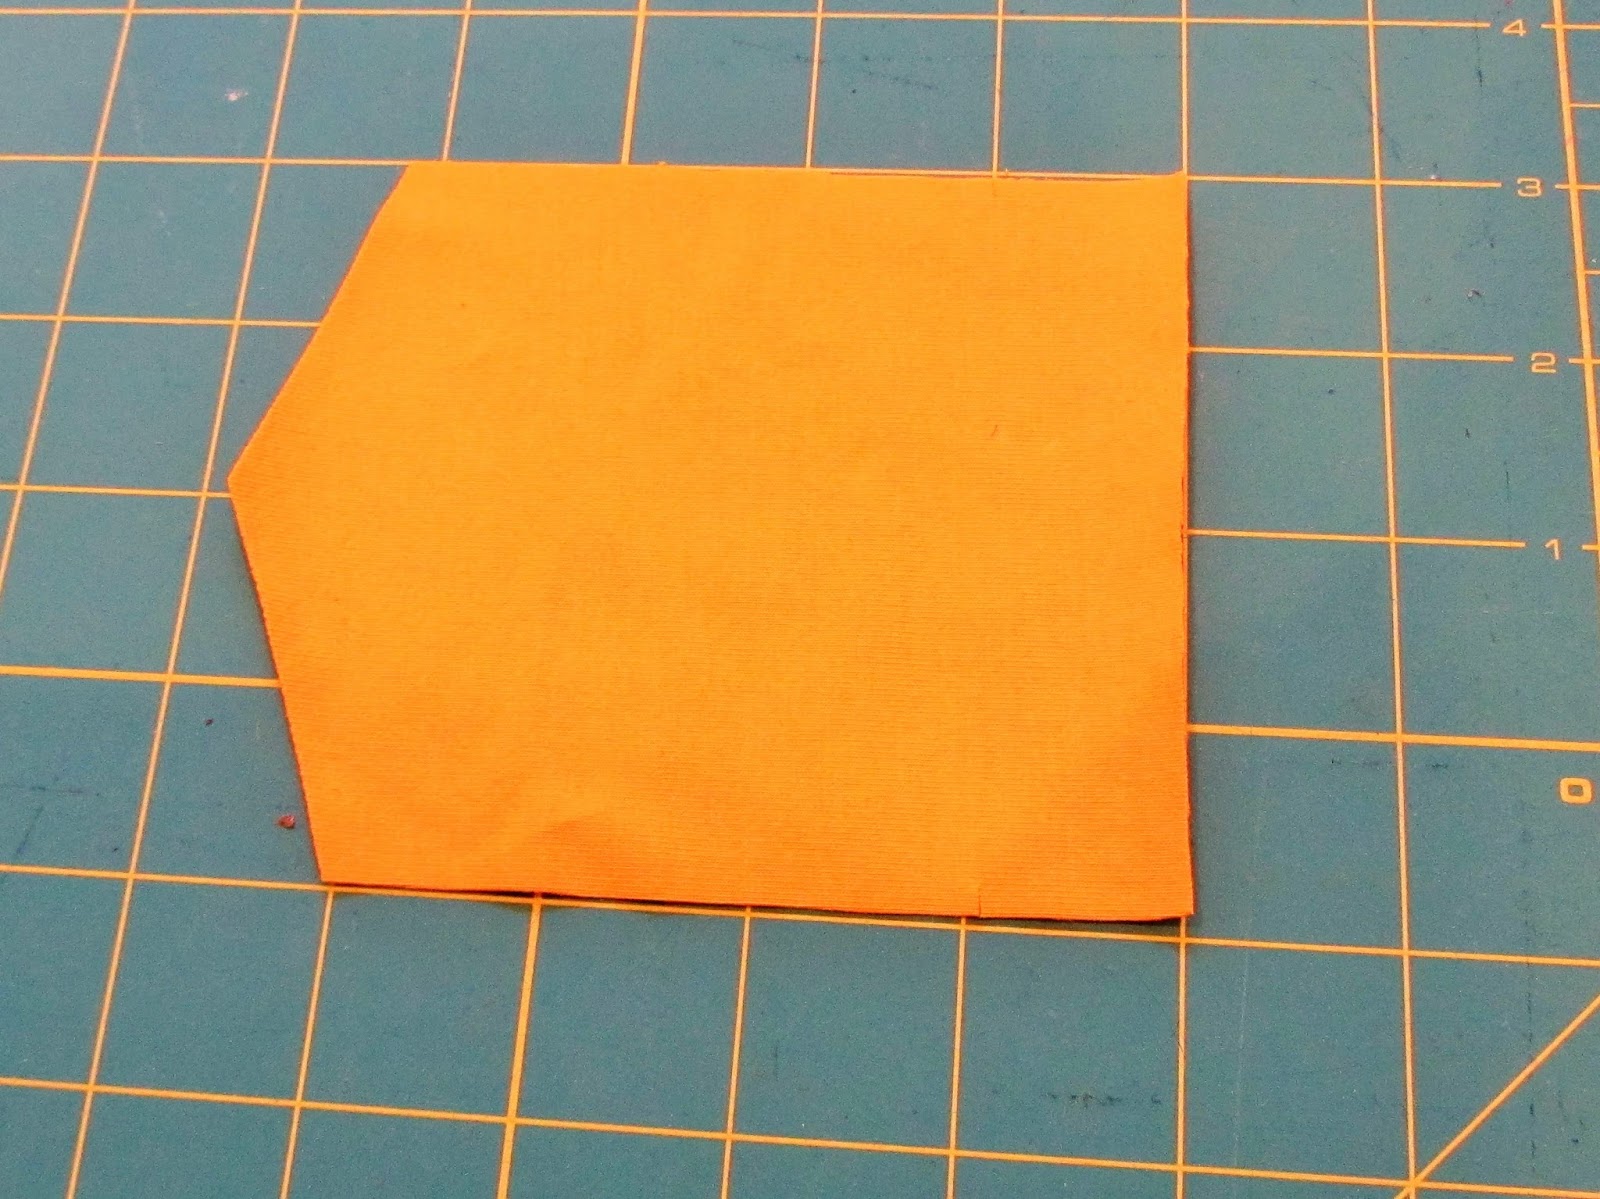
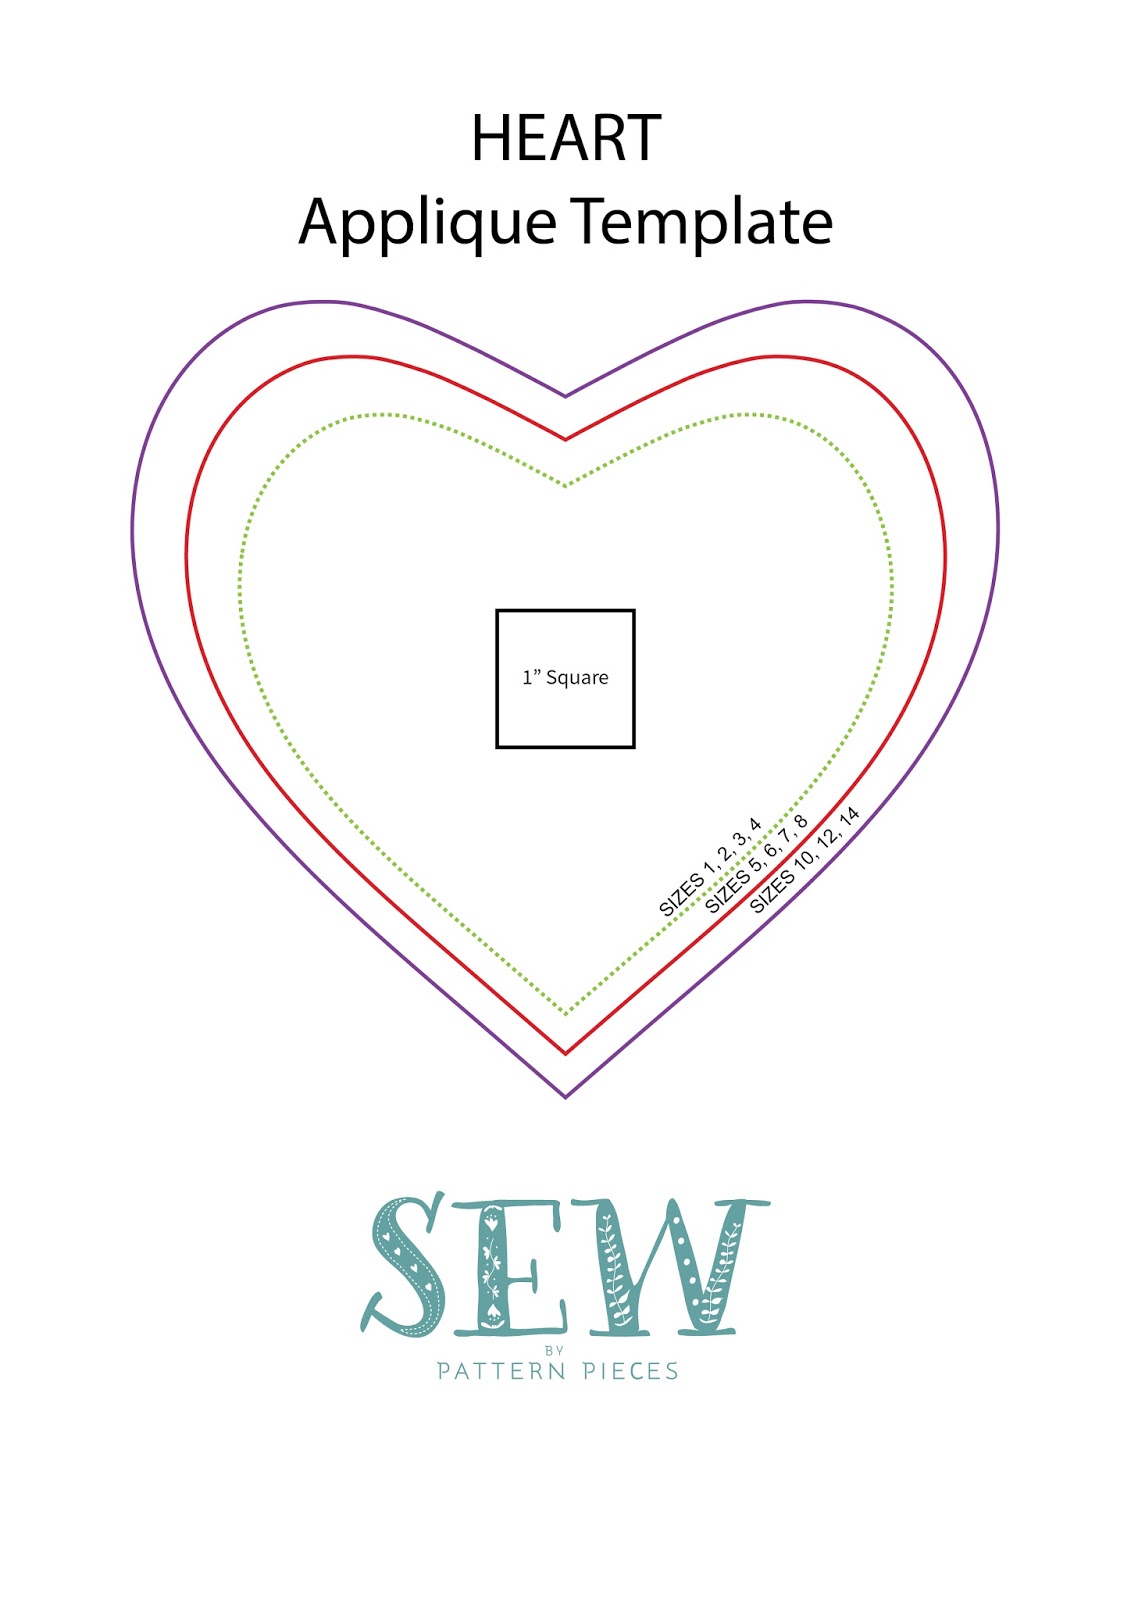
Cut out your preferred choice of the two pocket types. The Fun Tee Pocket Hack instructions are available for download. Join our group for your FREE copy today.
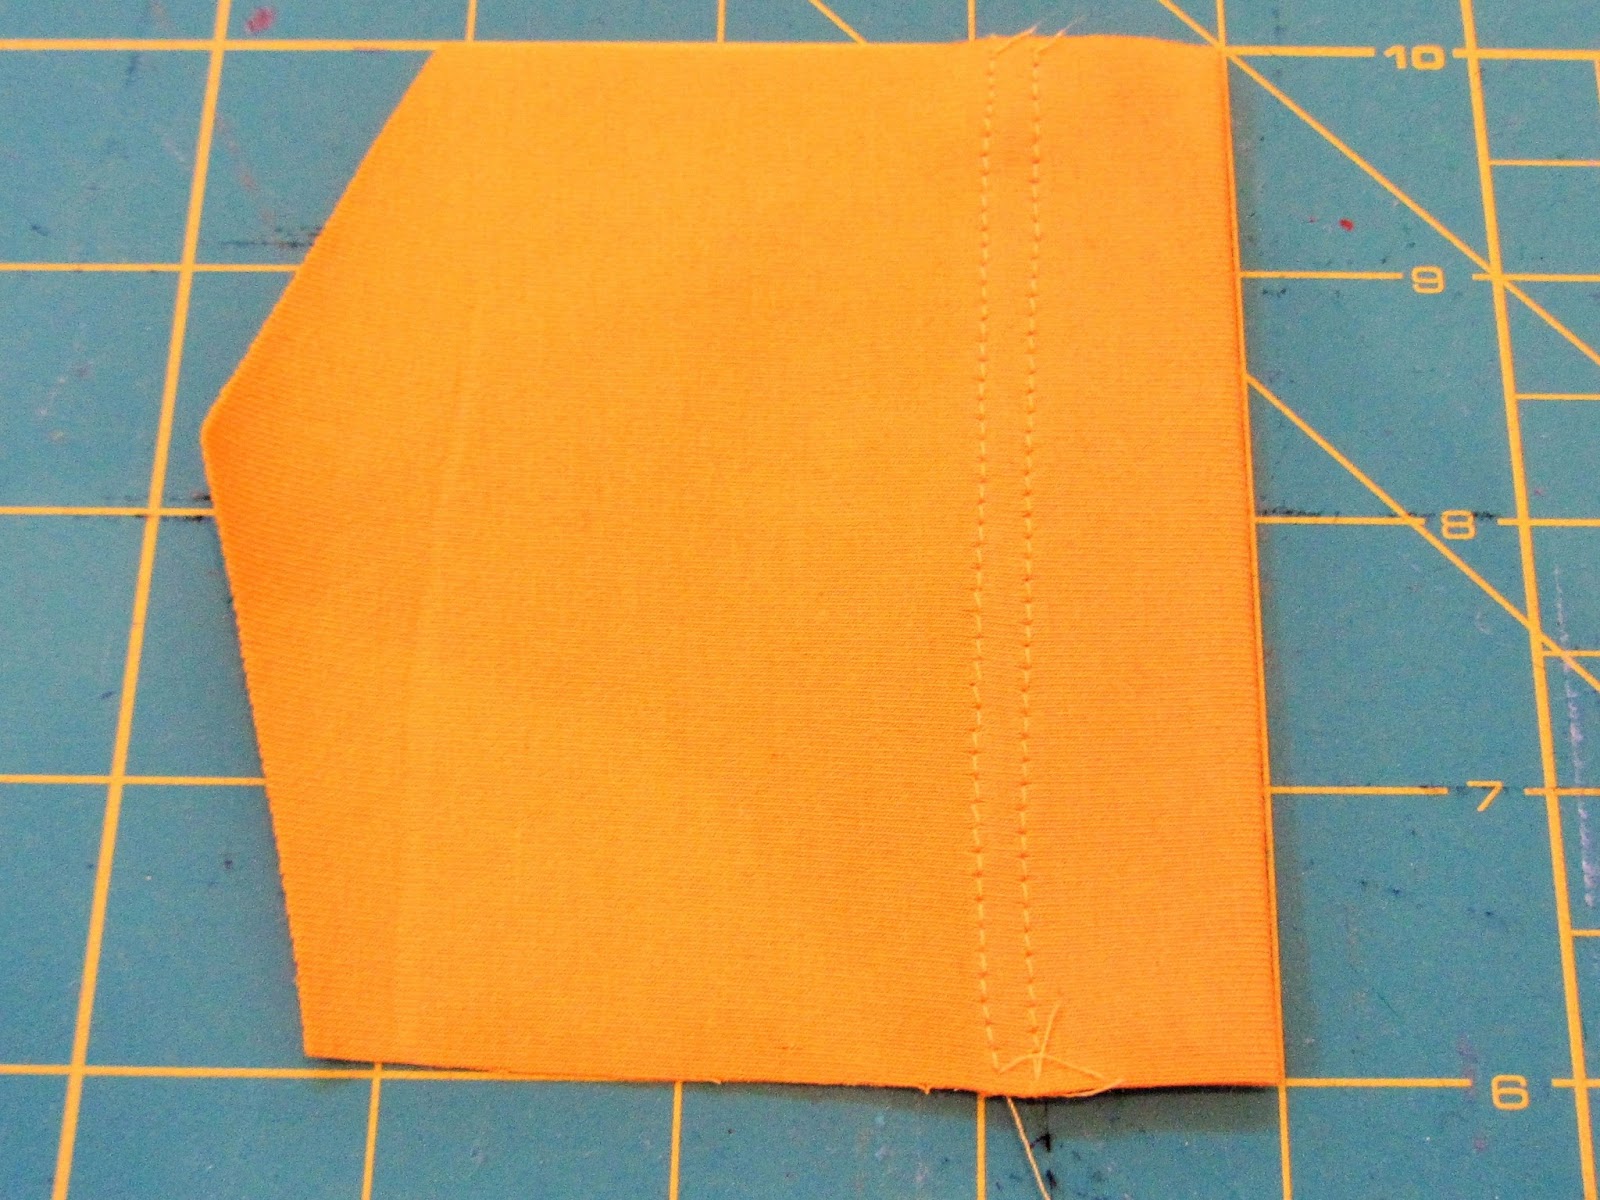
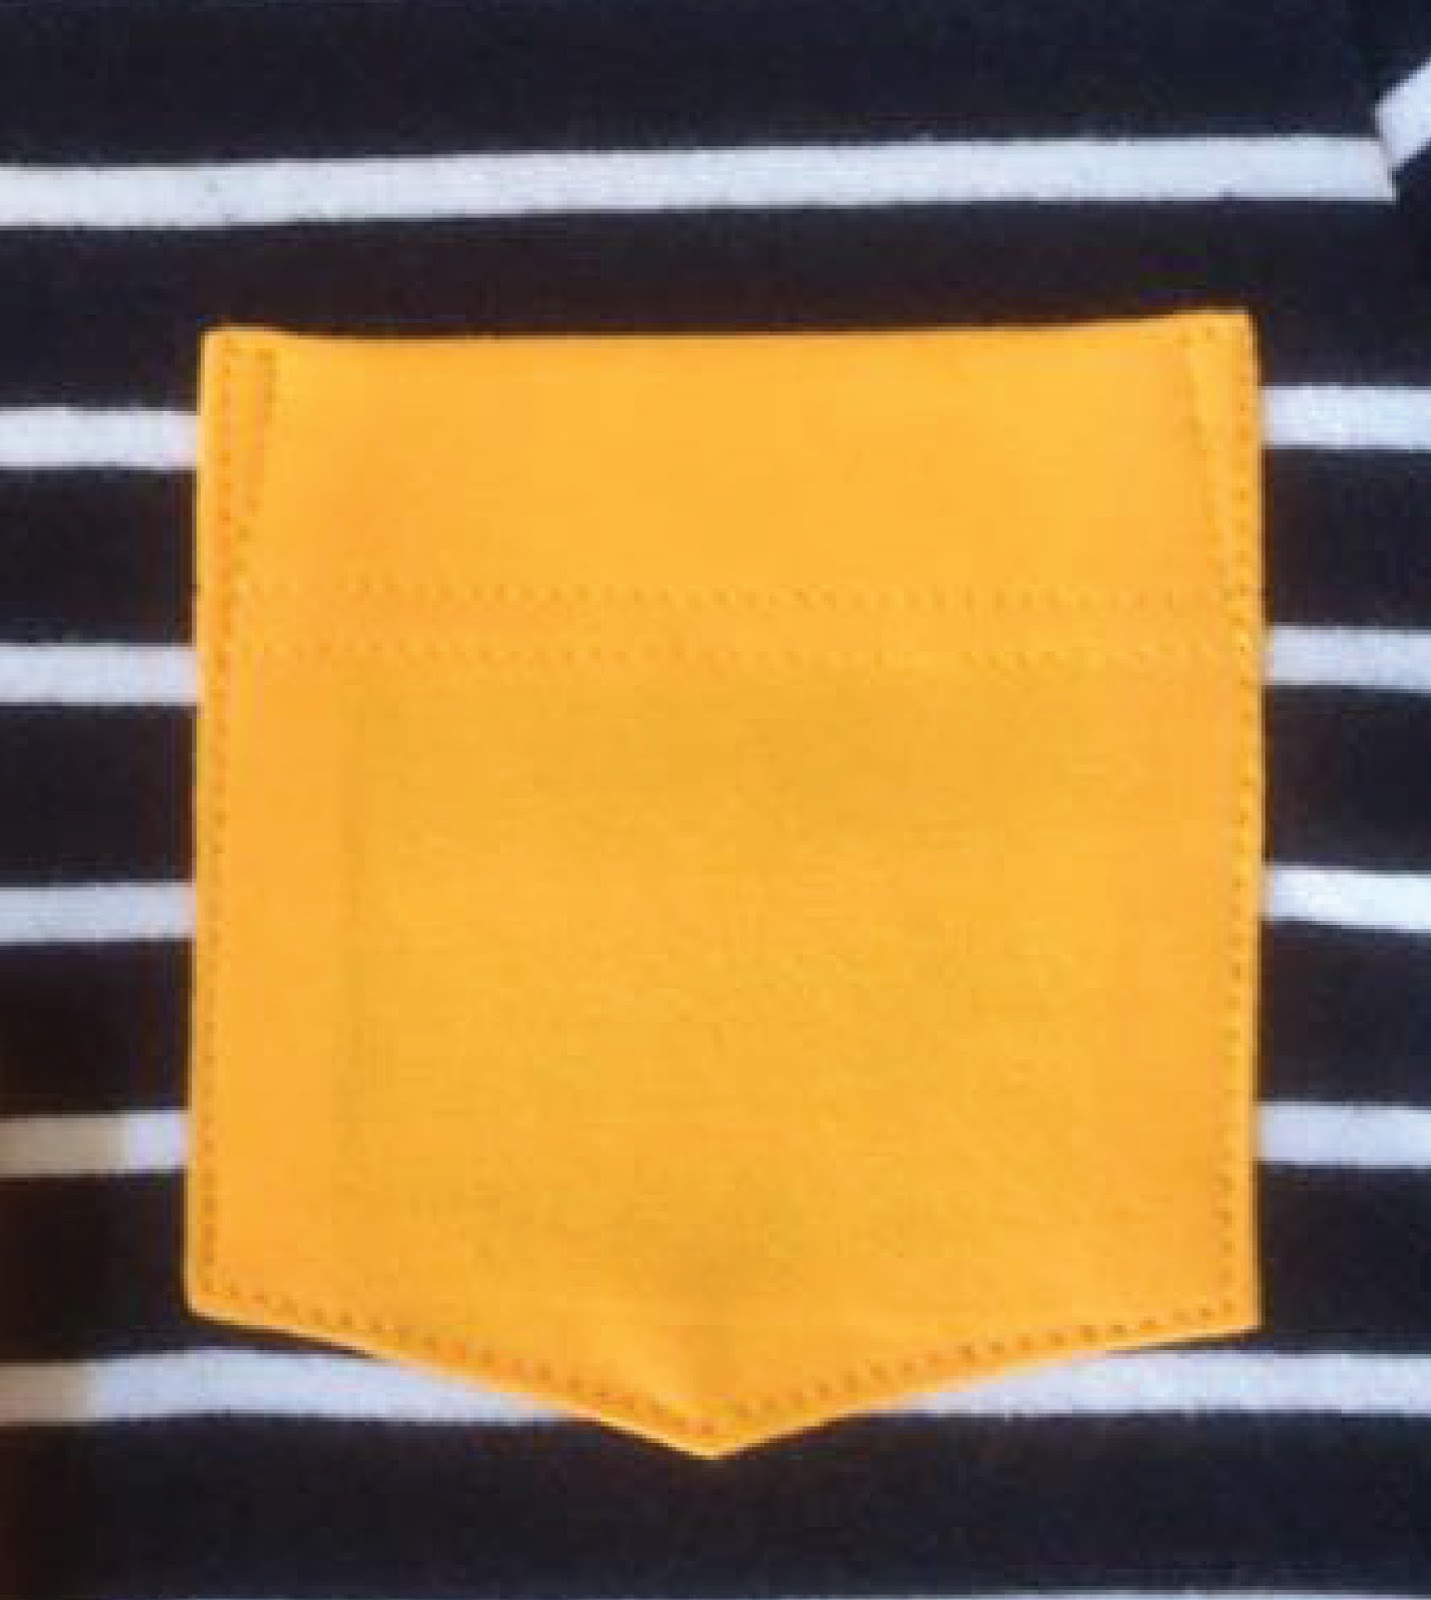
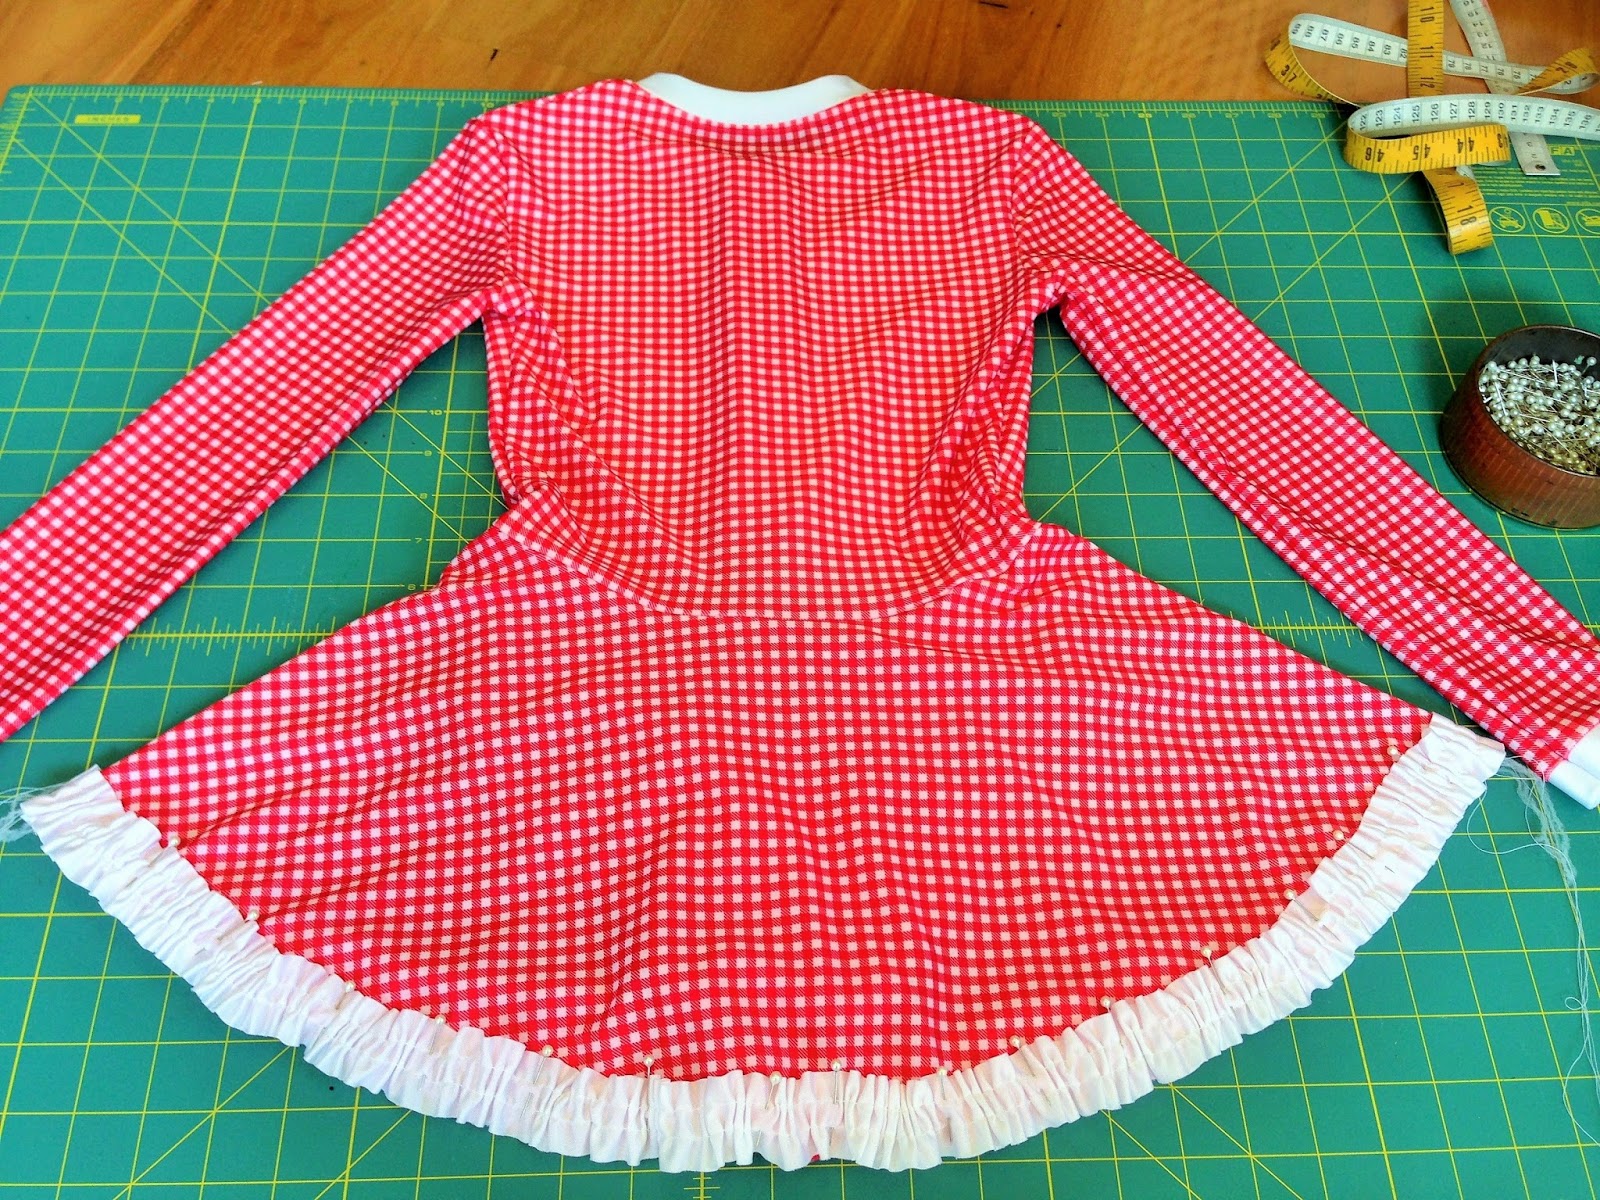
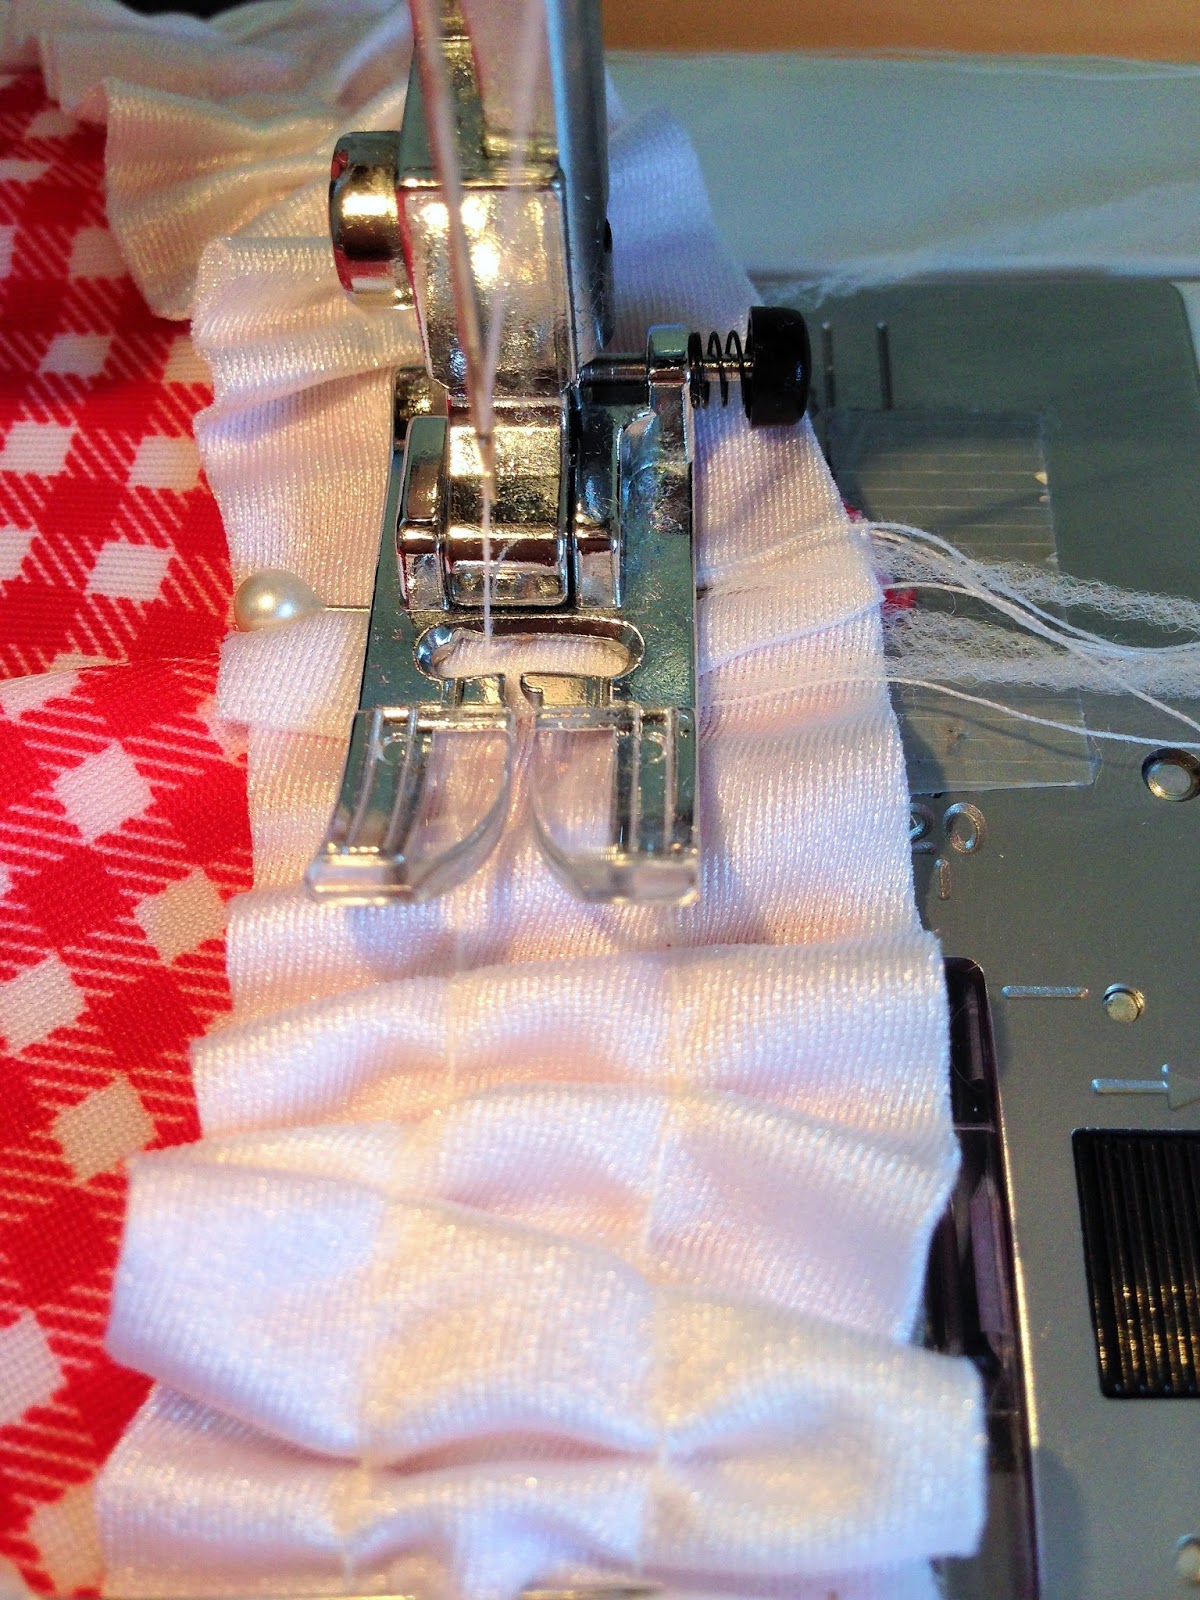
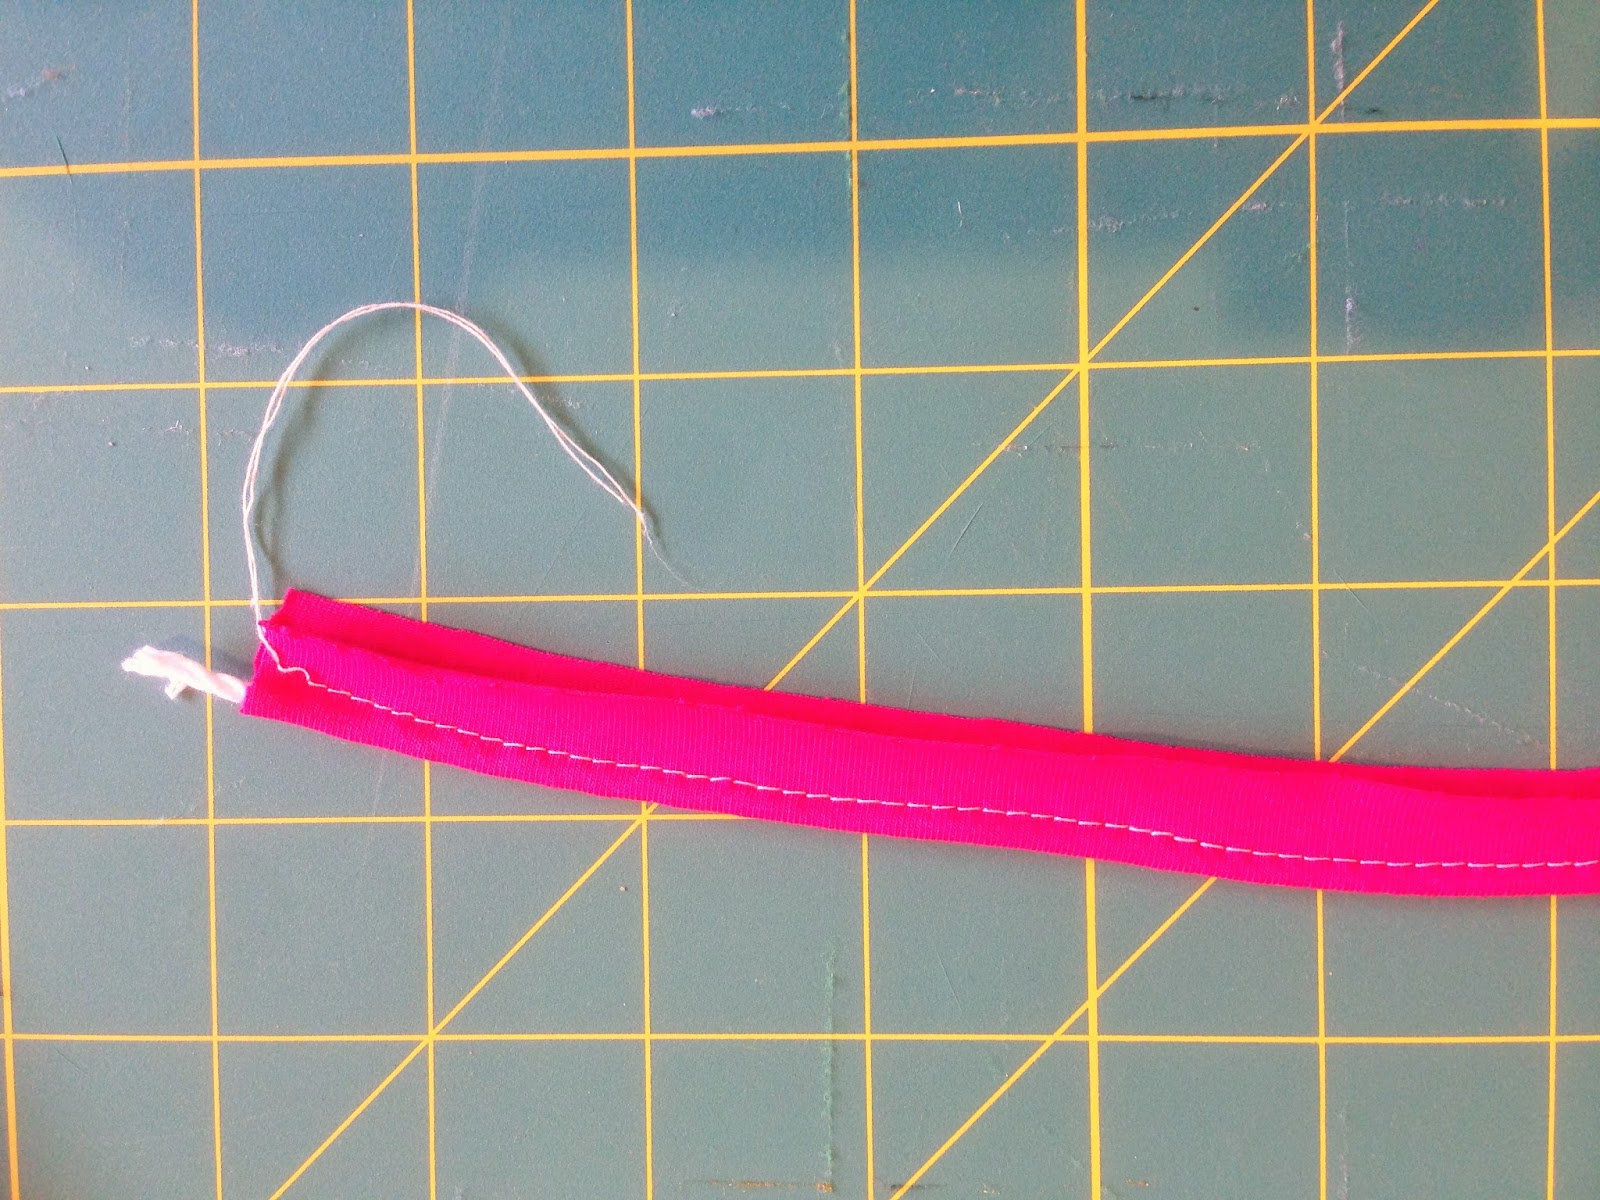
Use a single fold hem on the top edge of the pocket, press, pin, and sew in place with the desired stitch.
For a more professional finish, use the same stitch for the top edge and the circumference of the pocket.
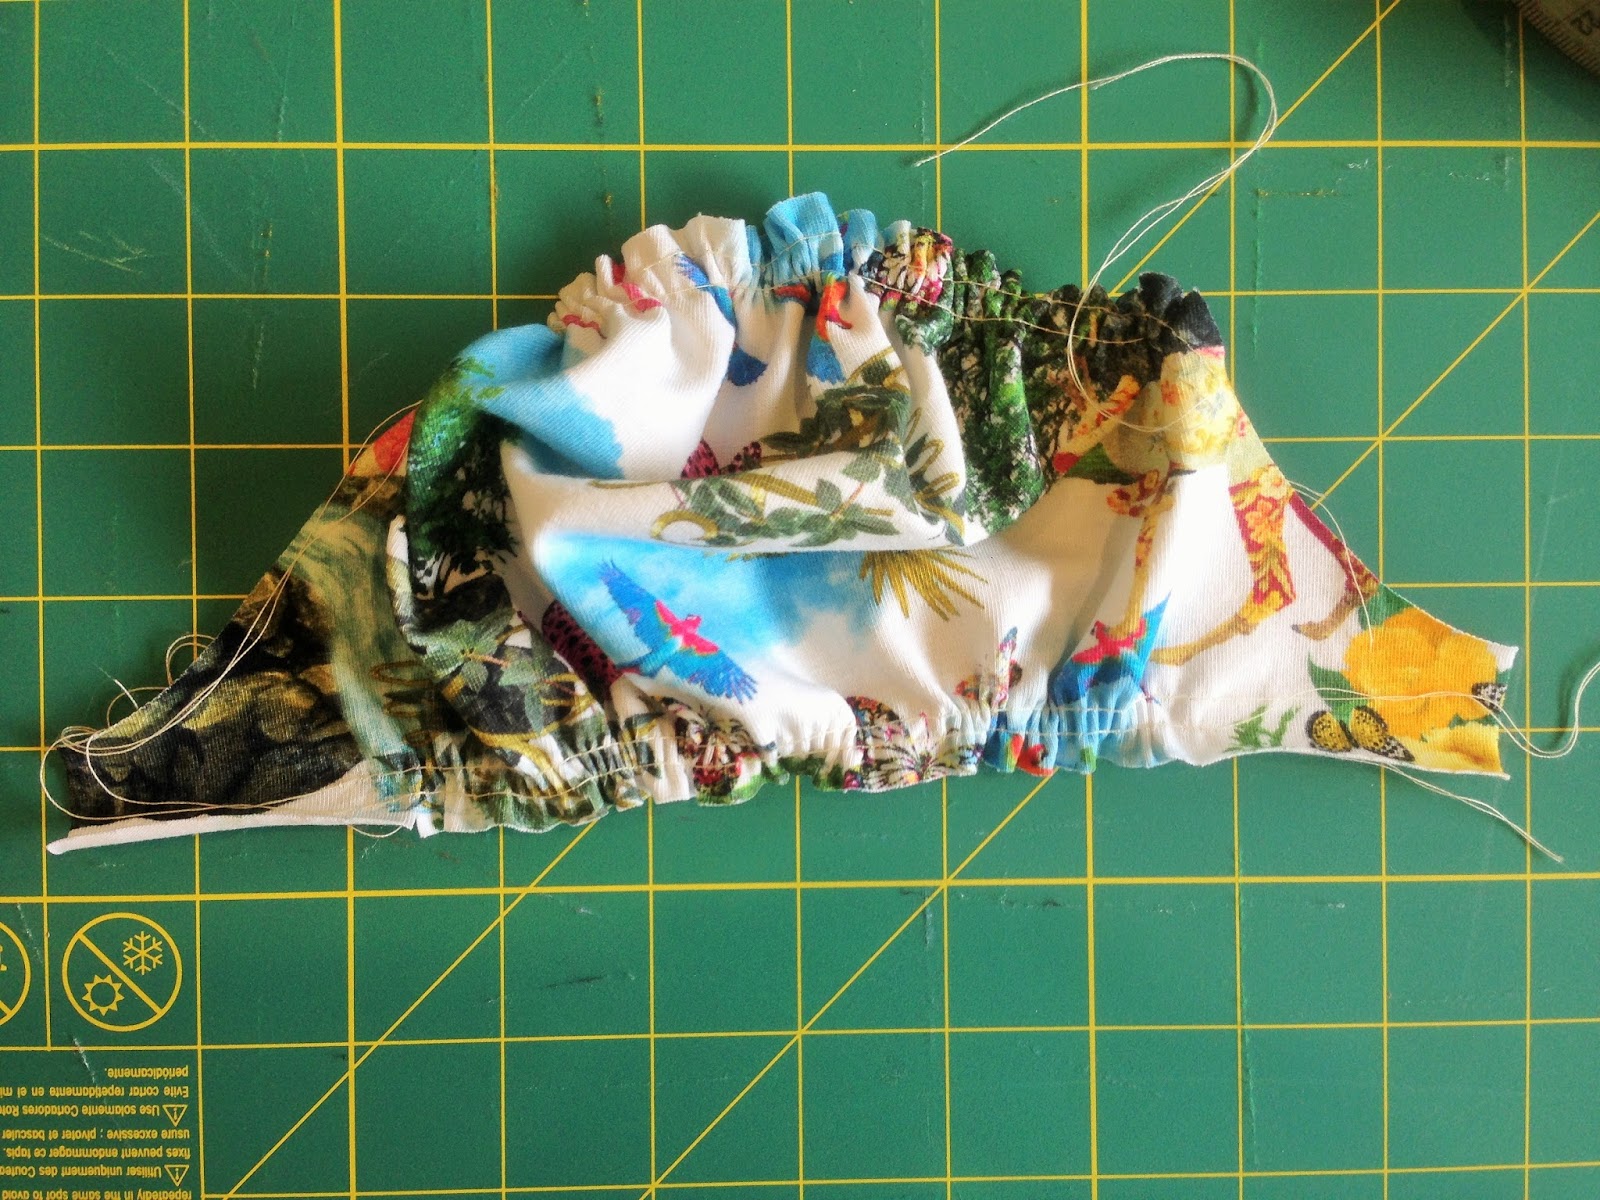
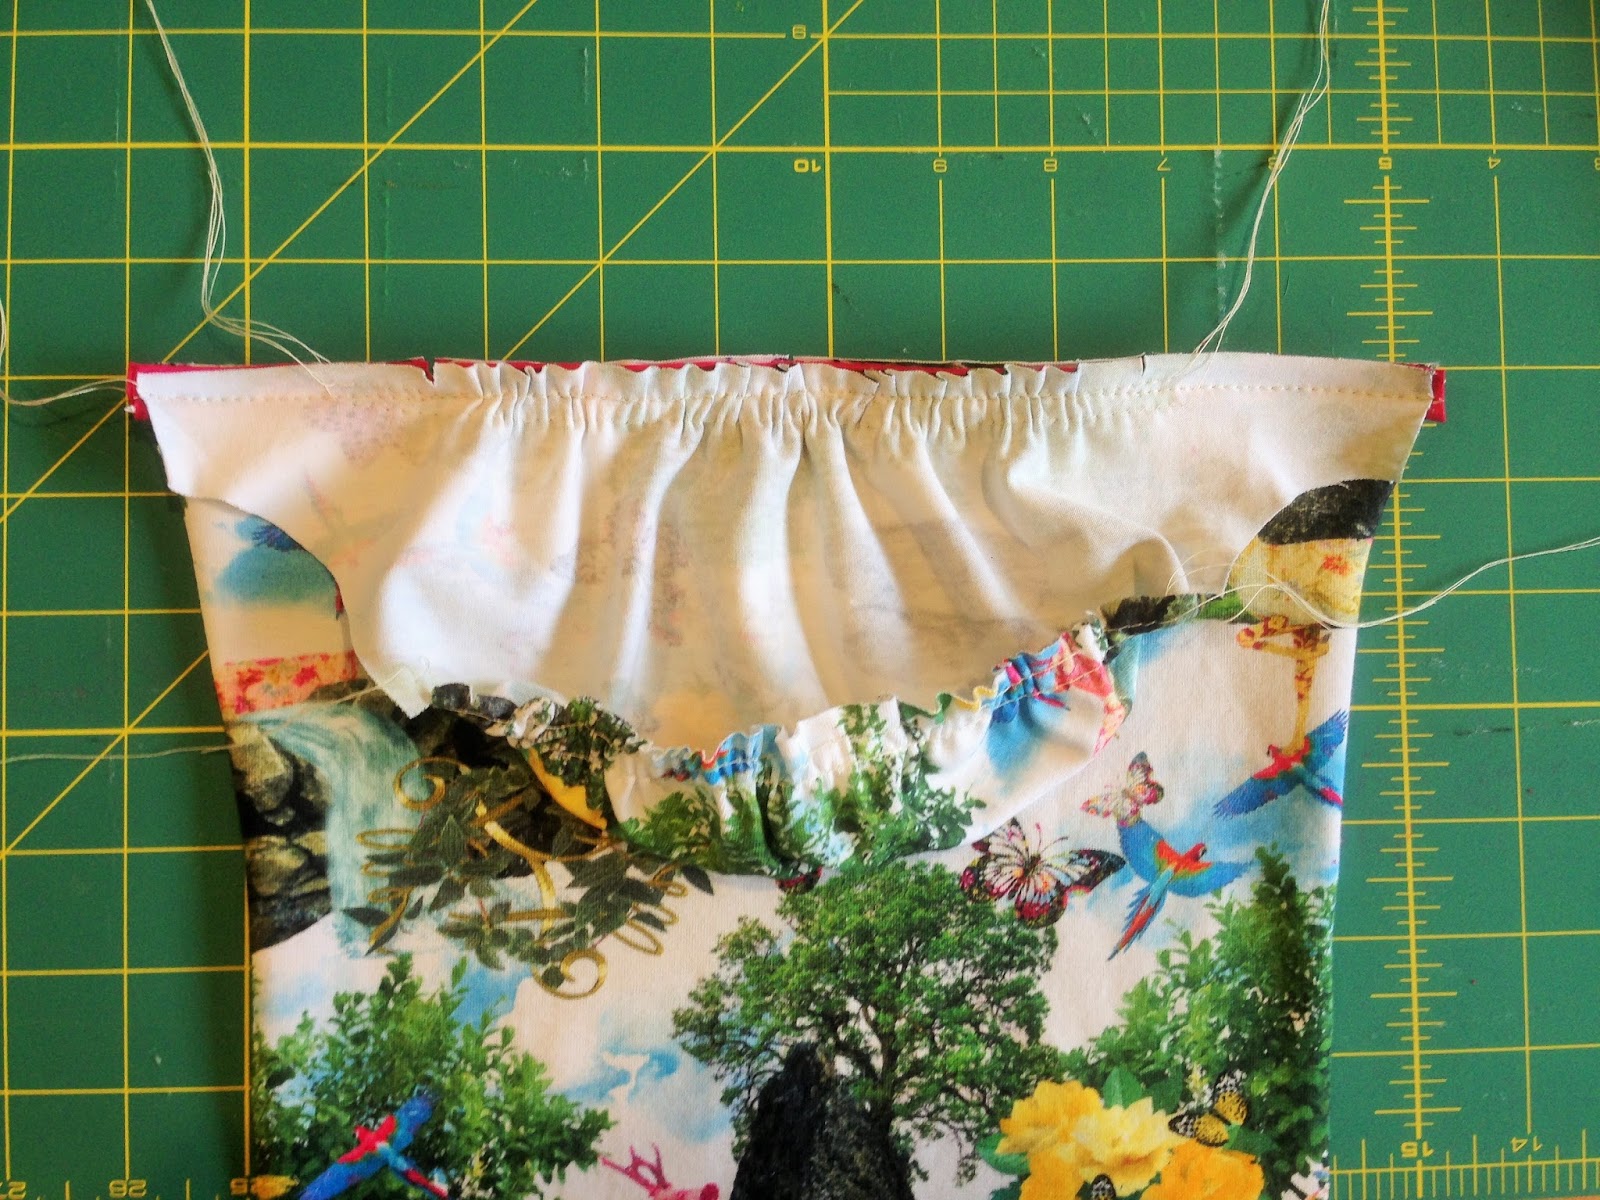
Press the seam allowance for the sides and bottom edges of the pocket toward the wrong side of the fabric.
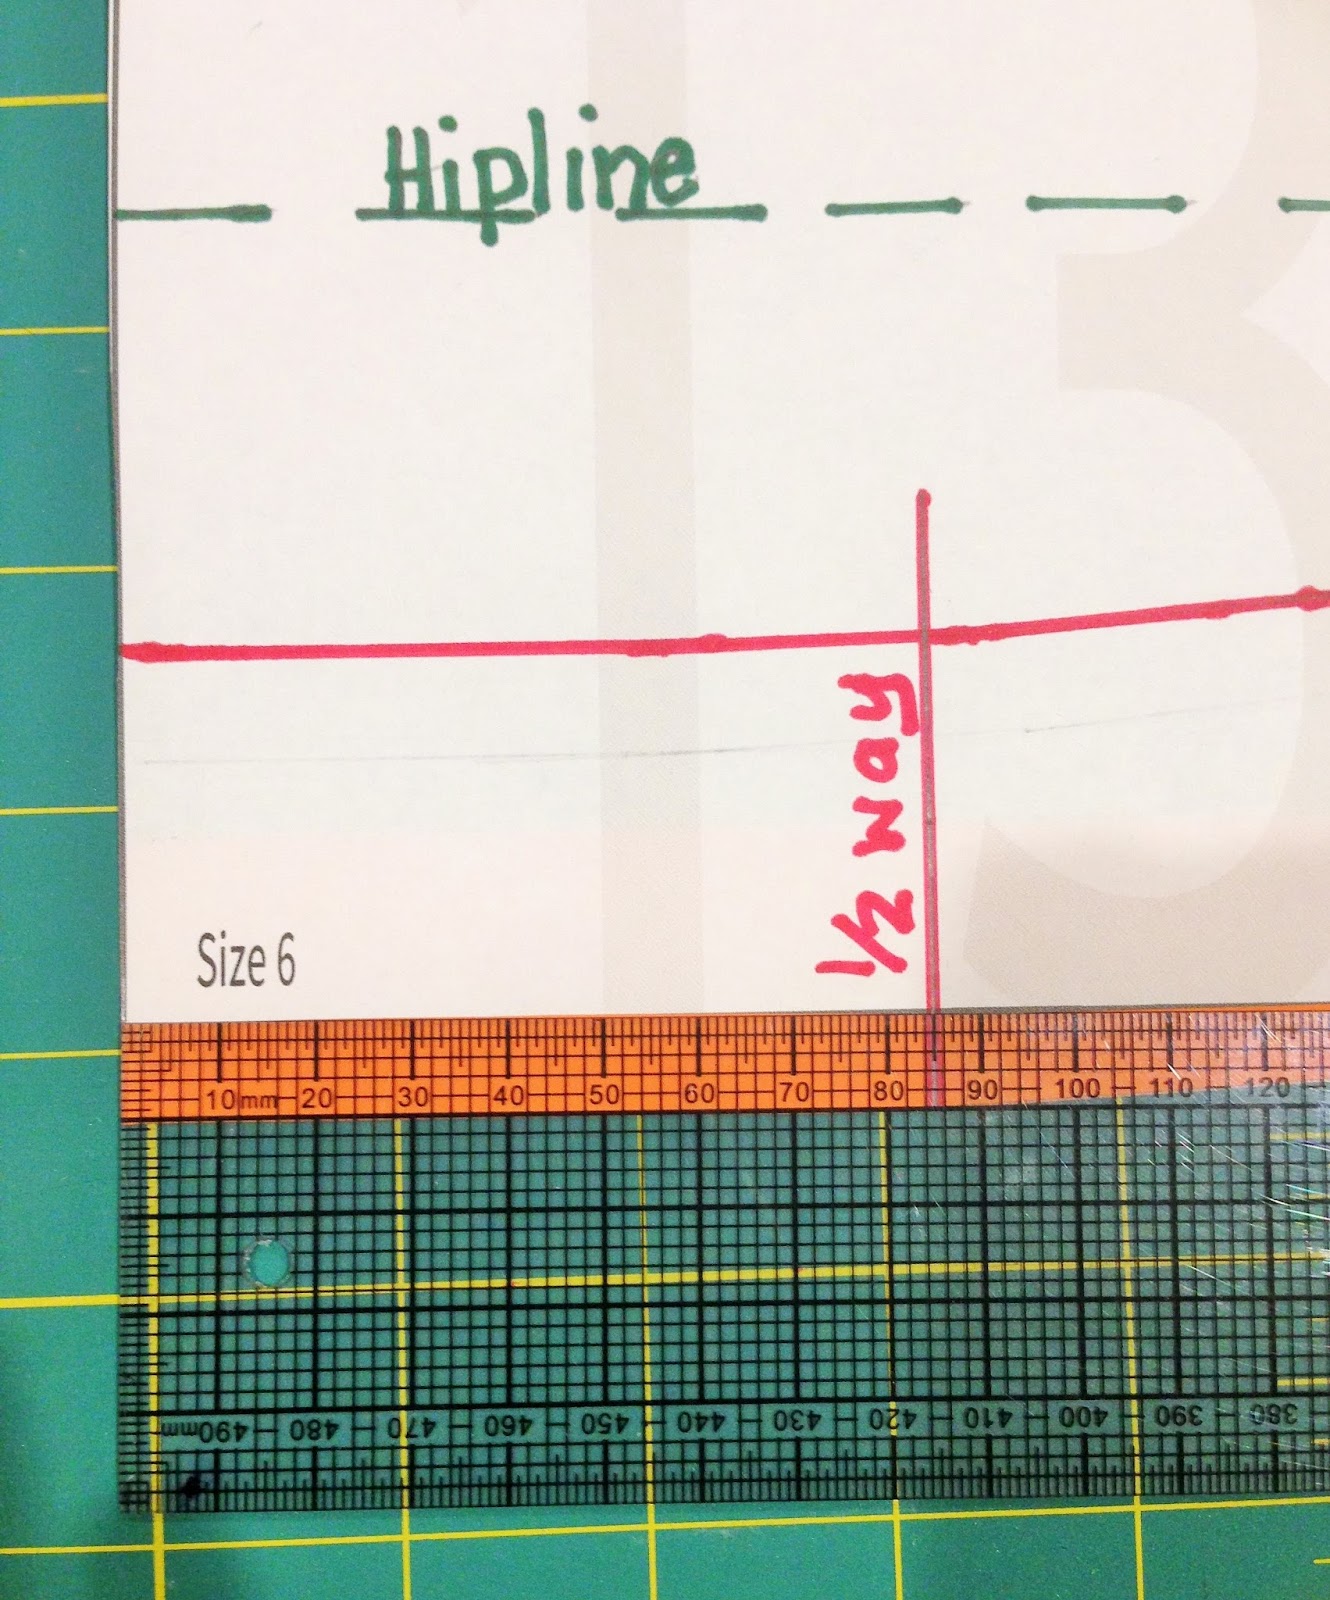
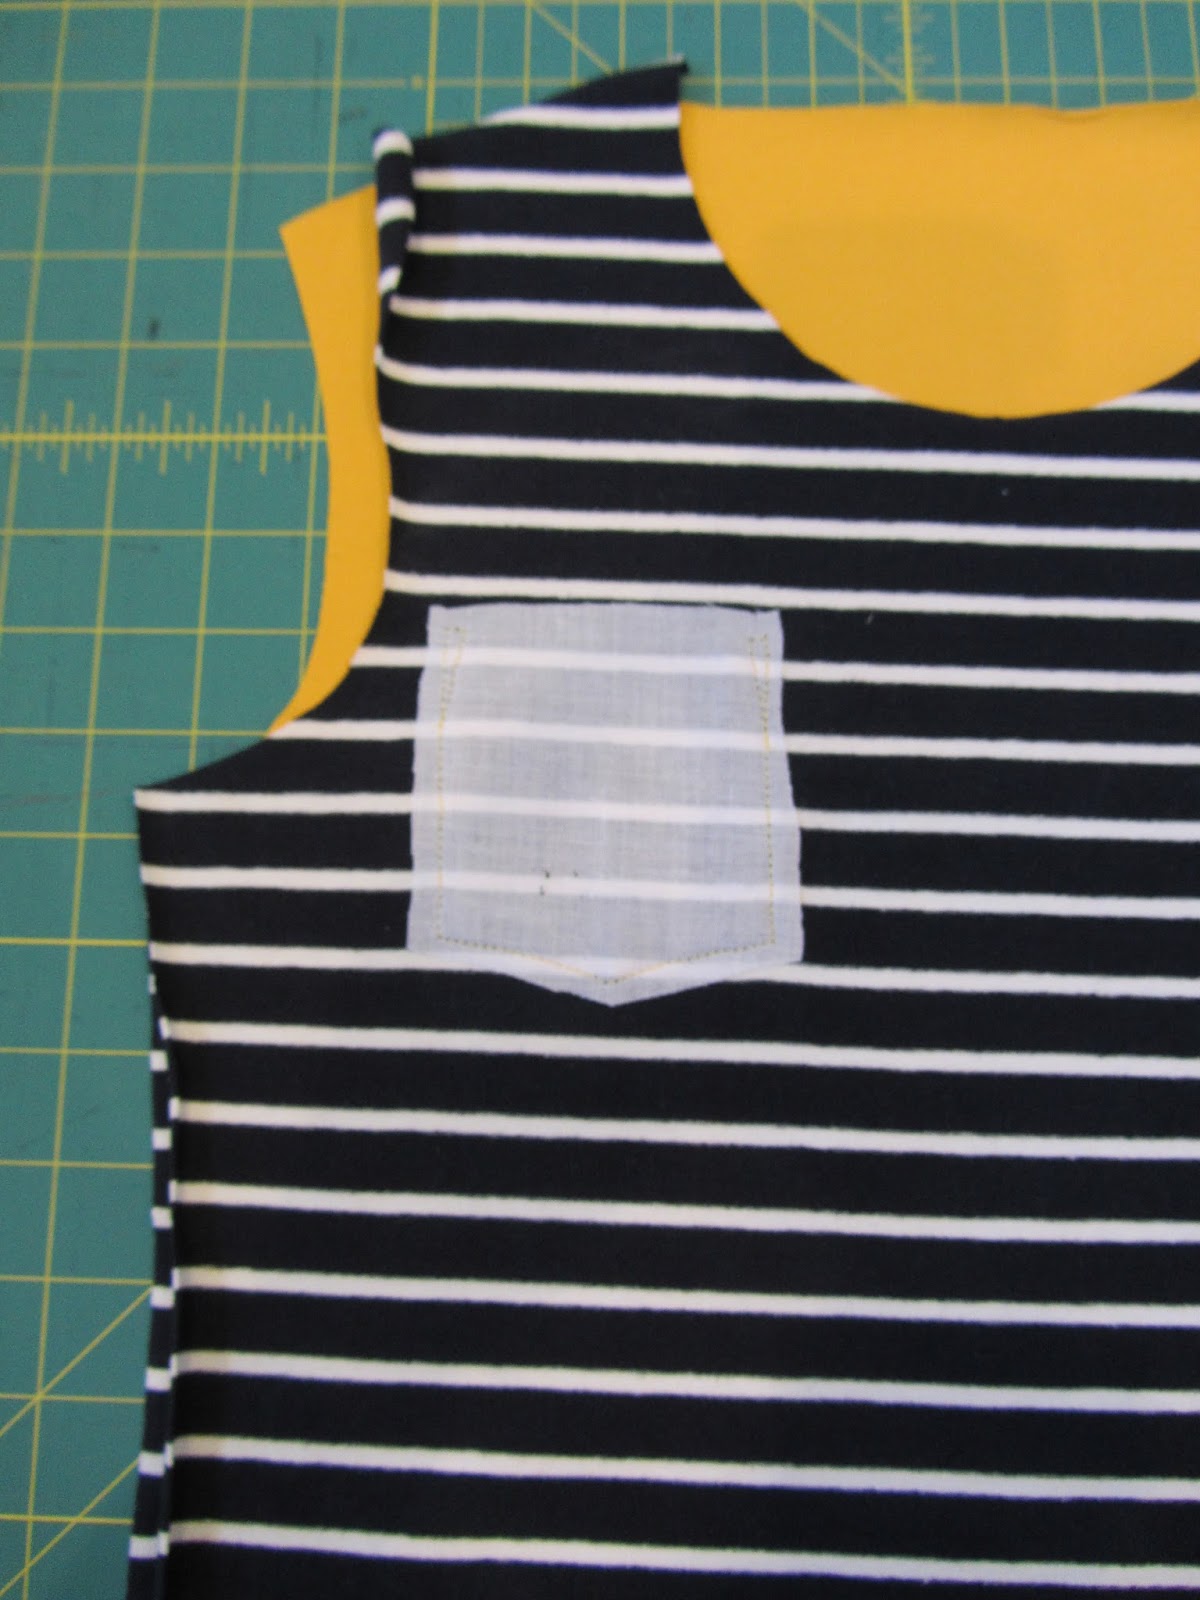
It is always easier to attach a pocket to a garment before assembling. This will ensure the fabric is not distorted. Before attaching your pocket to the garment, work out its general placement, and stabilize the wrong side with iron-on interfacing or tear-away stabilizer. Use a piece that is approximately 1” bigger in width and length than your pocket.
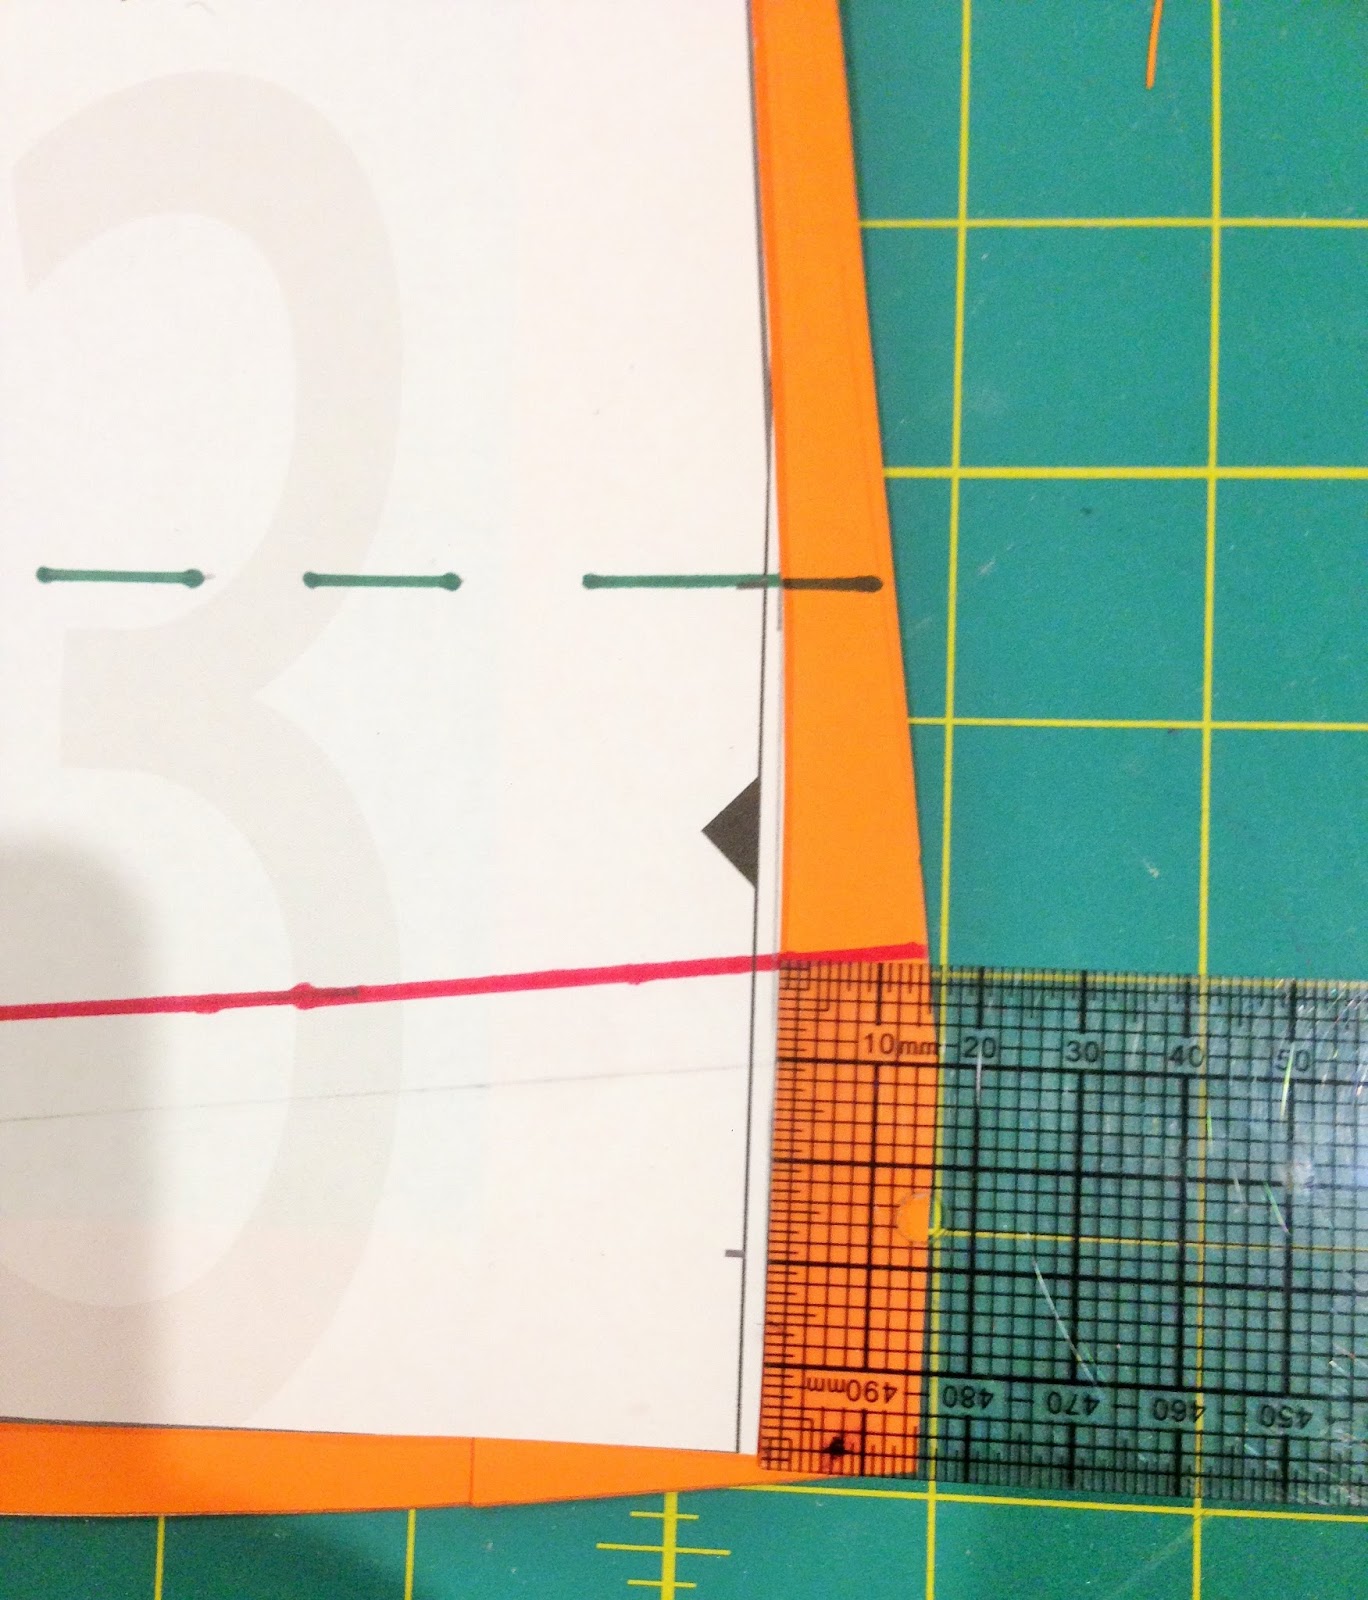
Using the information provided in your FREE pattern, regarding the placement for the size you are making, measure, and pin the pocket in place.
If you feel the pocket will still move whilst sewing with the pins in place, you could opt to use wonder tape to hold the pocket in place.
To start begin near the lowermost point of the hem, on the upper right-hand side of the pocket. Here you will form a triangle to reinforce the pocket on the garment. Straight stitch towards the upper fold of the hem of the pocket, then pivot and sew two stitches towards the corner and then pivot once again, forming a complete triangle. Continue down the right side, along the bottom and up the left edge of the pocket. Complete attachment of the pocket with a second triangle, on the upper left side of the pocket,
back-tack to secure.
Trim threads and either trim away the excess interfacing or carefully remove the tear-away stabilizer on the back of the garment. If you used wonder tape this will dissolve away when washed.
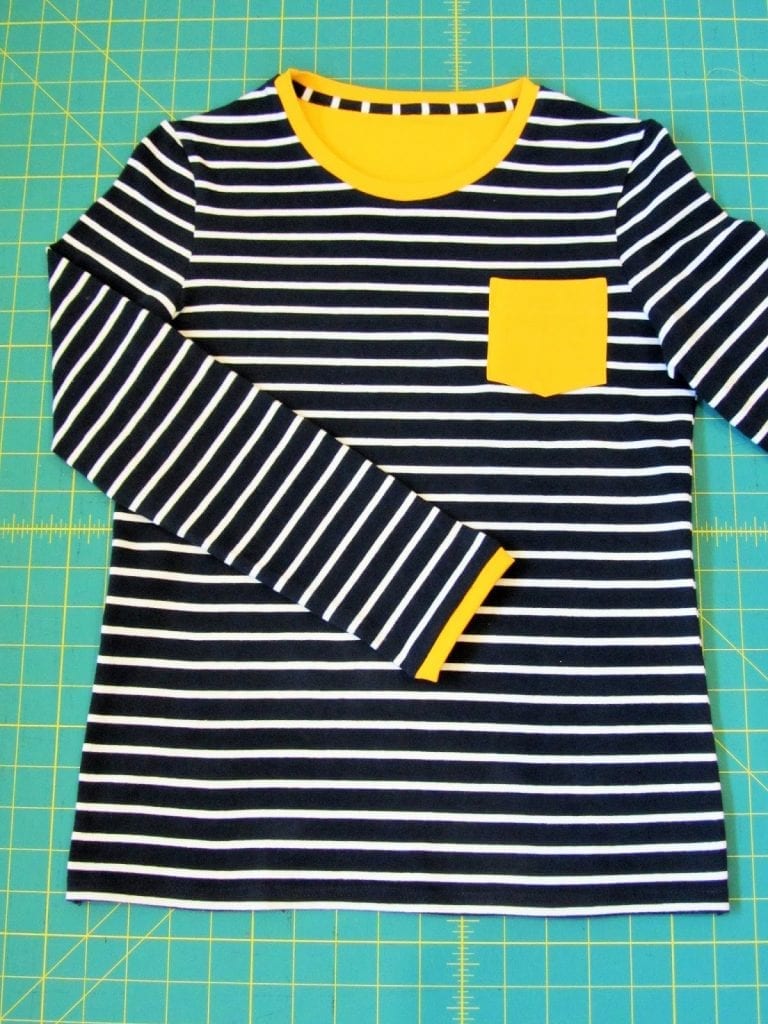
Finally, continue sewing the remainder of the garment using the #21100 Fun Tee Pattern Instructions. (Link for store below)
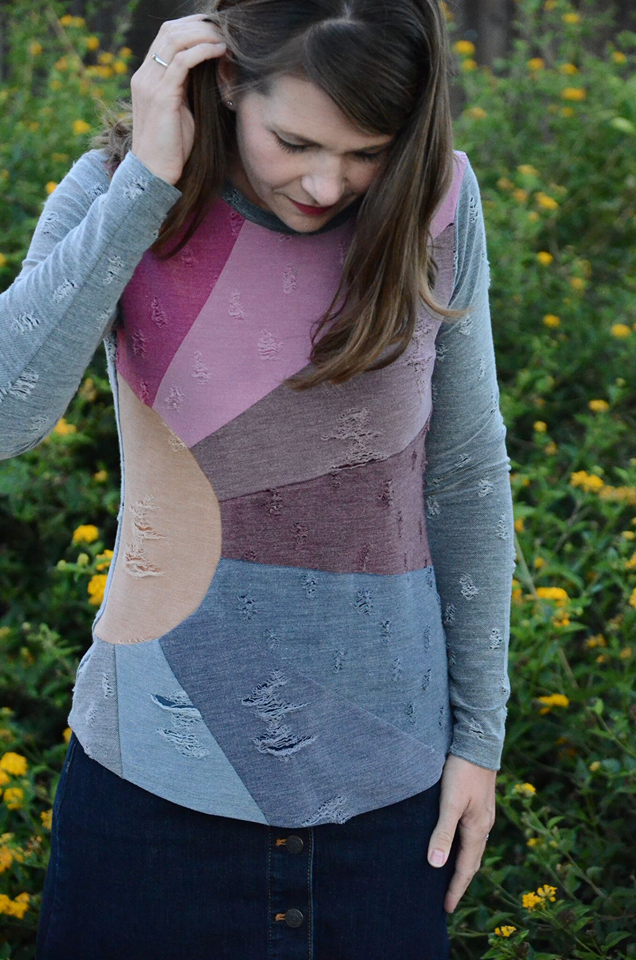
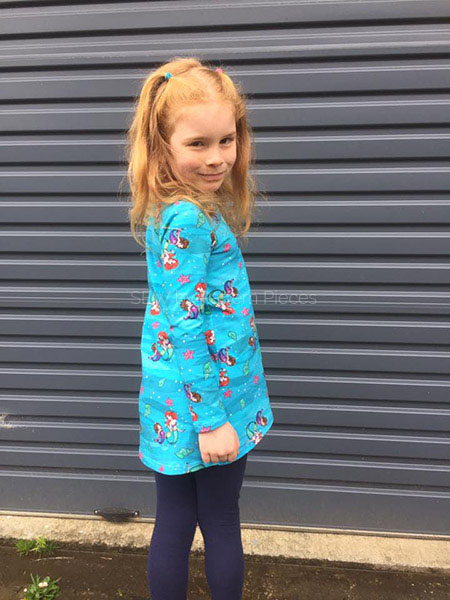
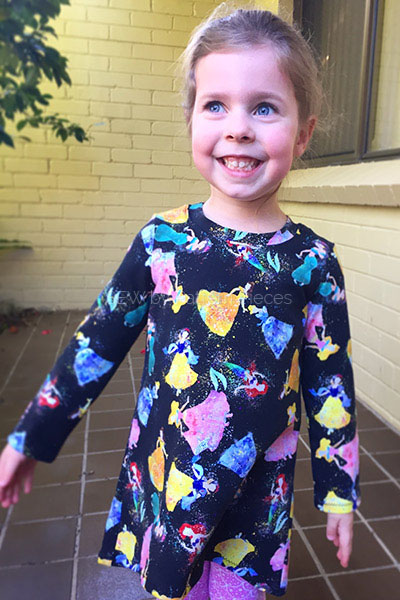
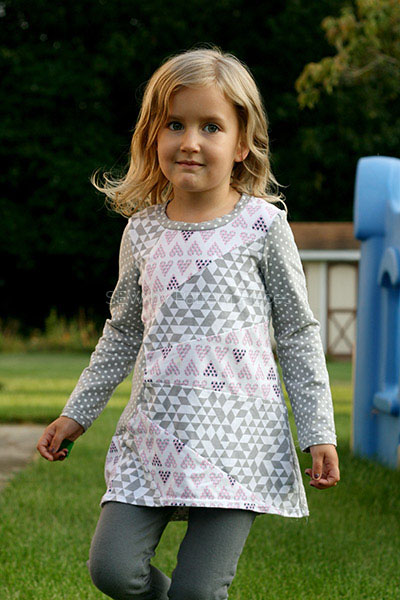
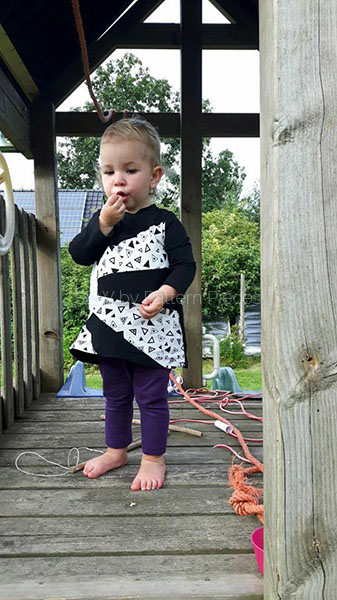
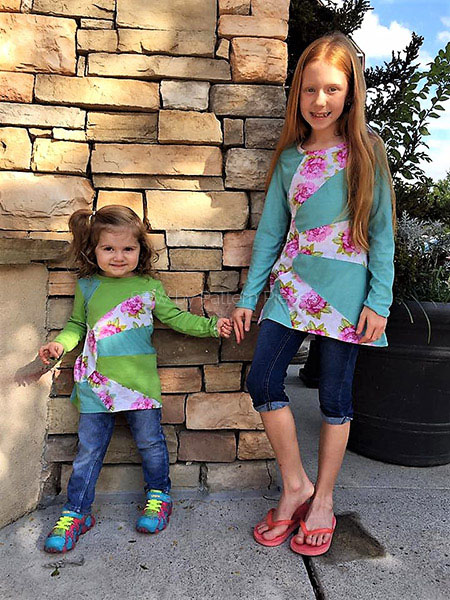
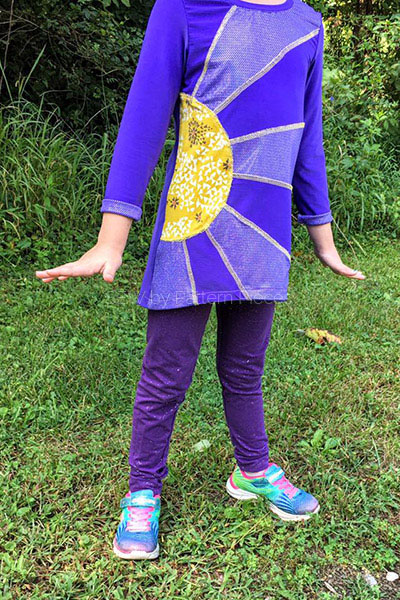
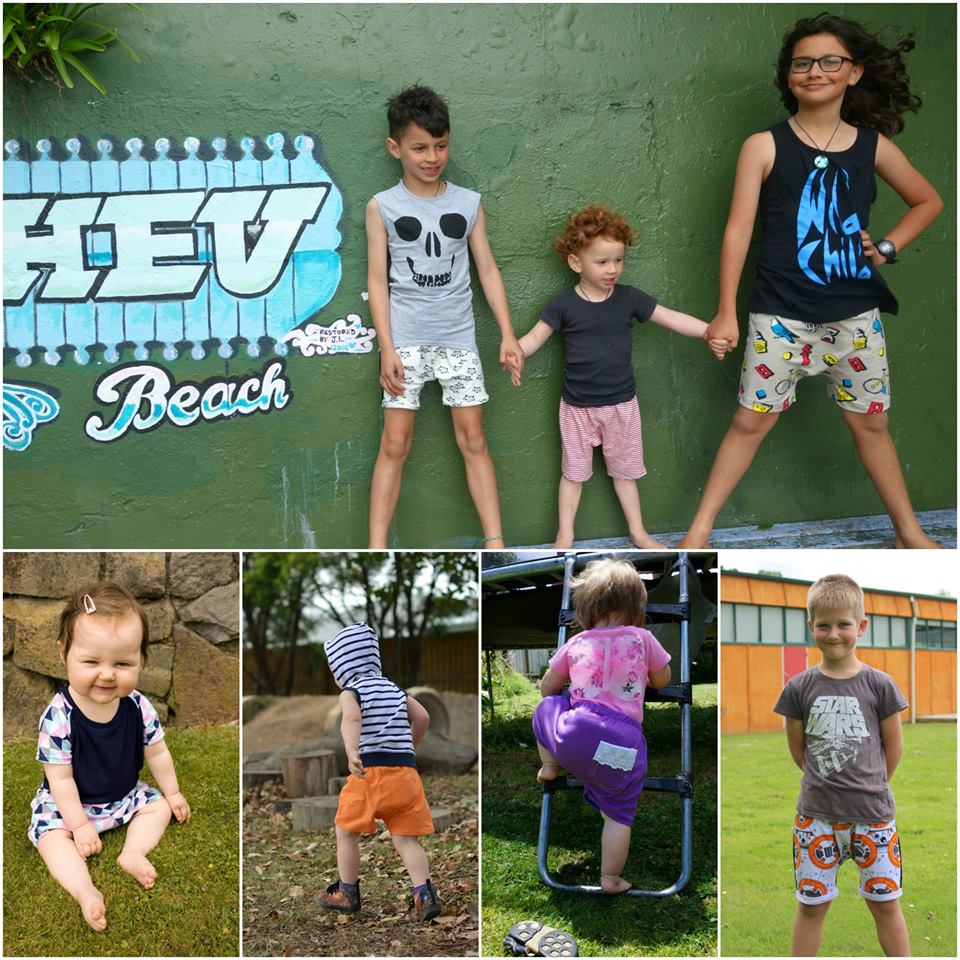
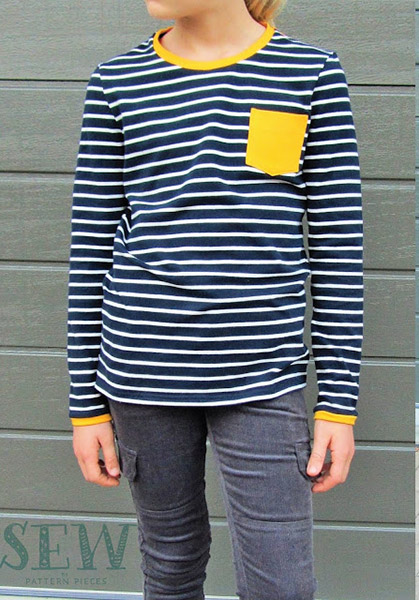
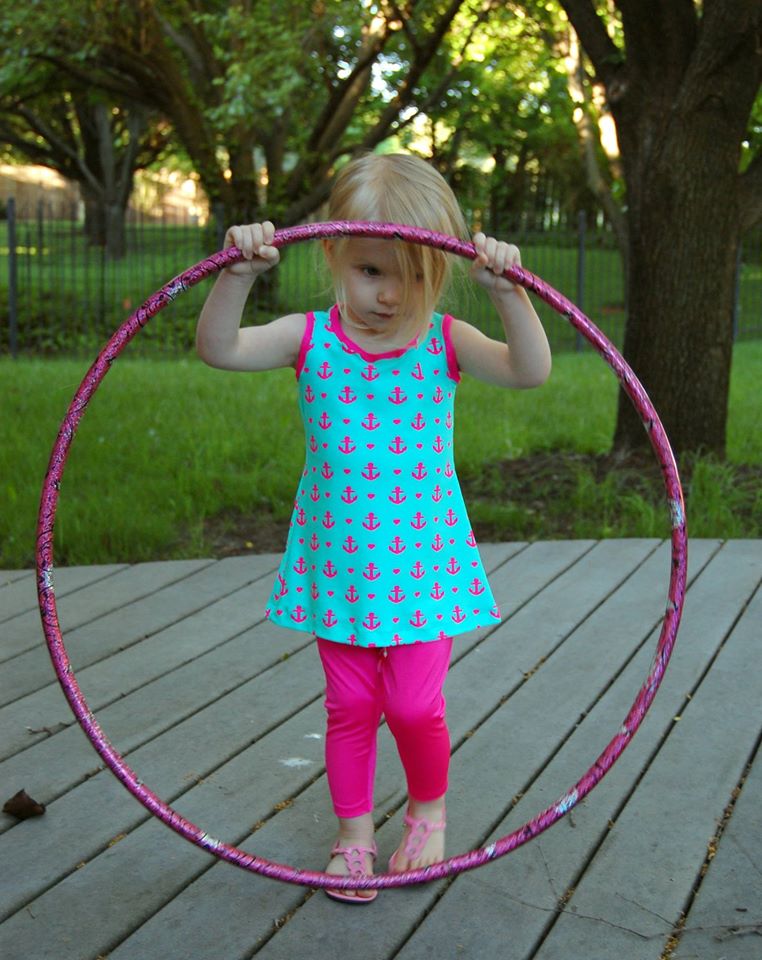
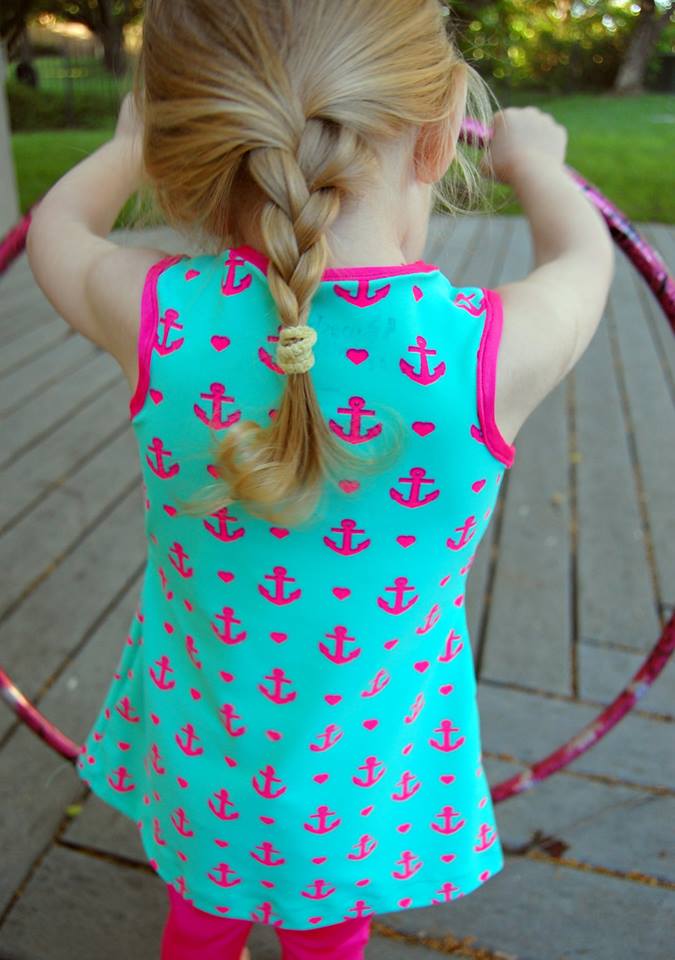
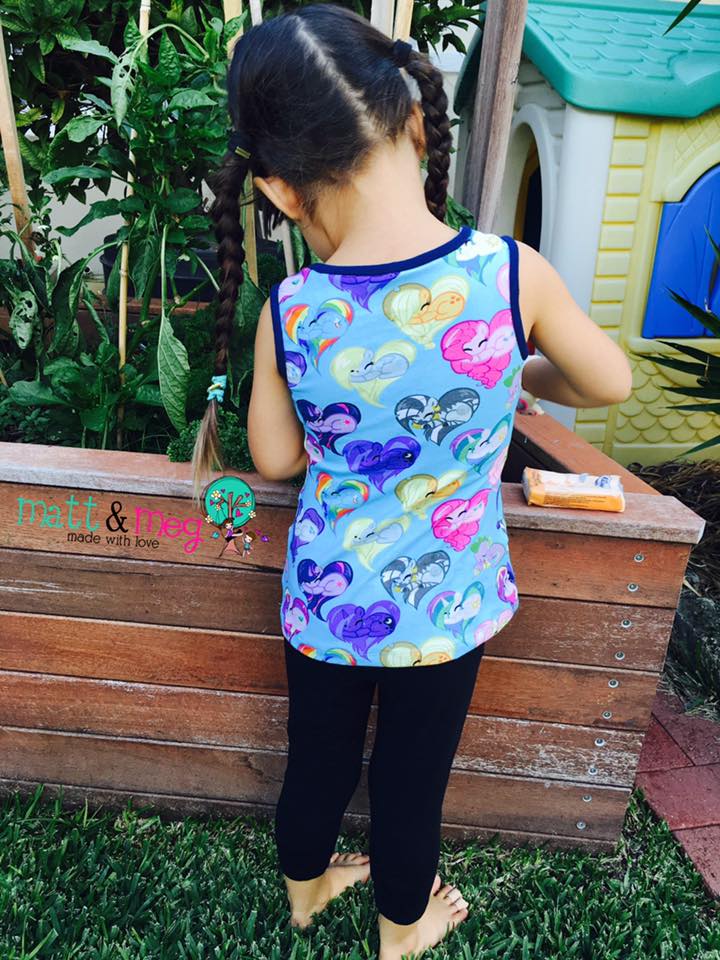
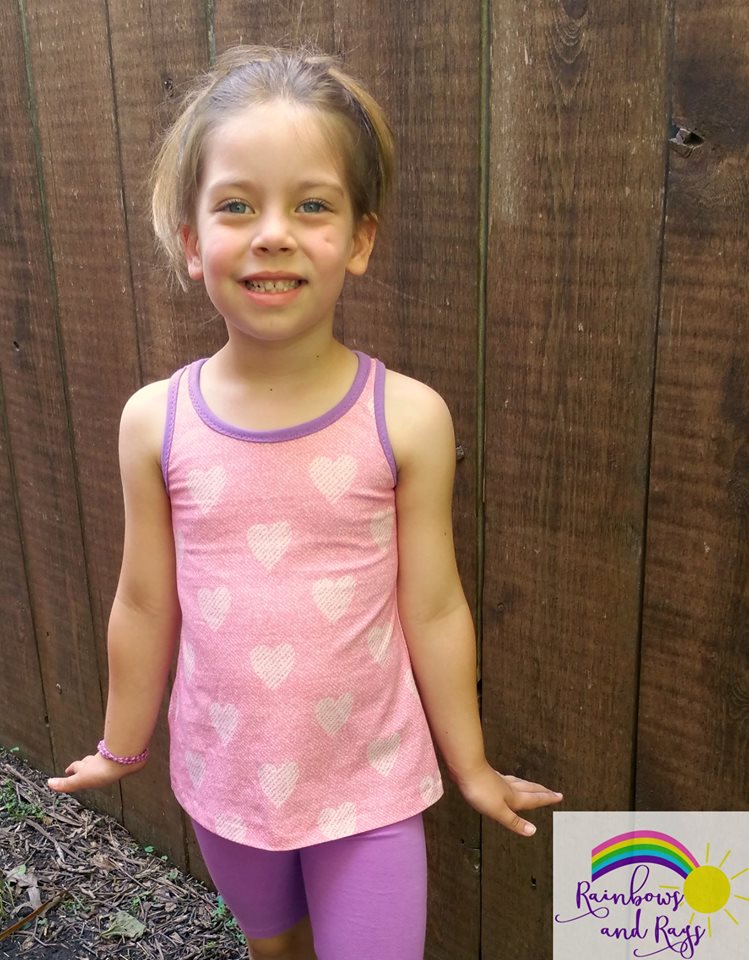
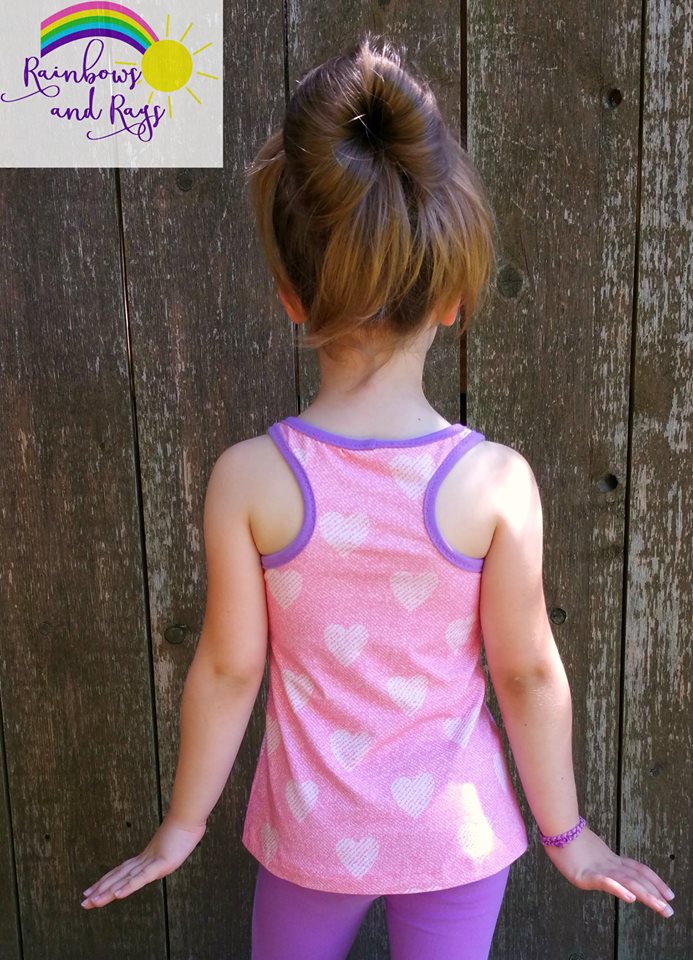
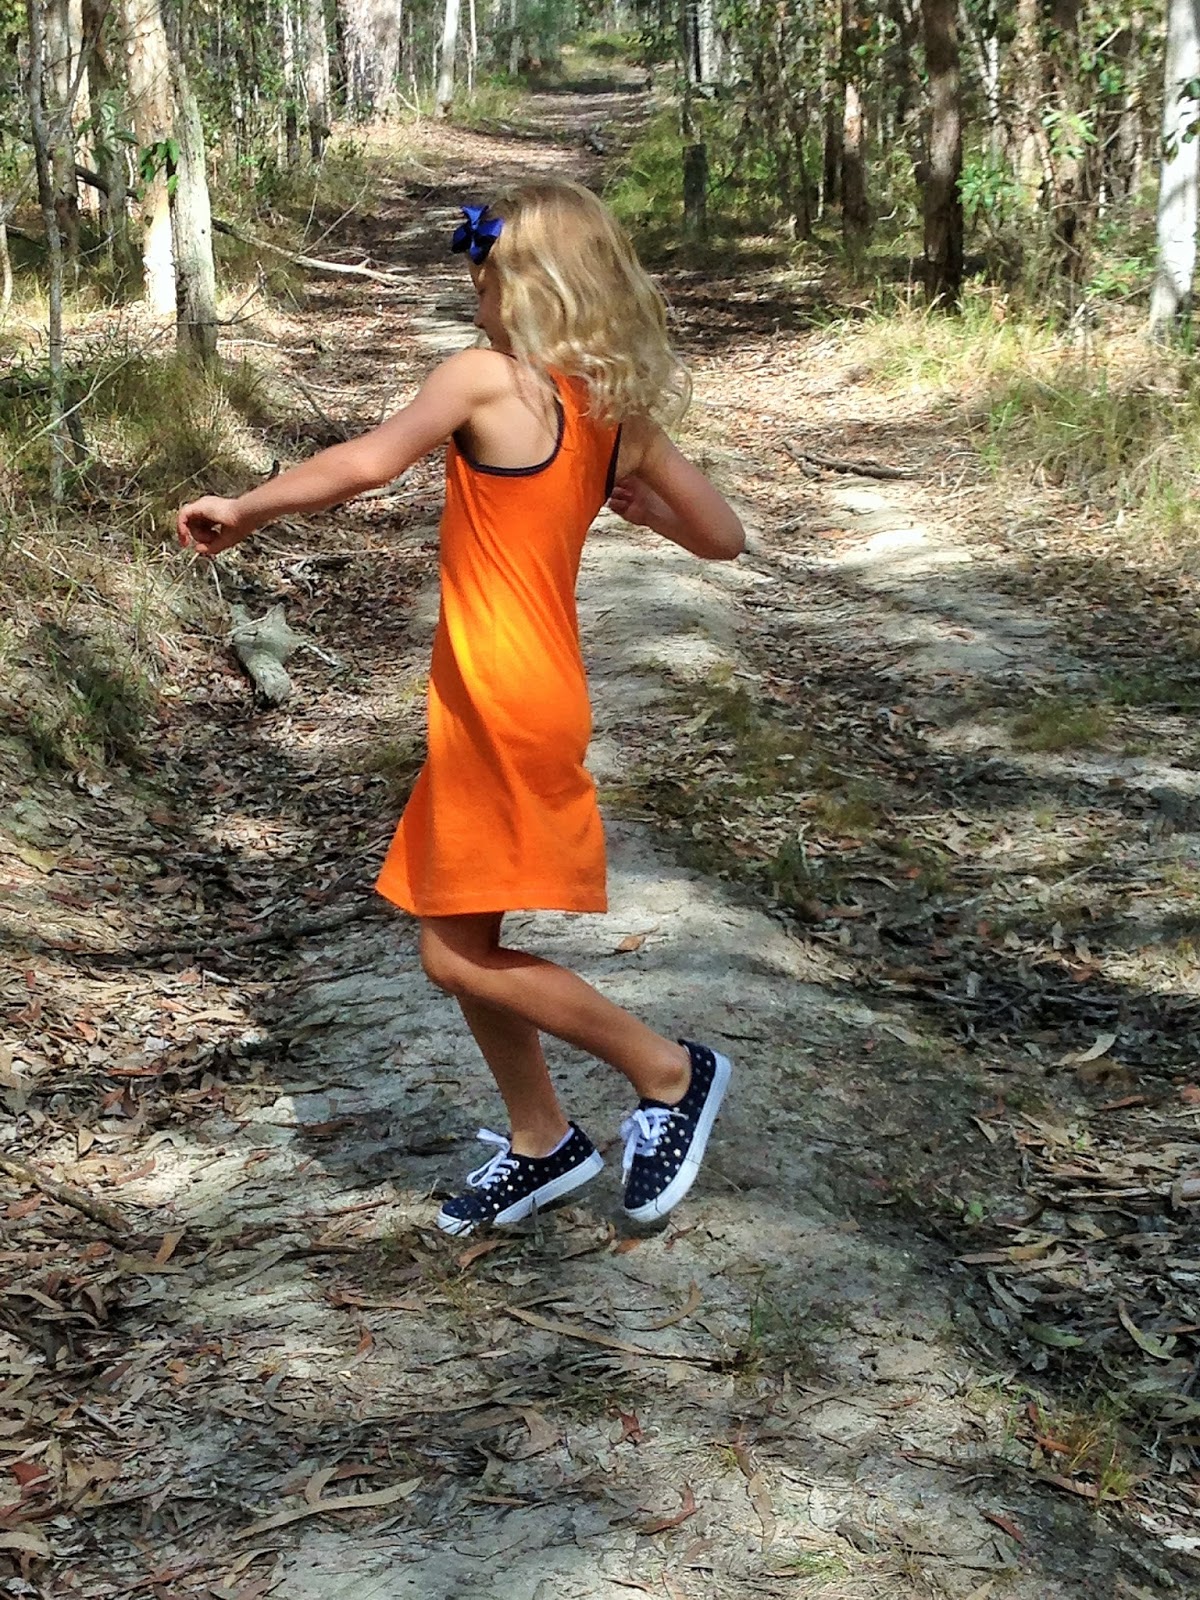
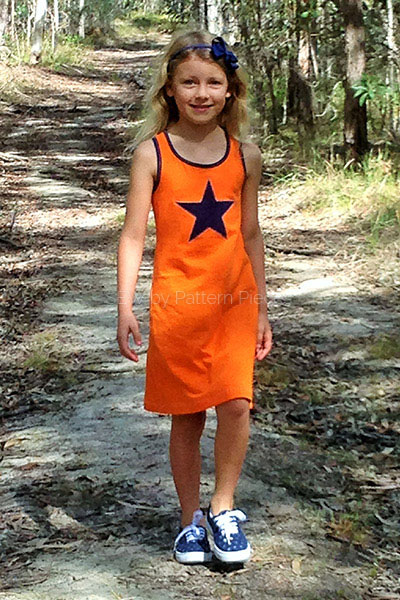
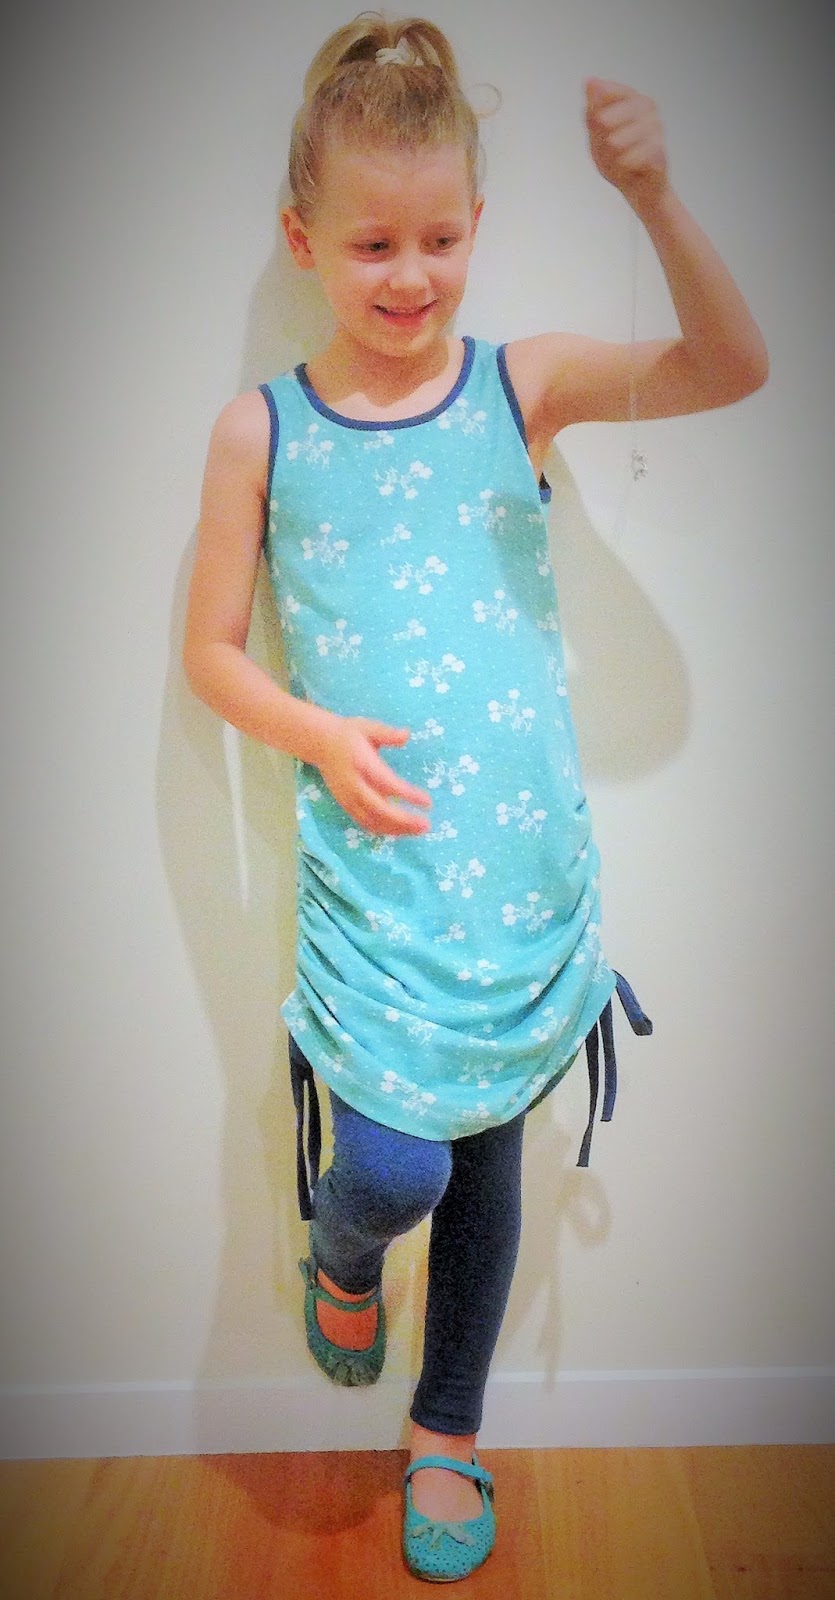
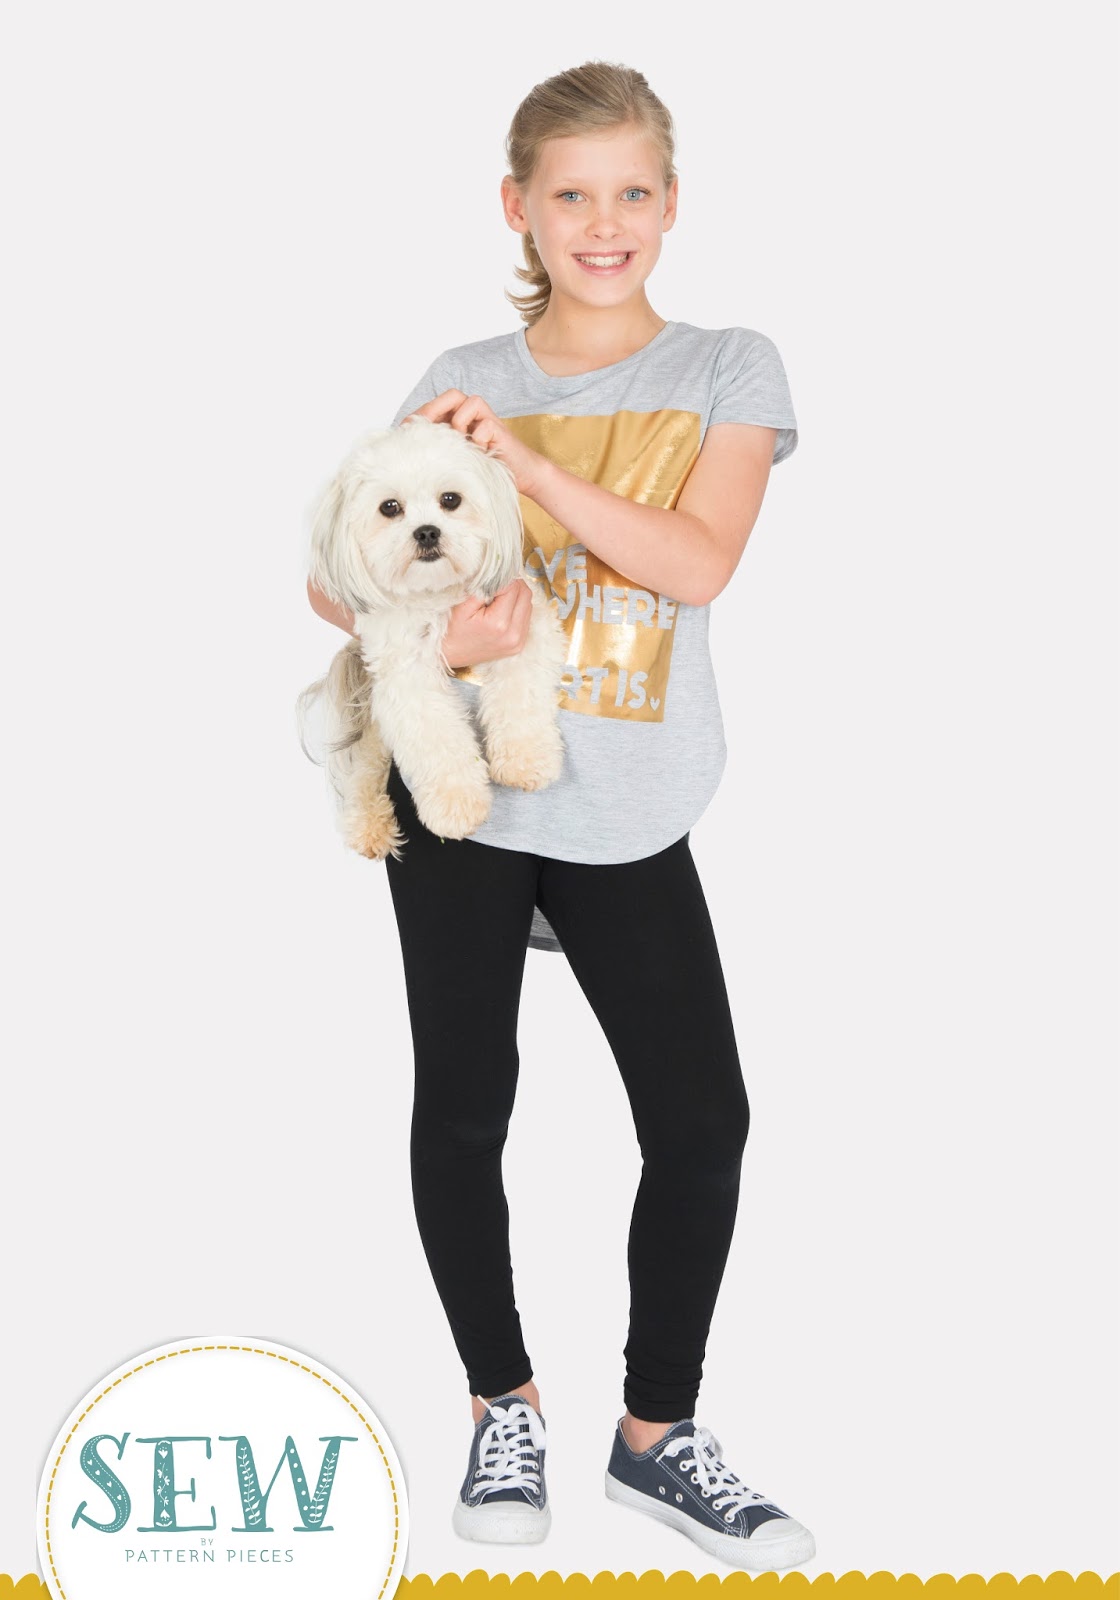
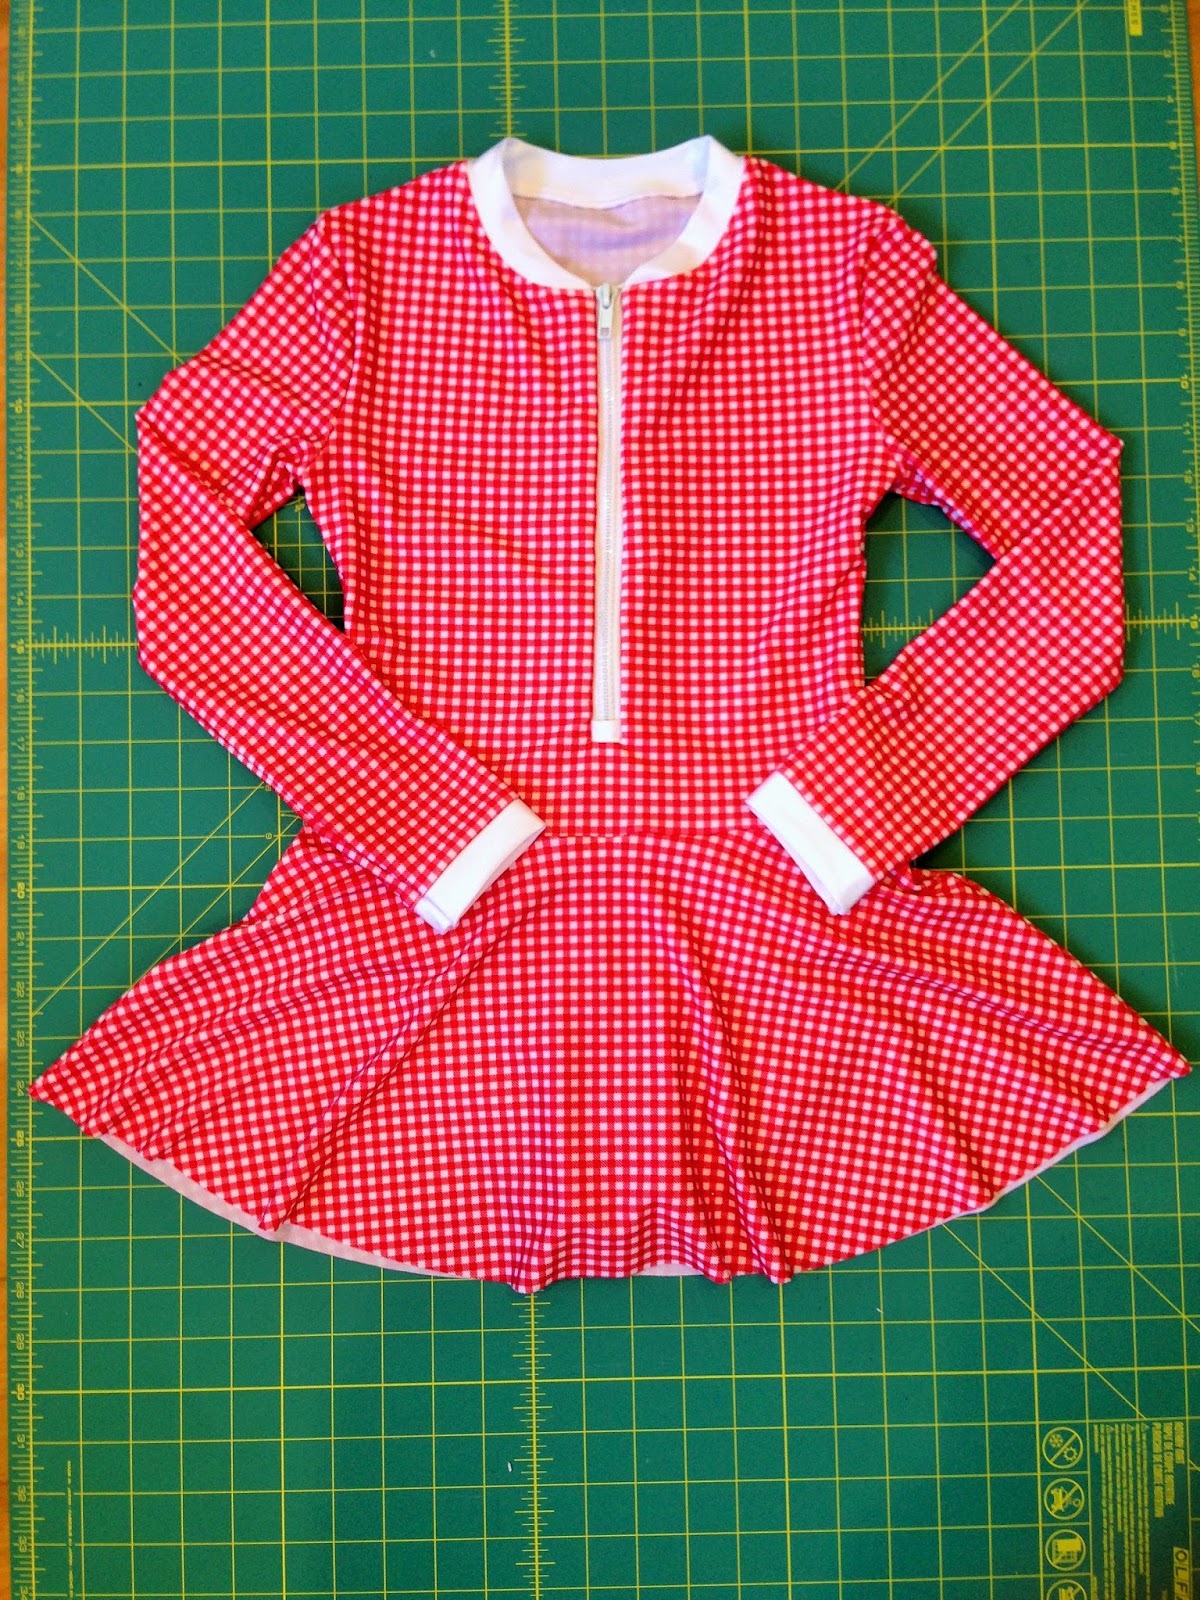
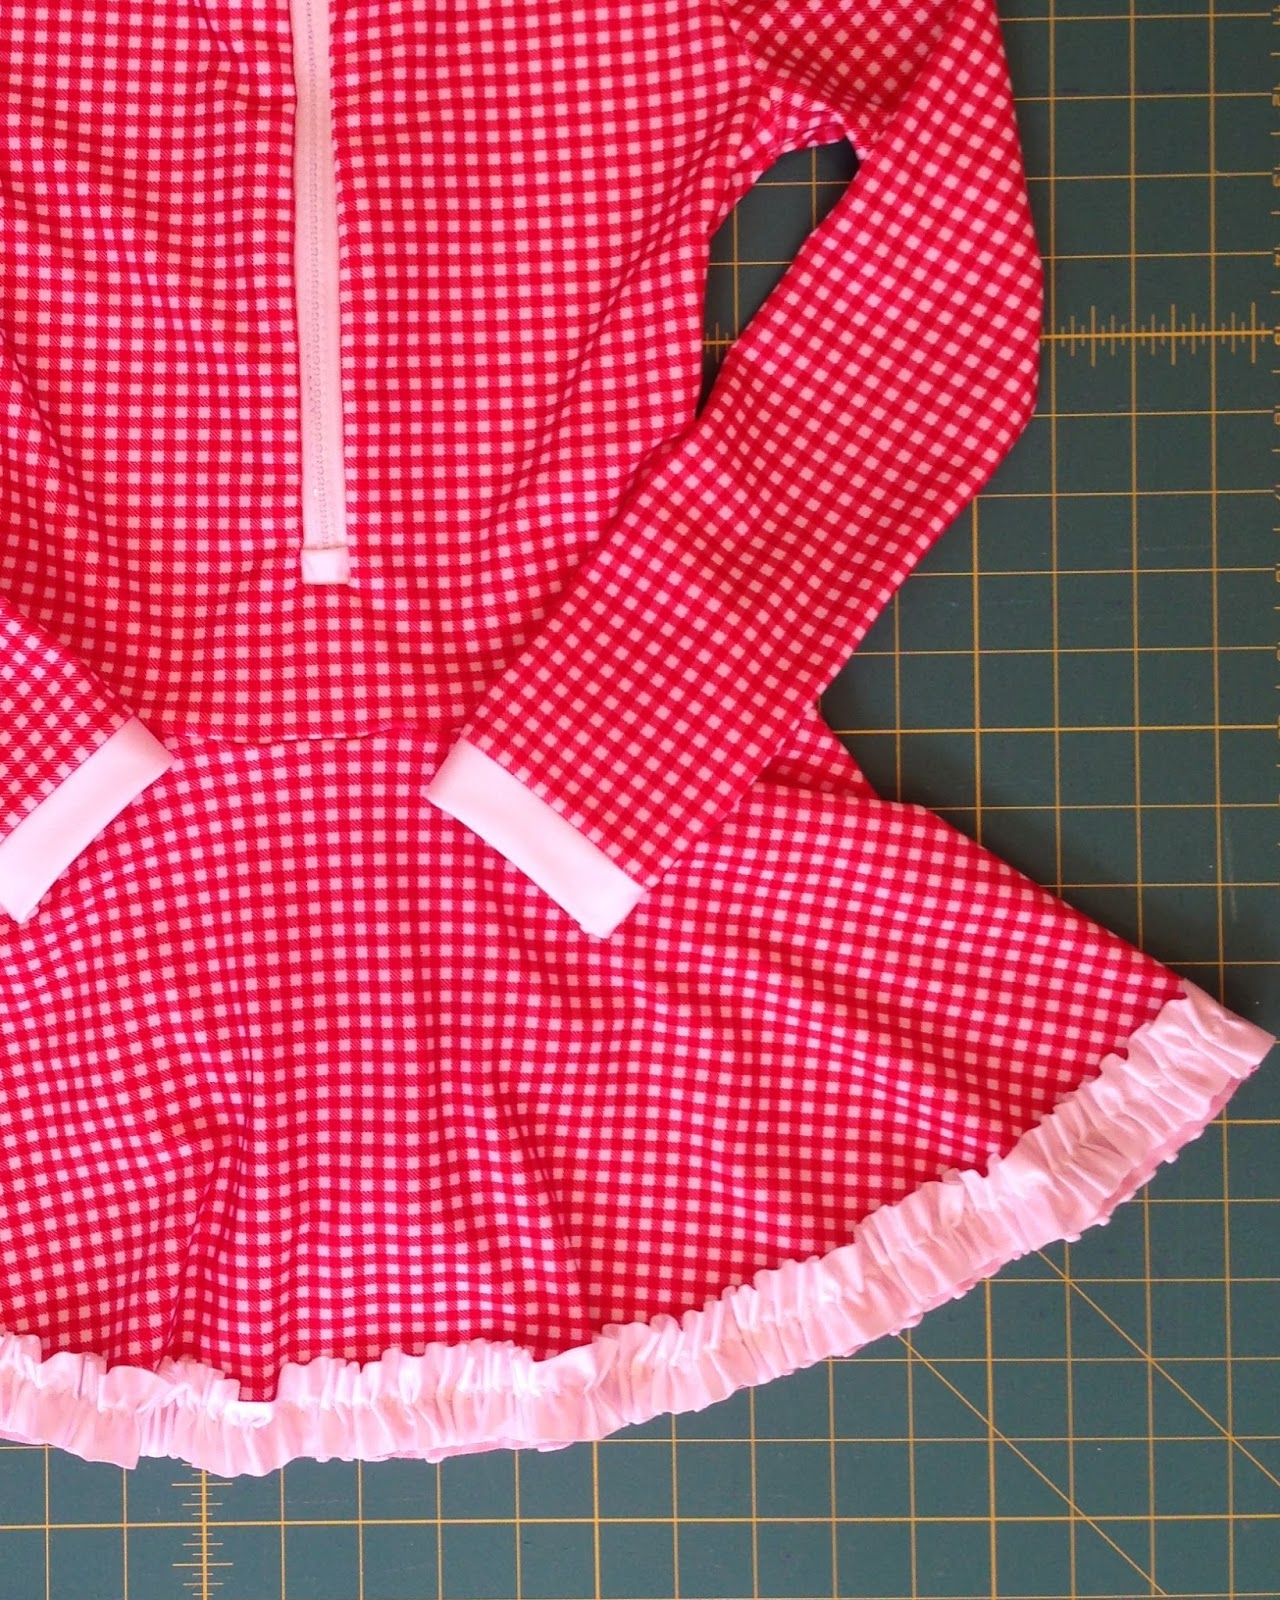
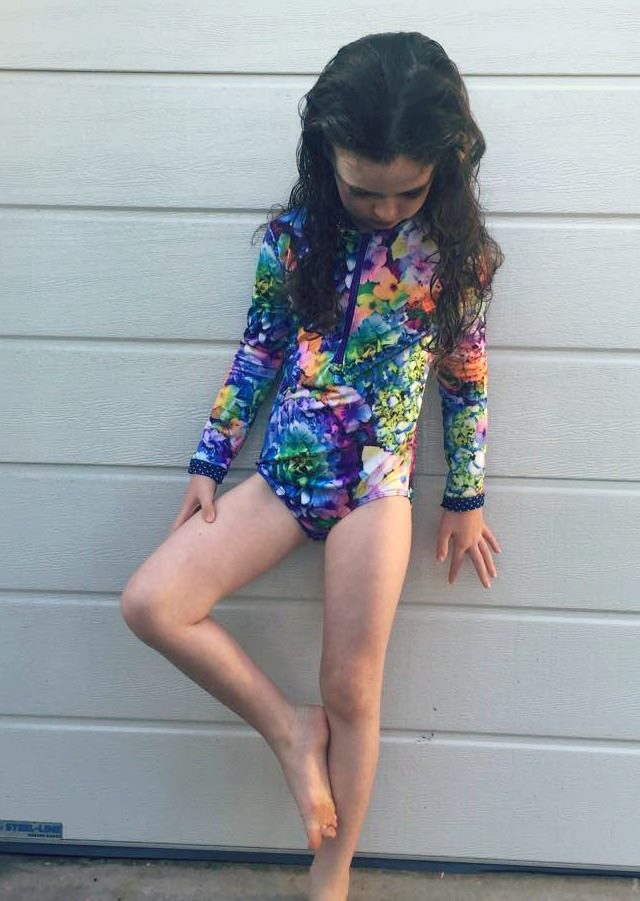
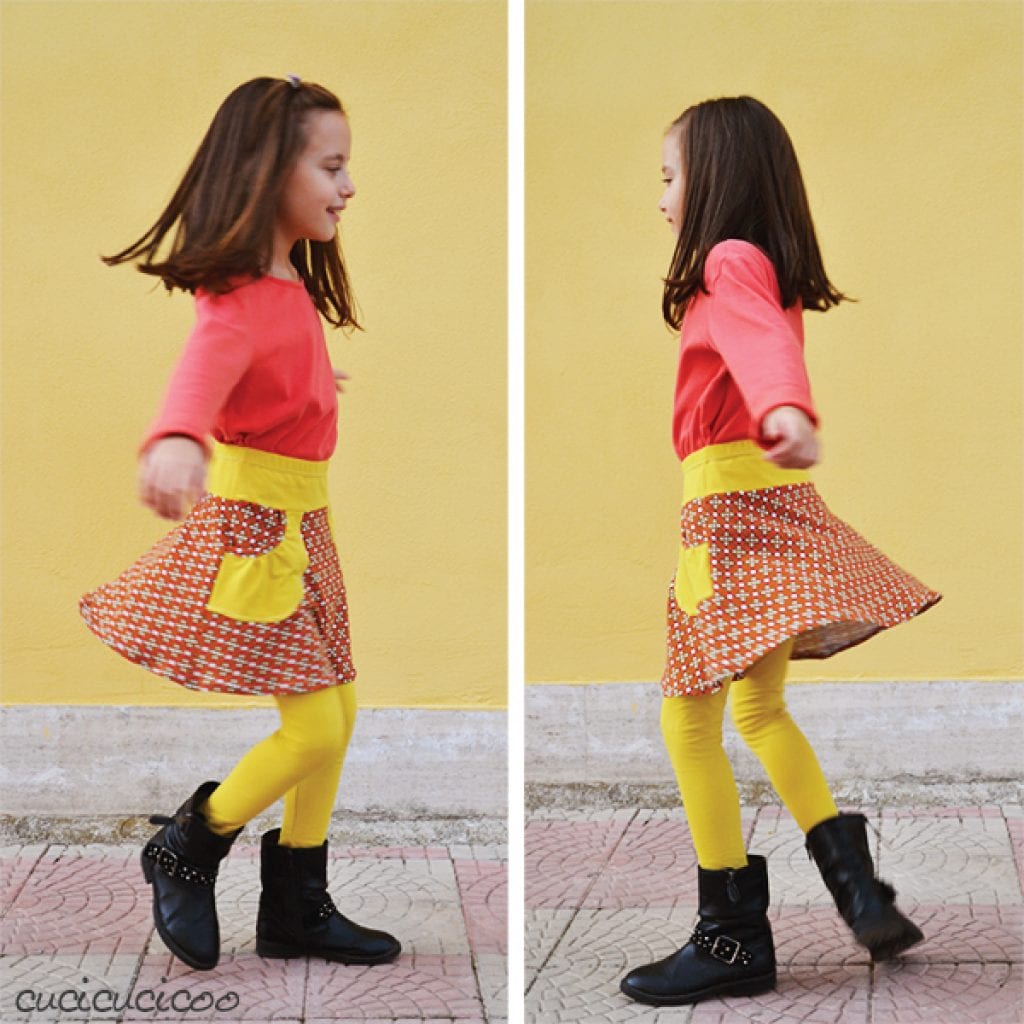
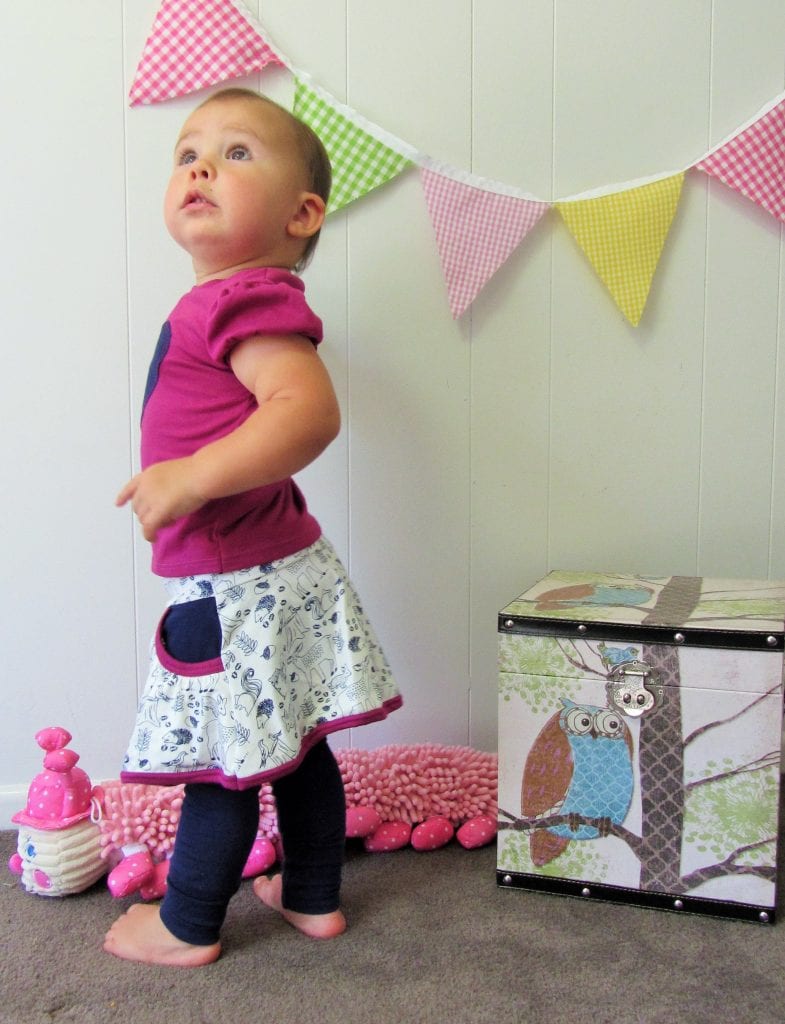
Now you have an up to the minute fashionable shirt that your child will be happy to hang about in.
Thank you for viewing. We hope this has inspired you to put some pockets on your tees when you sew them. Are you in need of a great fitting Fun Tee PDF Pattern for your little ones?
Shop for Pattern: HERE
Instagram Hashtag: #funteepdfpattern #sbppfuntee
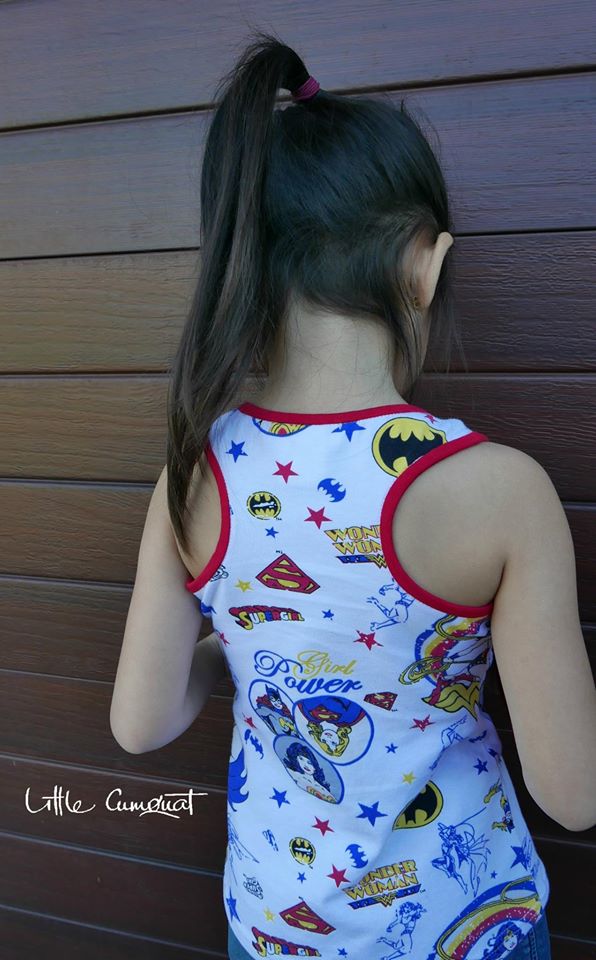
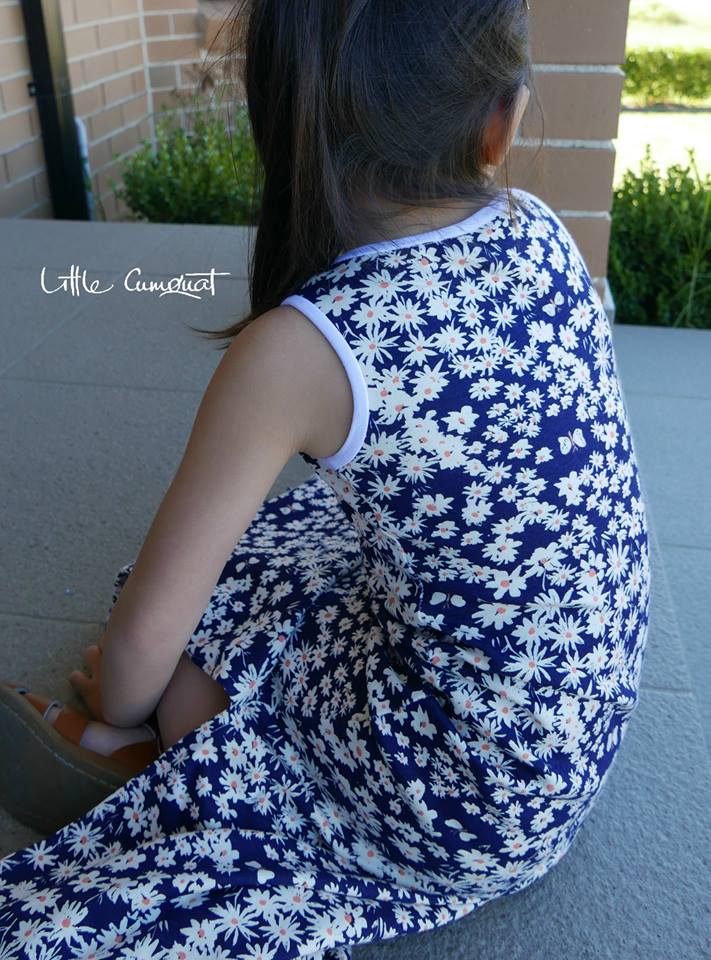
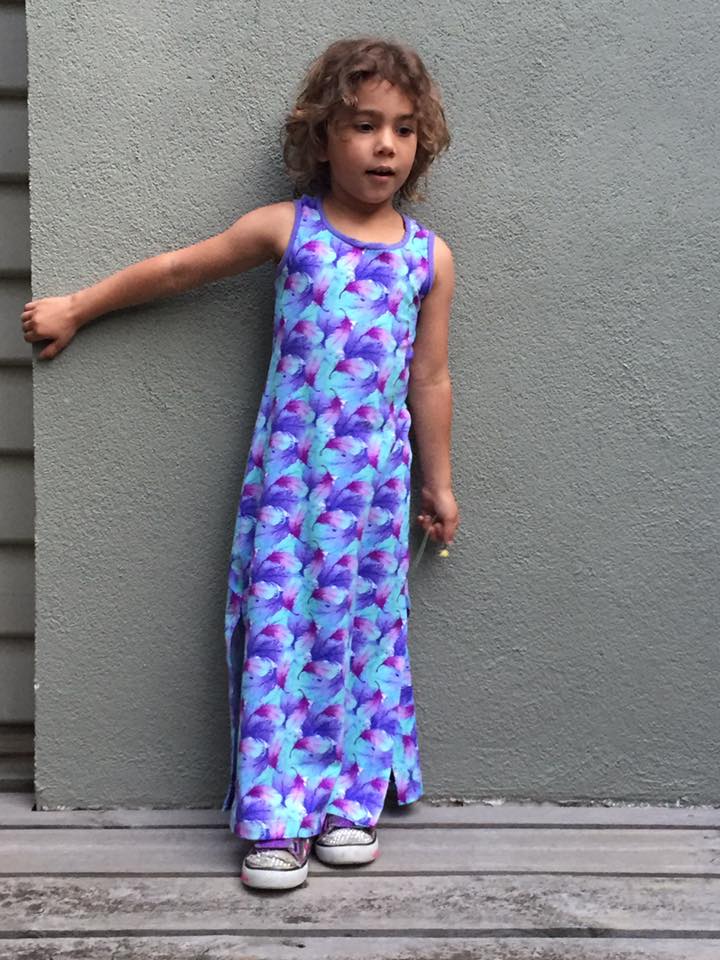
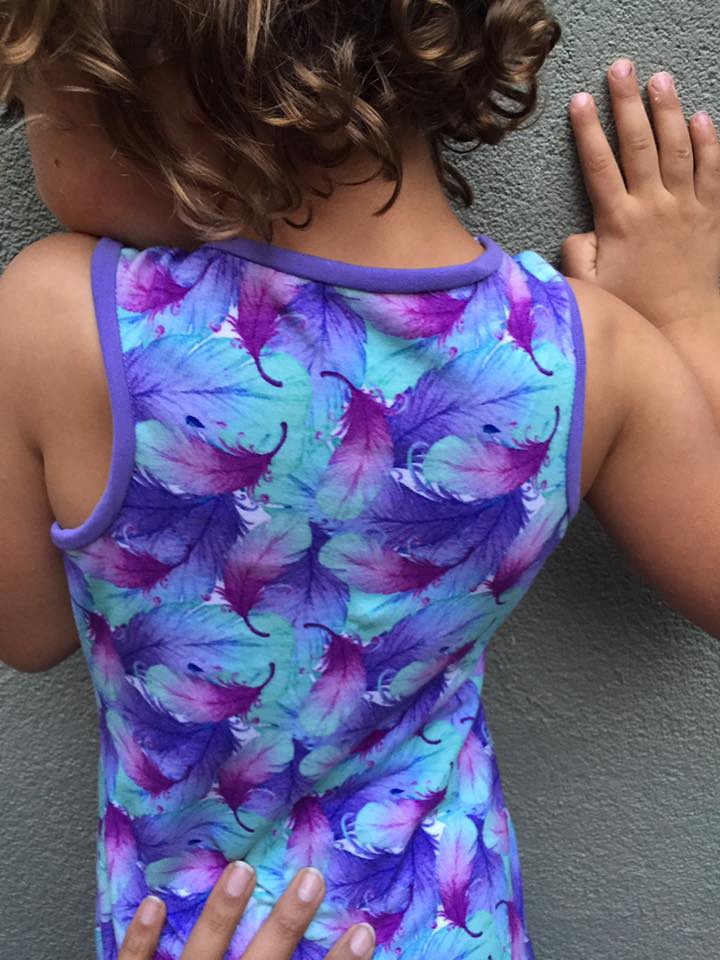
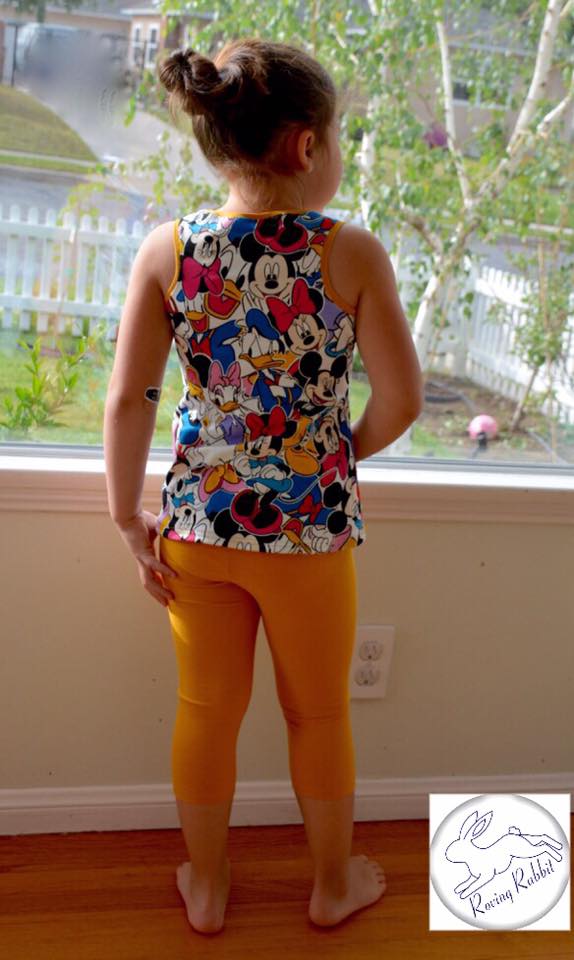
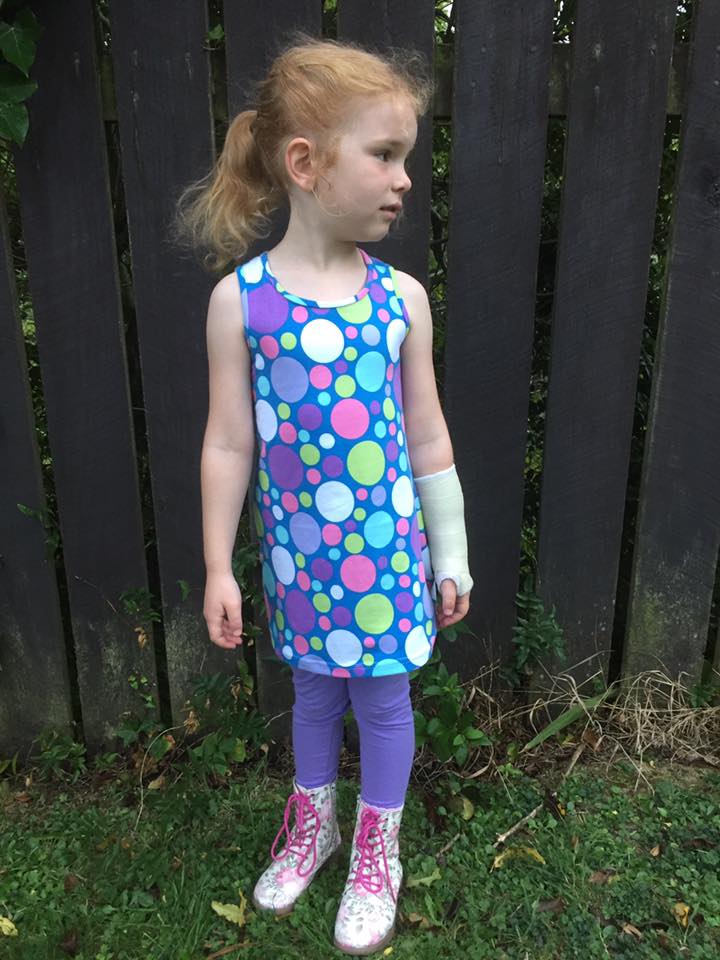
Tester Inspiration: Blog Post Link
Pinterest Page: HERE