For a while now people in our sewing group have been requesting an Add On to our Girls Fun Tee. It is with great excitement that I am here to tell you that we now have this option.
This pattern is an Add On so, therefore, you will need to have access to the Girls Fun Tee pattern and will need to print the sleeves, neckband, and cuffs from that base pattern in order to create the dress.
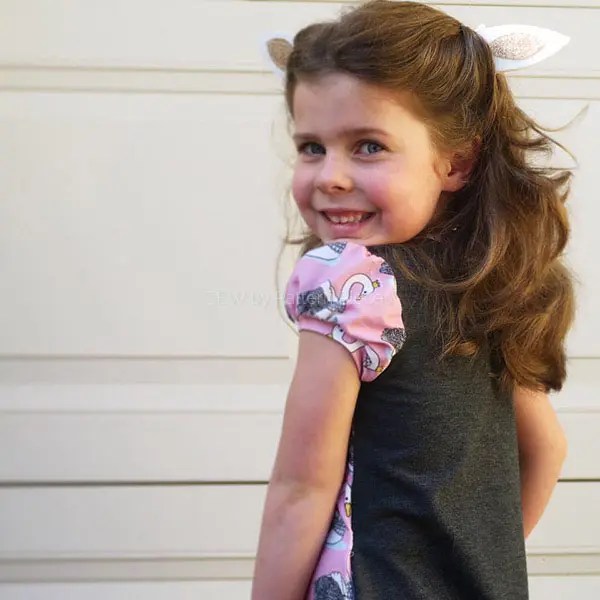
As a bundle you will have all you need to make these sleeve options each with the choice to add Mini or Full Flutters:
A. Short Sleeve;
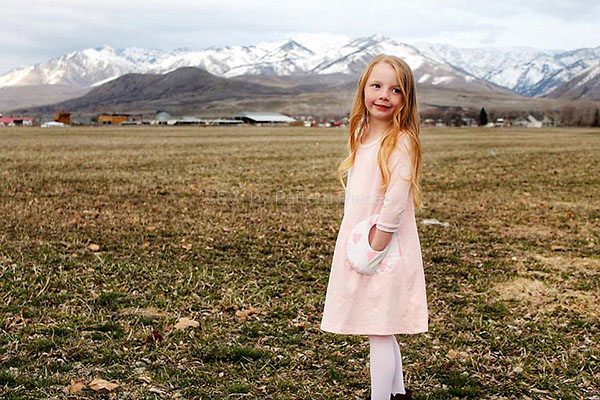
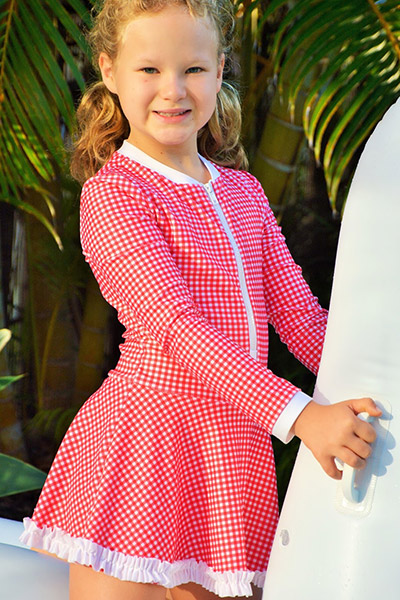
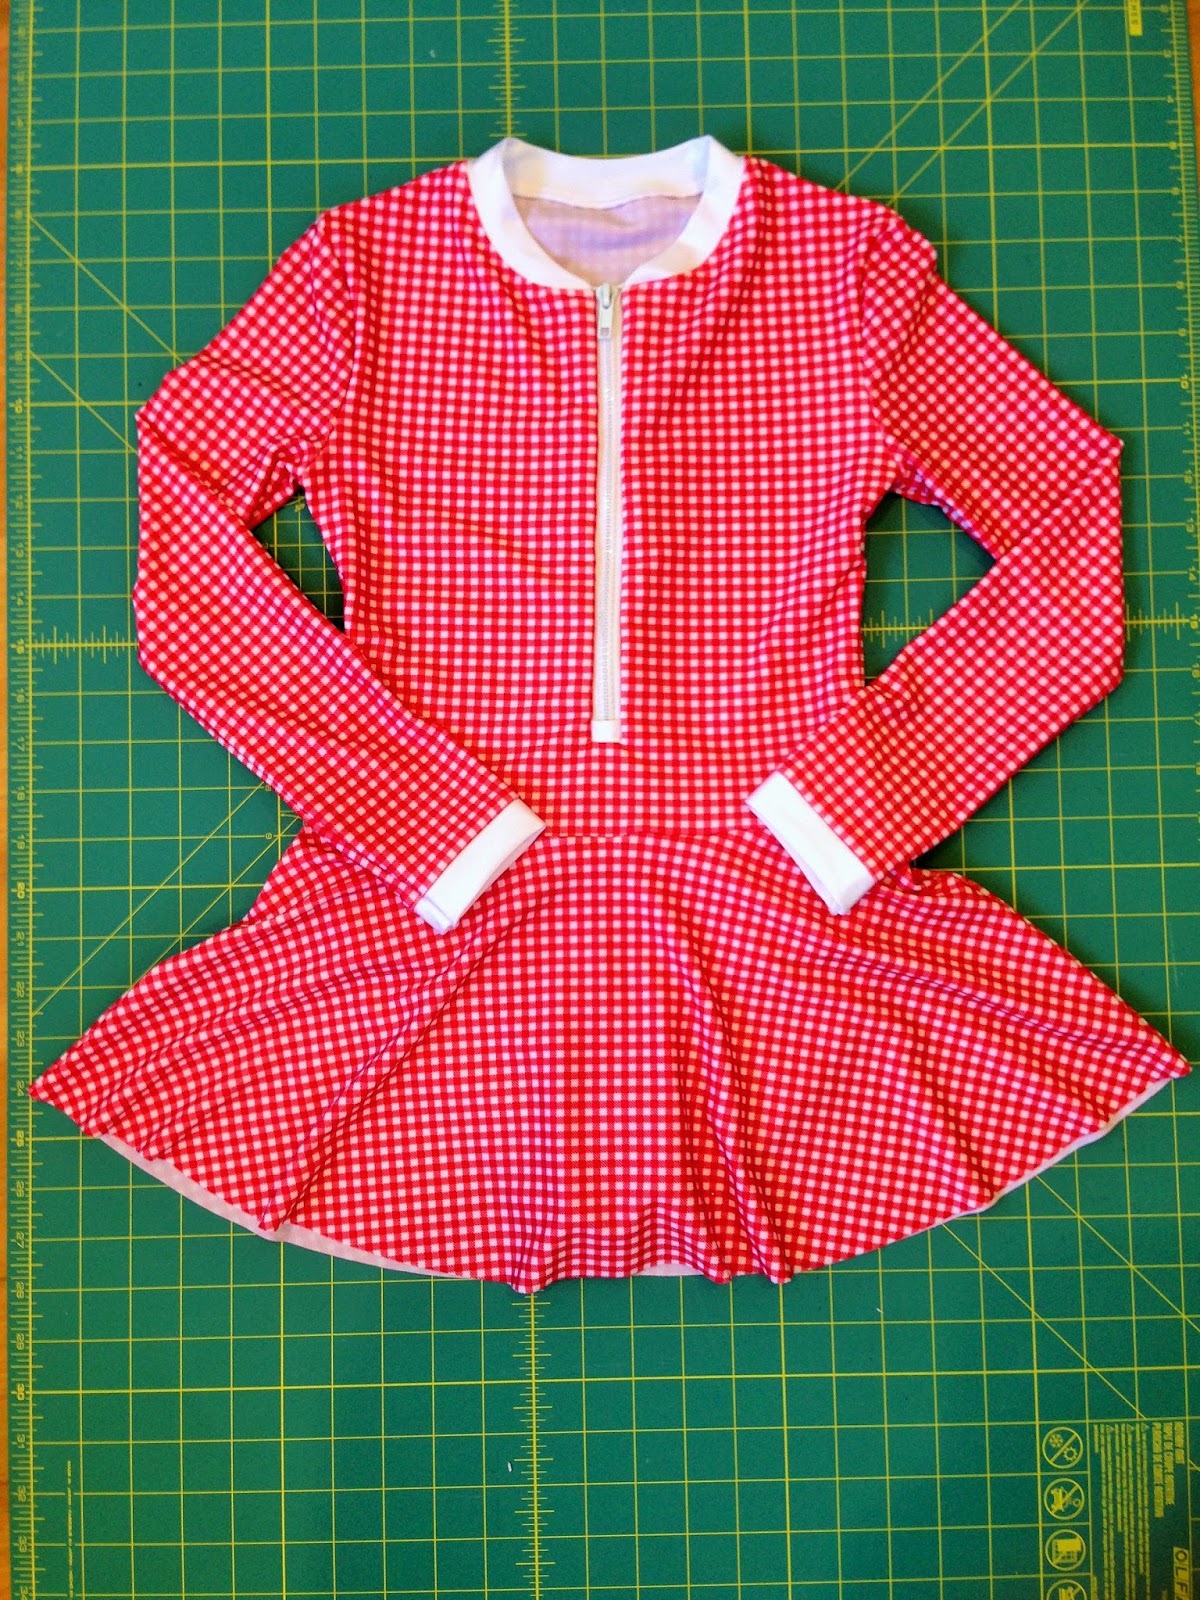
B. Long Sleeve;
C. Gathered Short Sleeve;
D. Gathered Long Sleeve;
E. Full Flutter on its own.
FABRIC RECOMMENDATIONS 50% 4-way stretch knit fabric blend containing lycra/elastane/spandex.
Sizes supplied in this pattern 1,2,3,4,5,6,7,8,10,12,14.
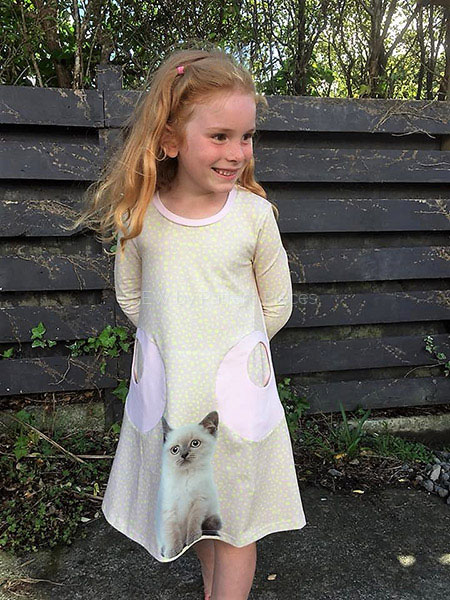
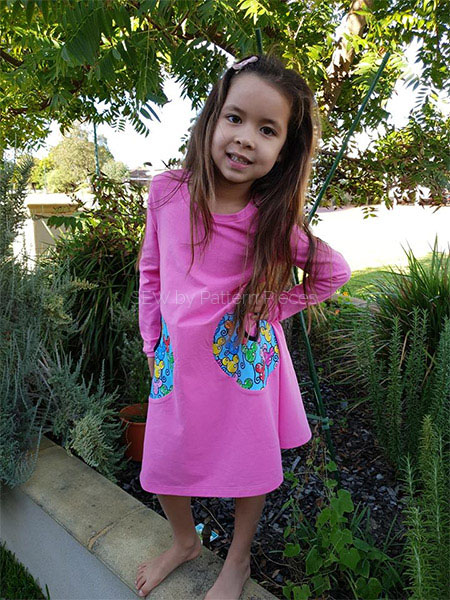
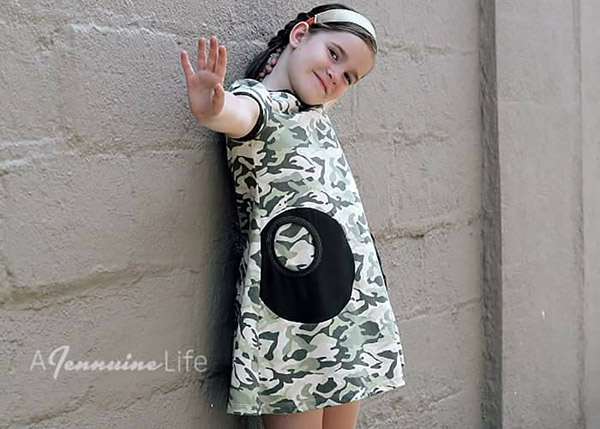
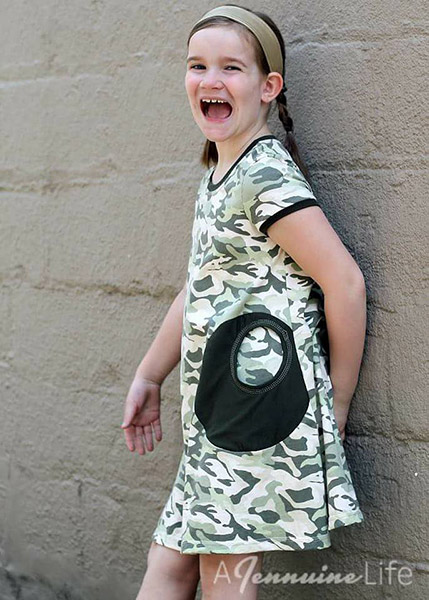
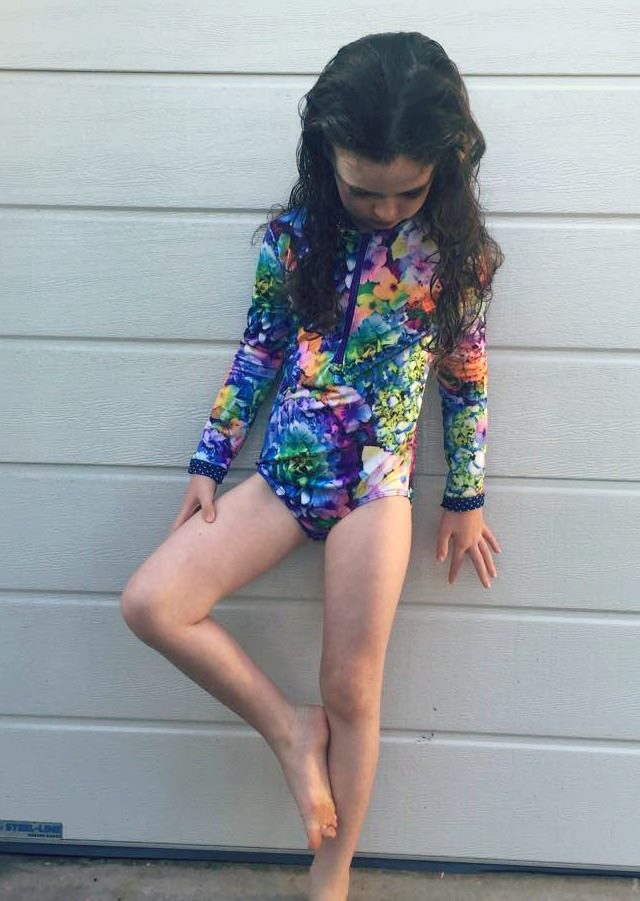
One of the newest features is … wait for it… drumroll, please… It has POCKETS! Yes, how exciting is that? Now your little ones can store all their treasures while on the go in these easy to install side seam pockets.

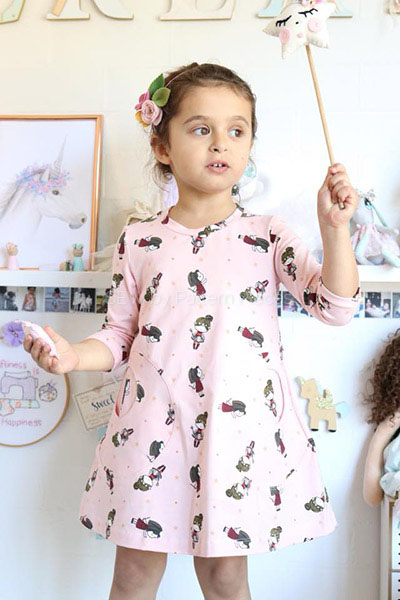
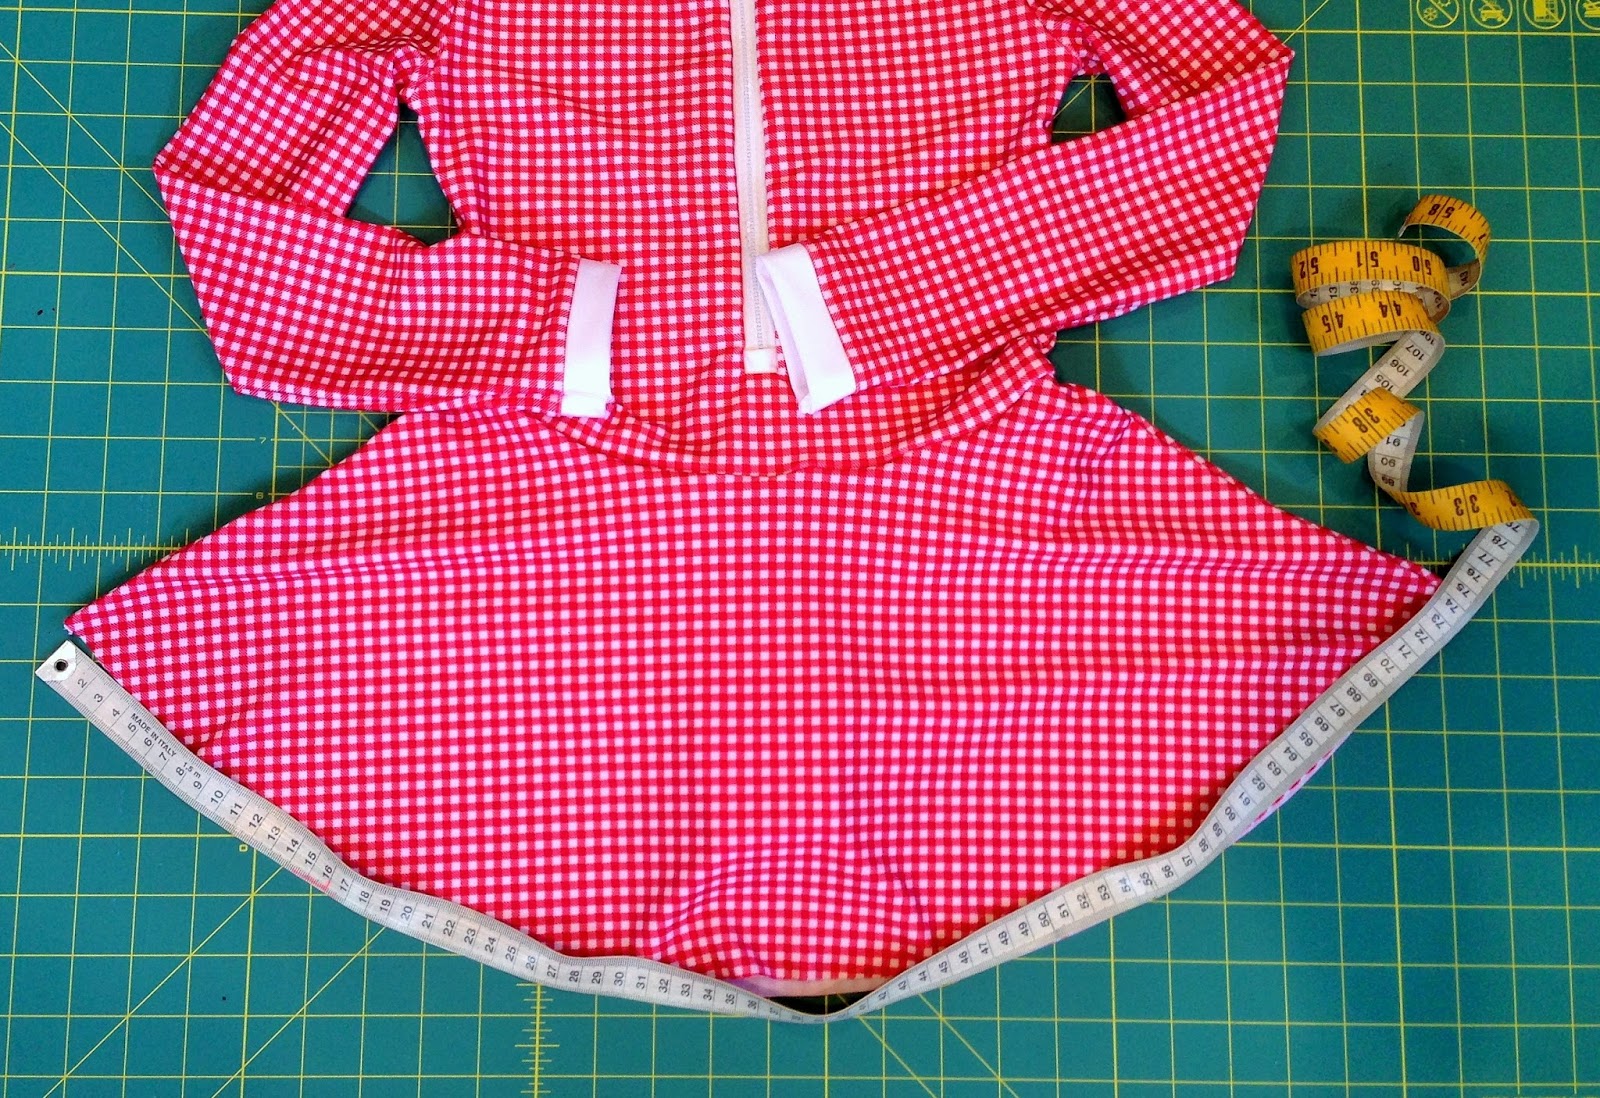
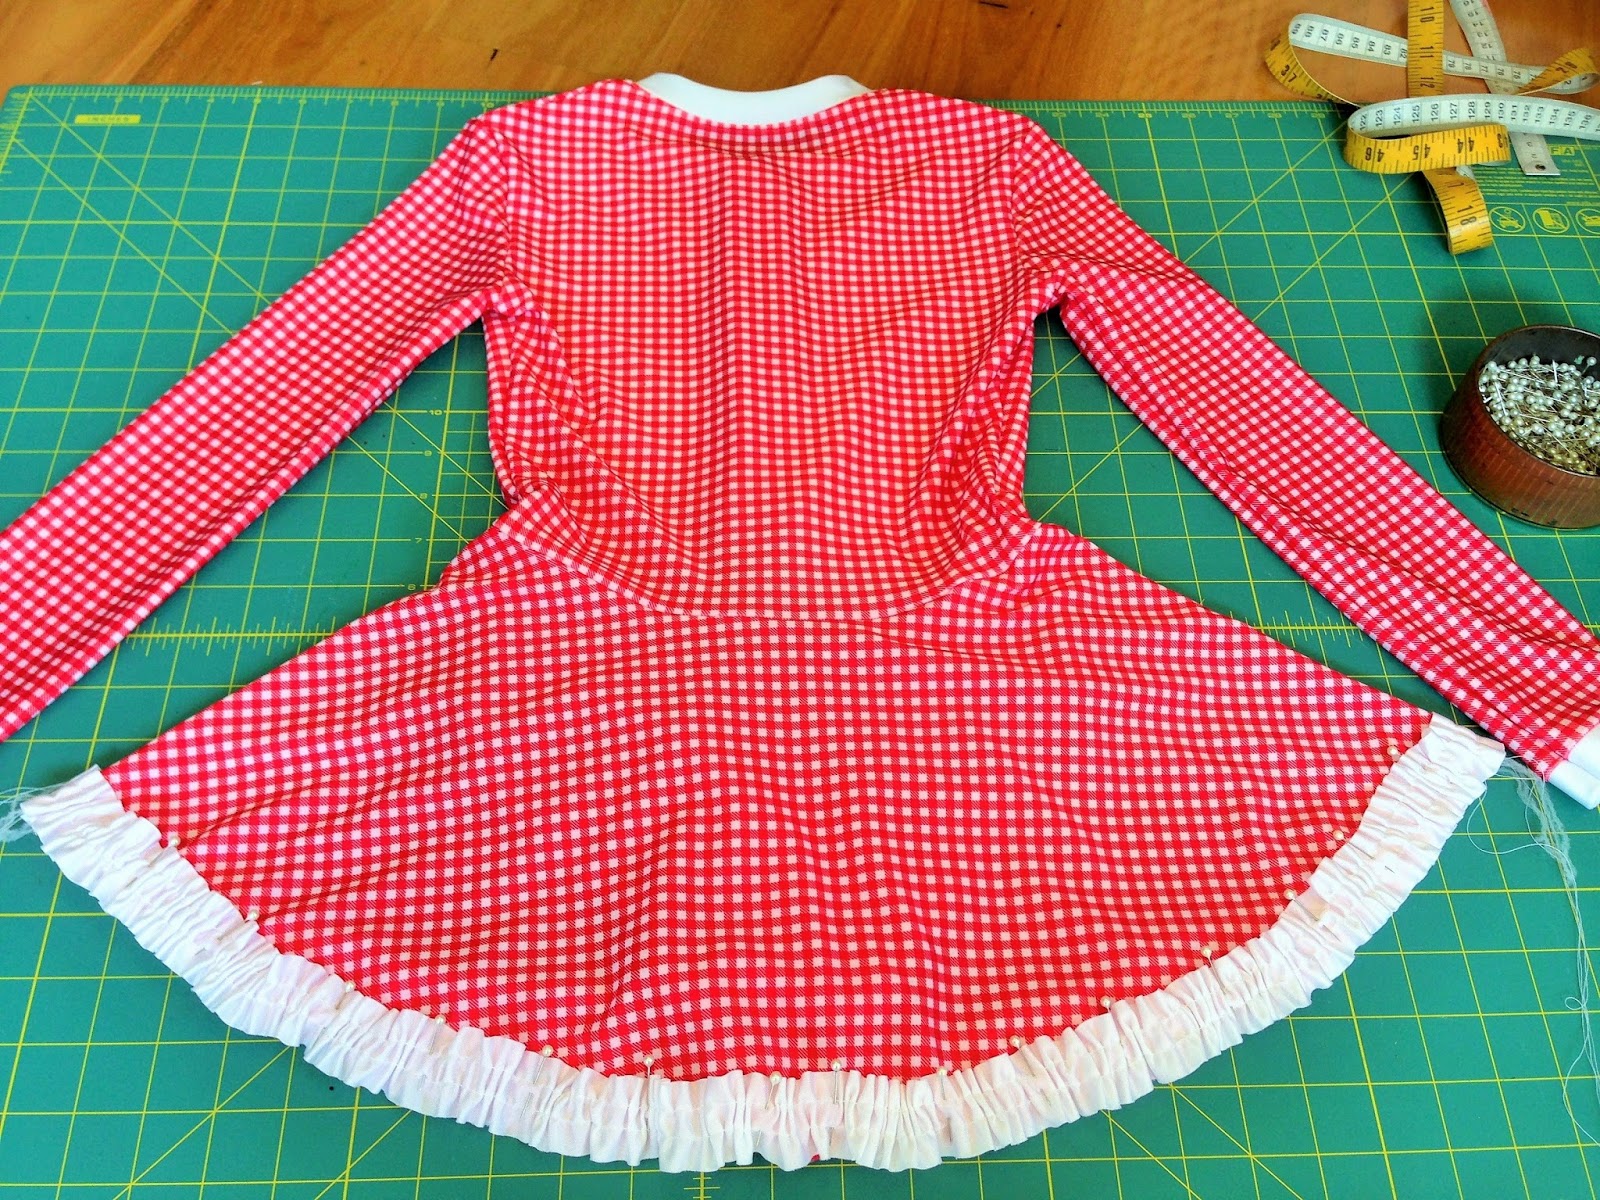
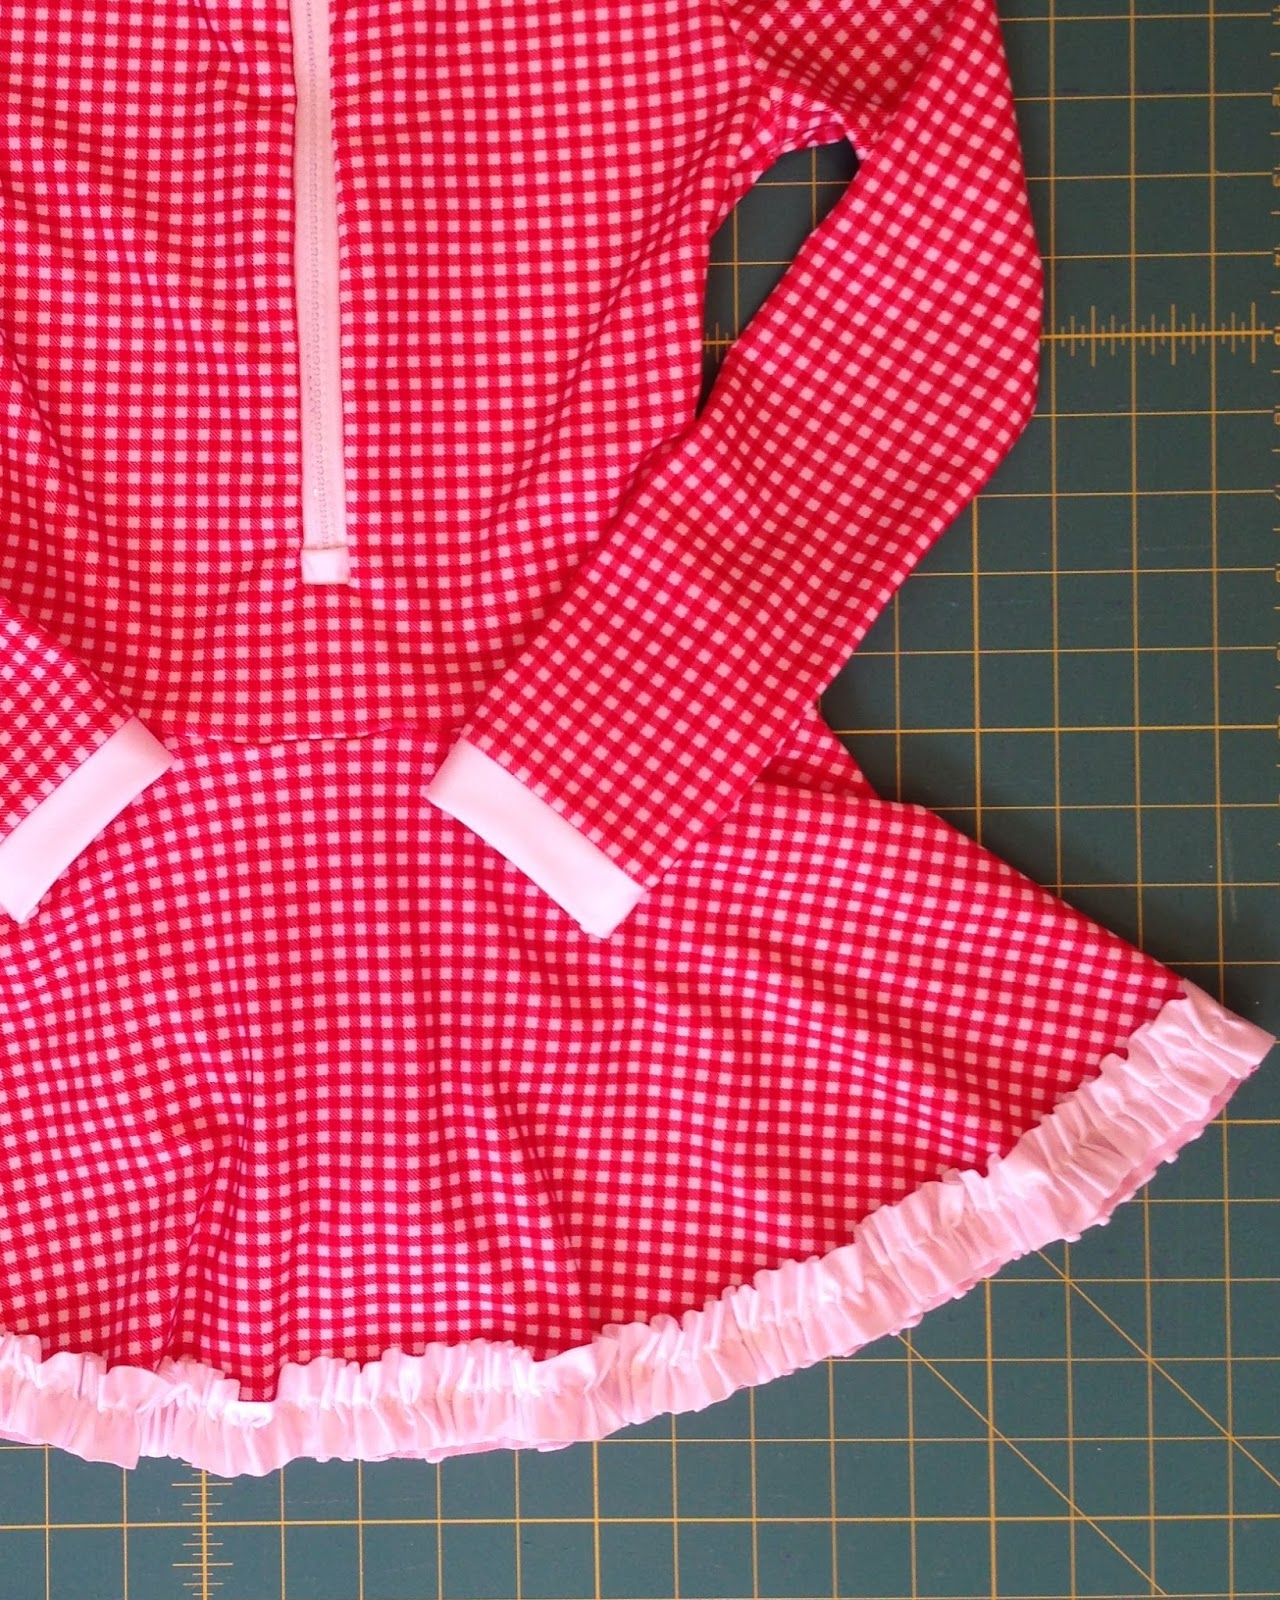
If you like to have FABRIC PANELS or have bought them in the past and you want a dress pattern that does not use up a lot of fabric, you have come to the right place. This is the perfect a-line dress that does not use up a heap of fabric.


Girls Fun Tee Dress Add On Tester Round Up
The pattern test was so much fun. It was lovely seeing the enthusiasm of the ladies in the group choosing their favourite fabrics to make the dresses and even the children themselves helping decide from the various stashes which fabric the dresses should be made from. Thank you to all our lovely testers for the time and effort you put into each test that you do.


Fea Stephens


Do you need a little dress pattern that has pockets, and does not use up too much fabric from your precious stash? You have come to the right place.
Shop for Pattern: HERE
Instagram Hashtag: #sbppfunteedress #funteedresspdfpattern #21100funteedress
Pinterest Page: HERE